How to set up your Standard watermark
The Standard watermark is your logo or studio name, added to photos as you upload them with Standard Upload. You set it up once for your account, and it is used on every event.
Standard and Original watermarks
Kamero has two watermarks. Which one a photo gets depends on how you upload it.
- Standard watermark: for photos uploaded with Standard Upload. It is added while the photo uploads and becomes part of the photo. Changing it later does not change photos you already uploaded.
- Original watermark: for photos uploaded with Original Upload. It is shown on top of the photo when guests view it, so you can change it at any time and every photo updates. See Original watermark.
Neither watermark costs extra.
How to open the watermark page
Click the palette icon in the top menu of the dashboard. It is labelled Watermark when you hover over it.

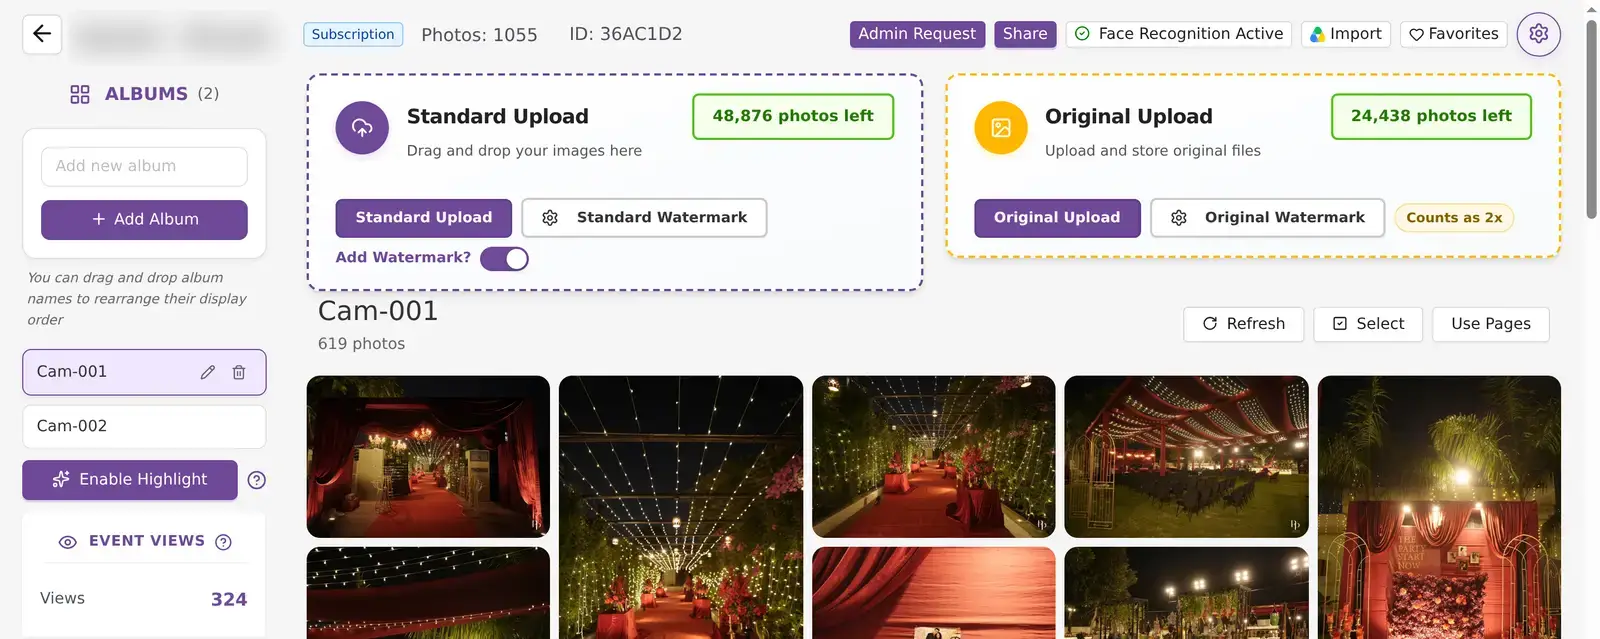
You can also open an event and click Standard Watermark next to the Standard Upload button.

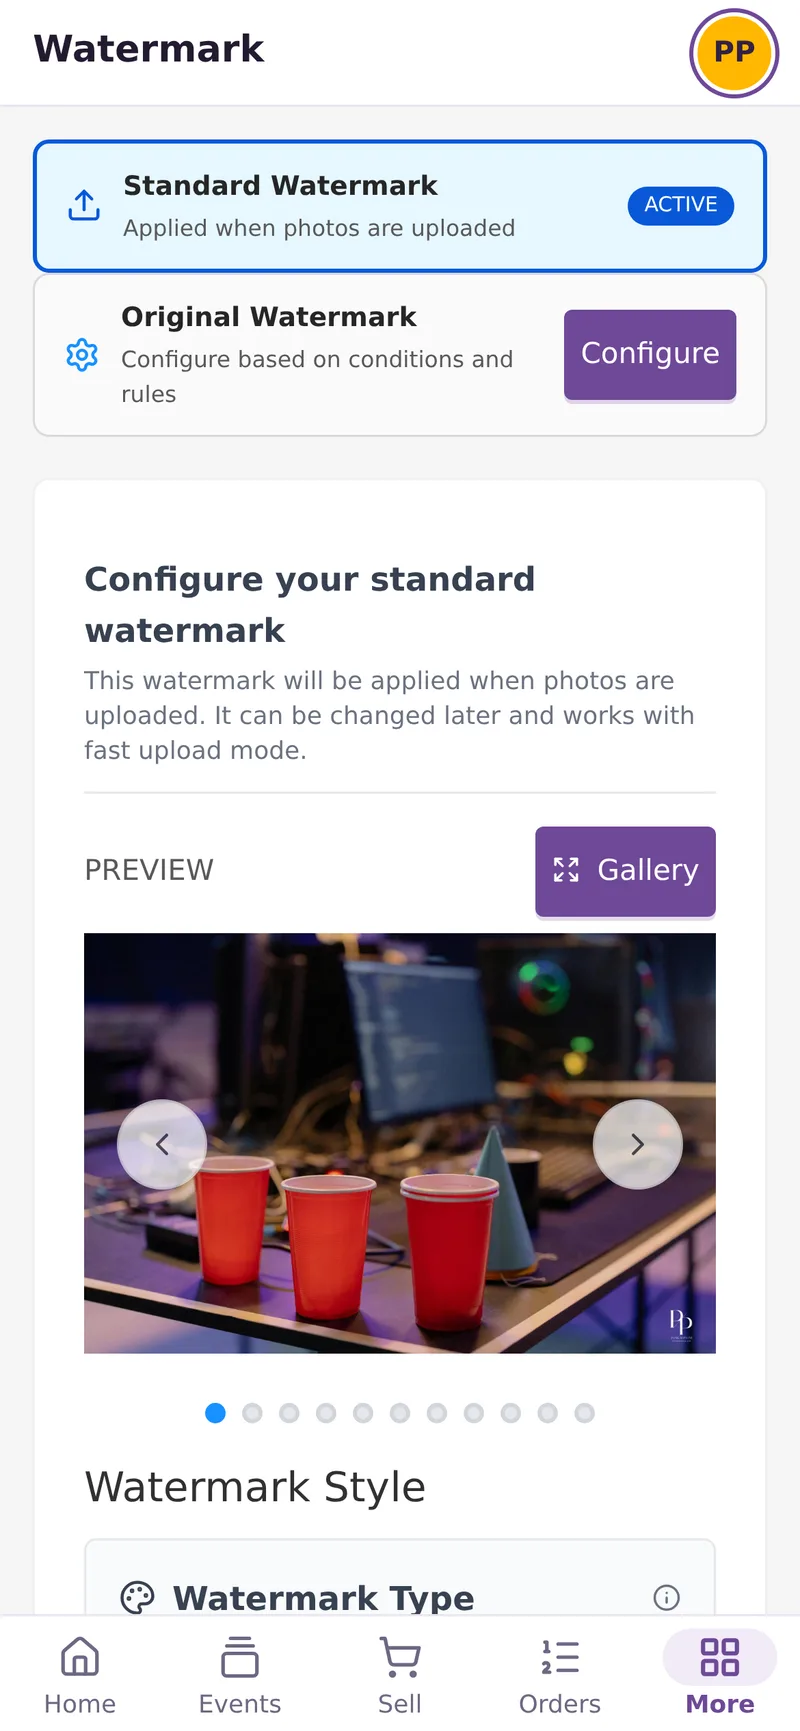
The page opens with two cards at the top. Standard Watermark is marked ACTIVE because you are on it. Configure on the Original Watermark card takes you to the Original watermark page.

Set up your watermark
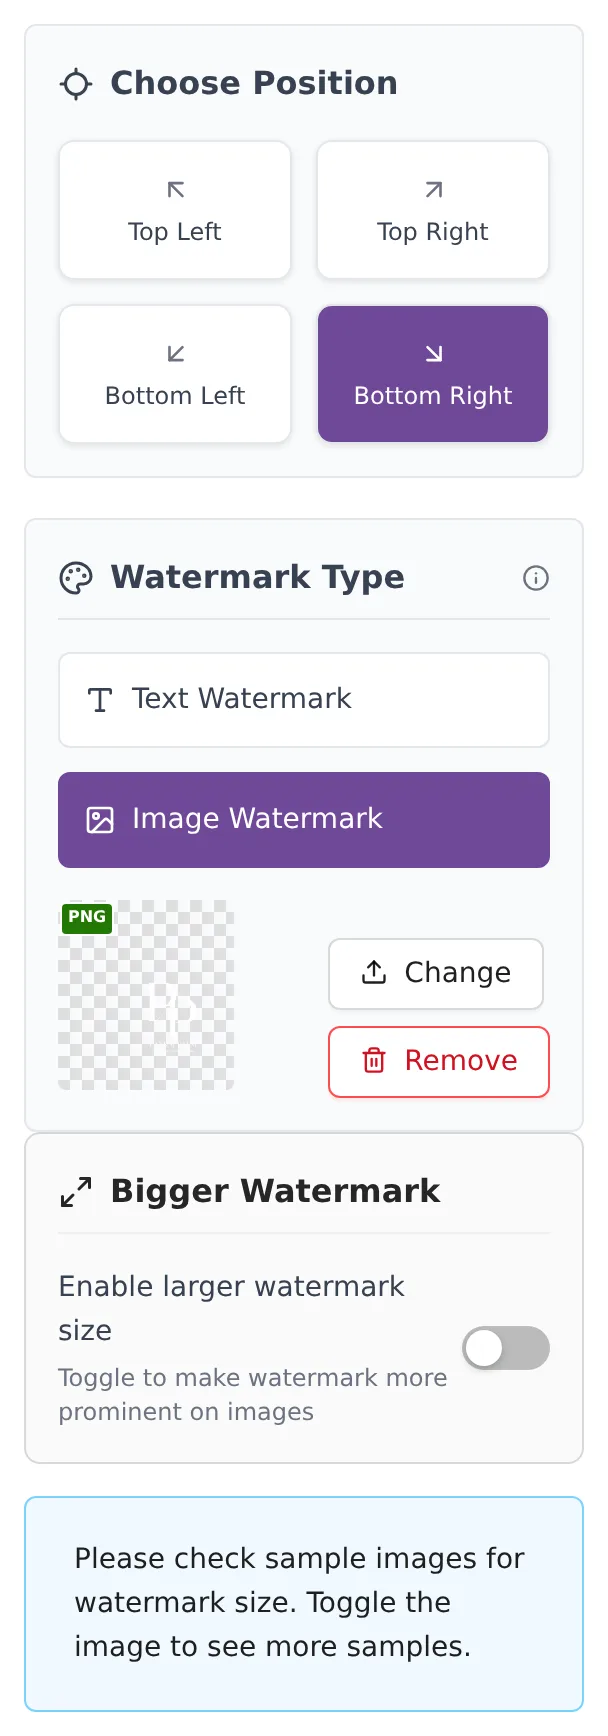
- Under Choose Position, pick the corner: Top Left, Top Right, Bottom Left or Bottom Right. Bottom Right is the default.
- Under Watermark Type, choose Image Watermark for a logo, or Text Watermark for words.
- Upload your logo, or type your text (see below).
- Turn on Bigger Watermark if you want it larger.
- Check the sample photos on the right.
- Click Save changes at the top right. You see Watermark saved successfully.
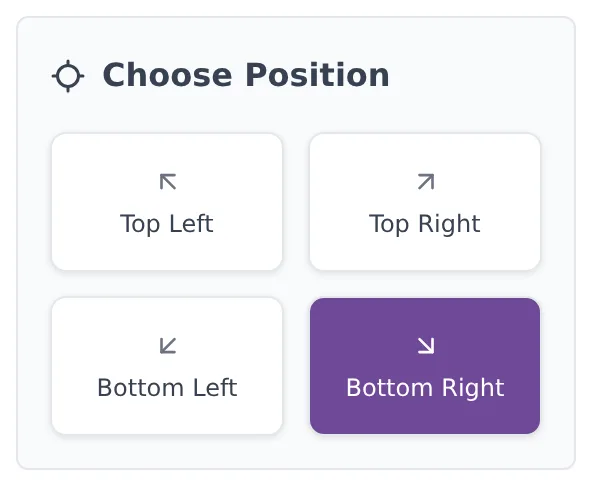
Image watermark
Choose Image Watermark and upload your logo. JPEG, PNG, GIF, BMP, WebP and HEIC files up to 25 MB work. A PNG with a transparent background looks best.
Once a logo is uploaded, a small preview shows with Change and Remove buttons. Both take effect straight away, without Save changes.
Text watermark
Choose Text Watermark. Type your studio name in the first box. The second box is optional, for a website or phone number in smaller text underneath.

Bigger Watermark
Turn on Enable larger watermark size to make the watermark about twice as big. Leave it off for a smaller mark that stays out of the way.

Check the sample photos
The preview has 11 sample photos, light and dark, landscape and portrait. Use the arrows to move between them, or click Gallery to see them full screen. Check that your watermark is easy to see on all of them before you save.

Turn the watermark on or off for an upload
On the event page, the Add Watermark? switch sits under the Standard Upload button. When it is on, photos you upload get your Standard watermark. When it is off, they upload without one. Kamero remembers your choice for your next uploads, on every event.
For more on uploading, see Upload photos from the web dashboard.
What guests see
Guests see the watermark on every photo uploaded with it switched on: in the gallery, full screen, and in photos they download or share.
On your phone
On a phone, tap More in the bottom bar, then Watermark. The page has the same settings, one below the other.
Common problems
- Old photos still have the old watermark. That is expected. A new watermark is used only for new uploads.
- Photos uploaded without a watermark. Check that Add Watermark? was on before you uploaded.
- Save changes is greyed out. It turns on only after you change something.
- The logo is hard to see on dark photos. Use a white or light version of your logo, or turn on Bigger Watermark.
You can also add your logo and colours to the event page itself. See Event branding.
More Branding & watermarks tutorials
Try it in your dashboard
Sign in to Kamero and follow along. Questions? Raise a support ticket from the dashboard.