How to send posts and announcements to your guests
Posts let you send a short message to the people who use the guest app. Each post shows in the app's Posts tab, and a push notification goes to their phones. Use posts to tell guests that more photos are up, to share a highlight video, to announce a festive offer, or to ask for a review.
You can send a post to the guests of one event. If you have your own branded app, you can also send it to everyone who uses your app.
Where to find Posts
- On a computer: click the Posts icon in the top bar of the dashboard.
- On a phone: tap More in the bottom bar, then Posts.
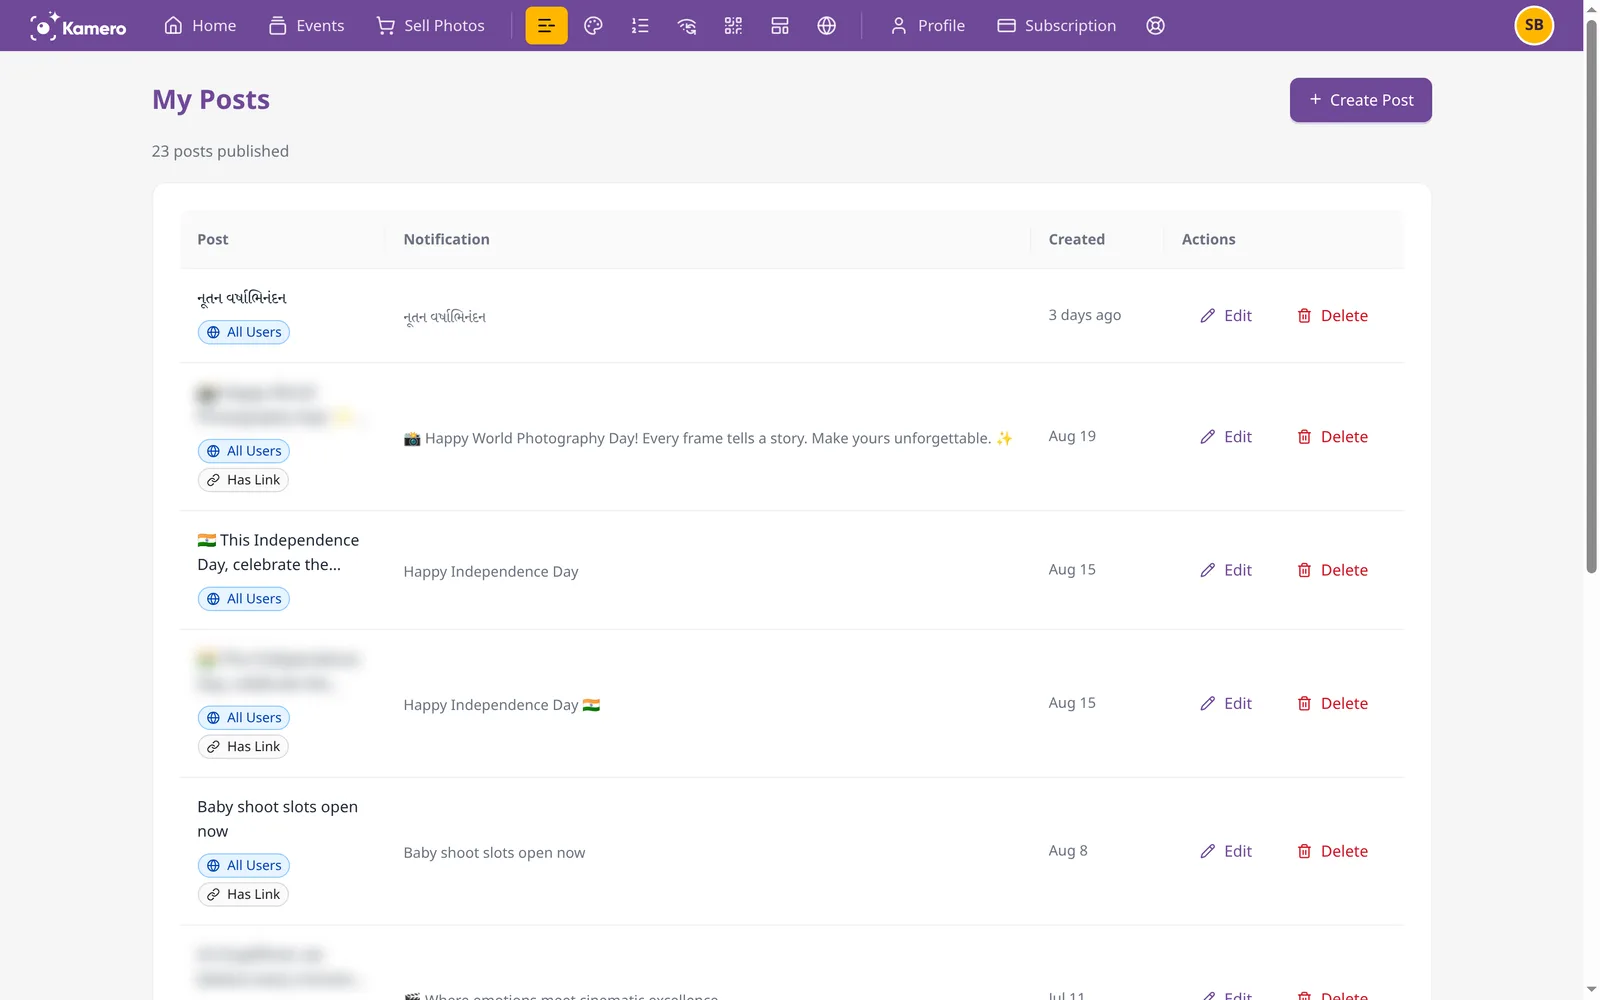
The posts list
The top of the page shows how many posts you have published. The table has one row per post:
- Post: the text guests read in the app. A tag shows who it went to: All Users or the event name. A Has Link tag means it includes a web link.
- Notification: the push notification text.
- Created: when you published it.
- Actions: edit or delete the post.
The table shows 10 posts per page. You can change this to 20 or 50 at the bottom.
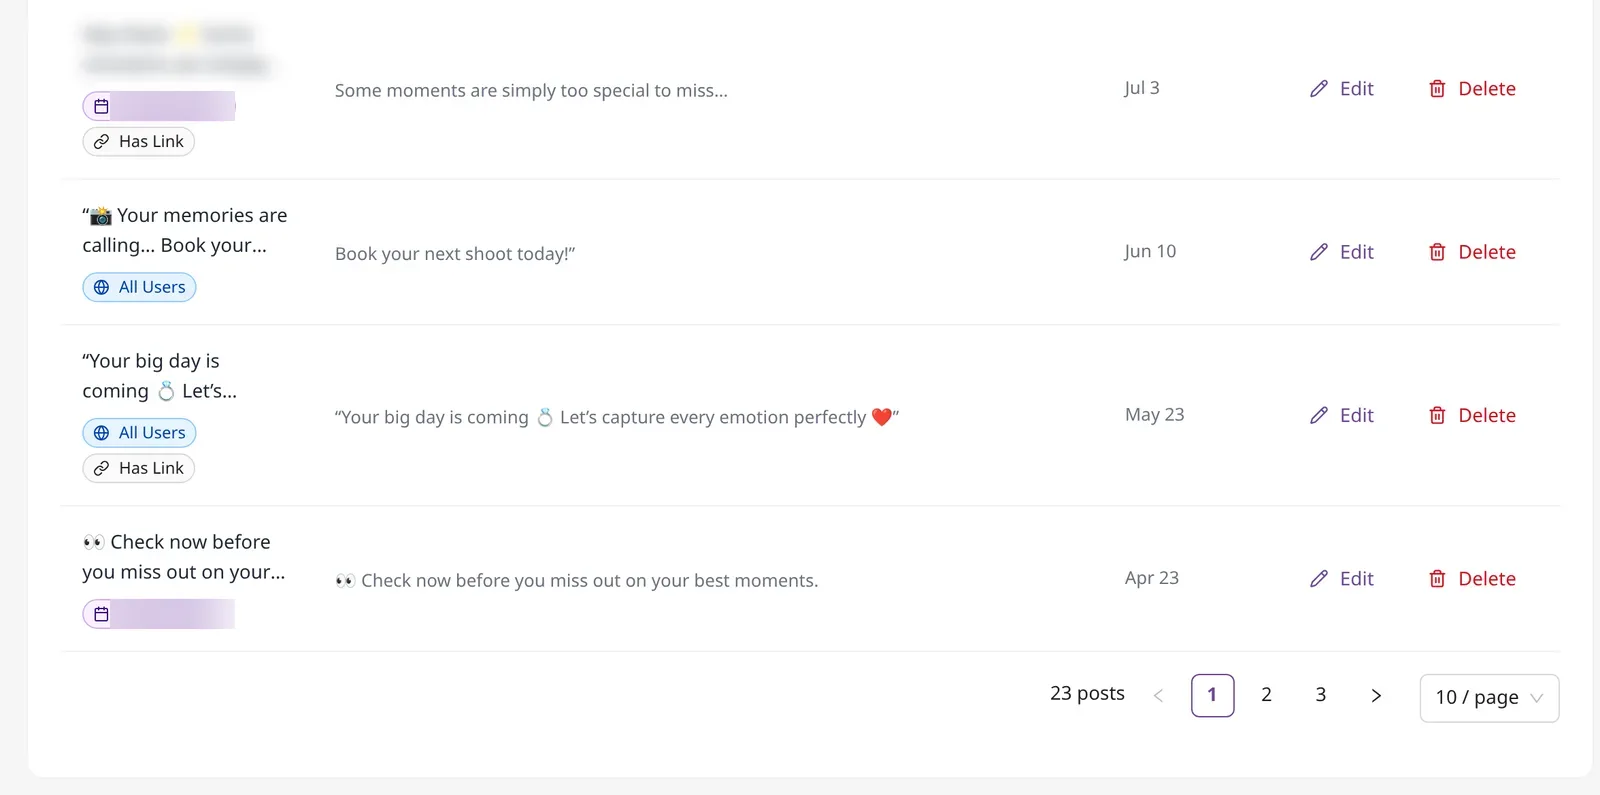
How to create a post
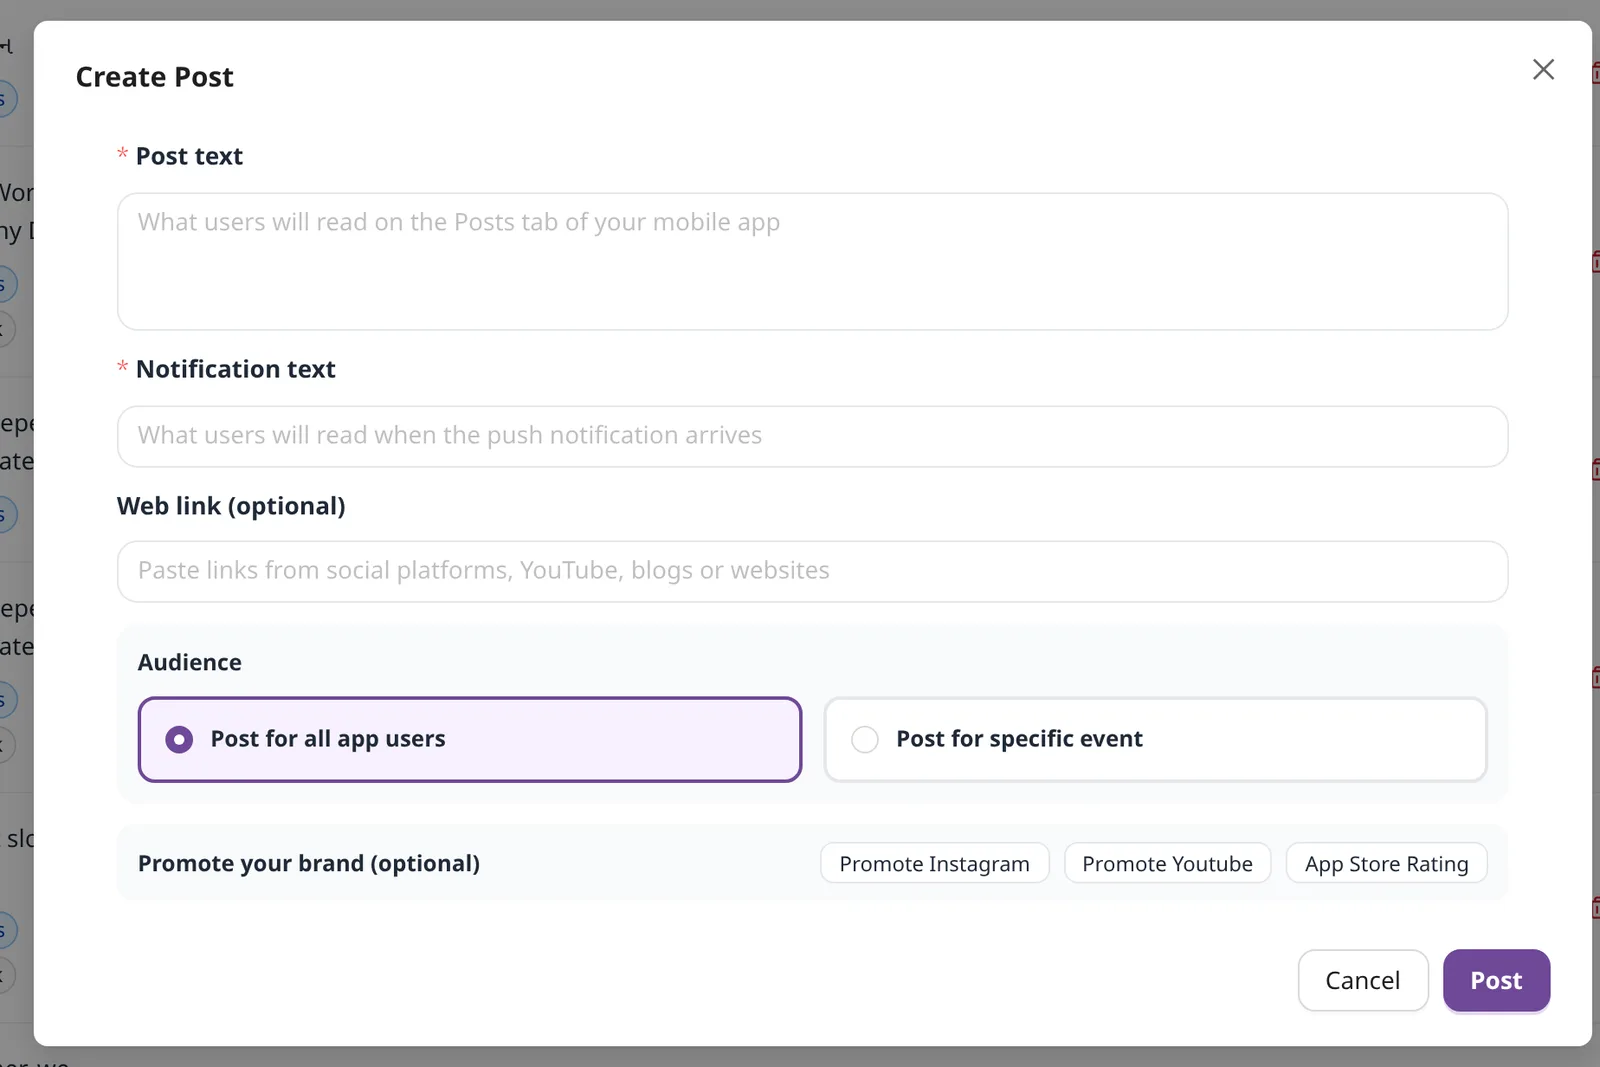
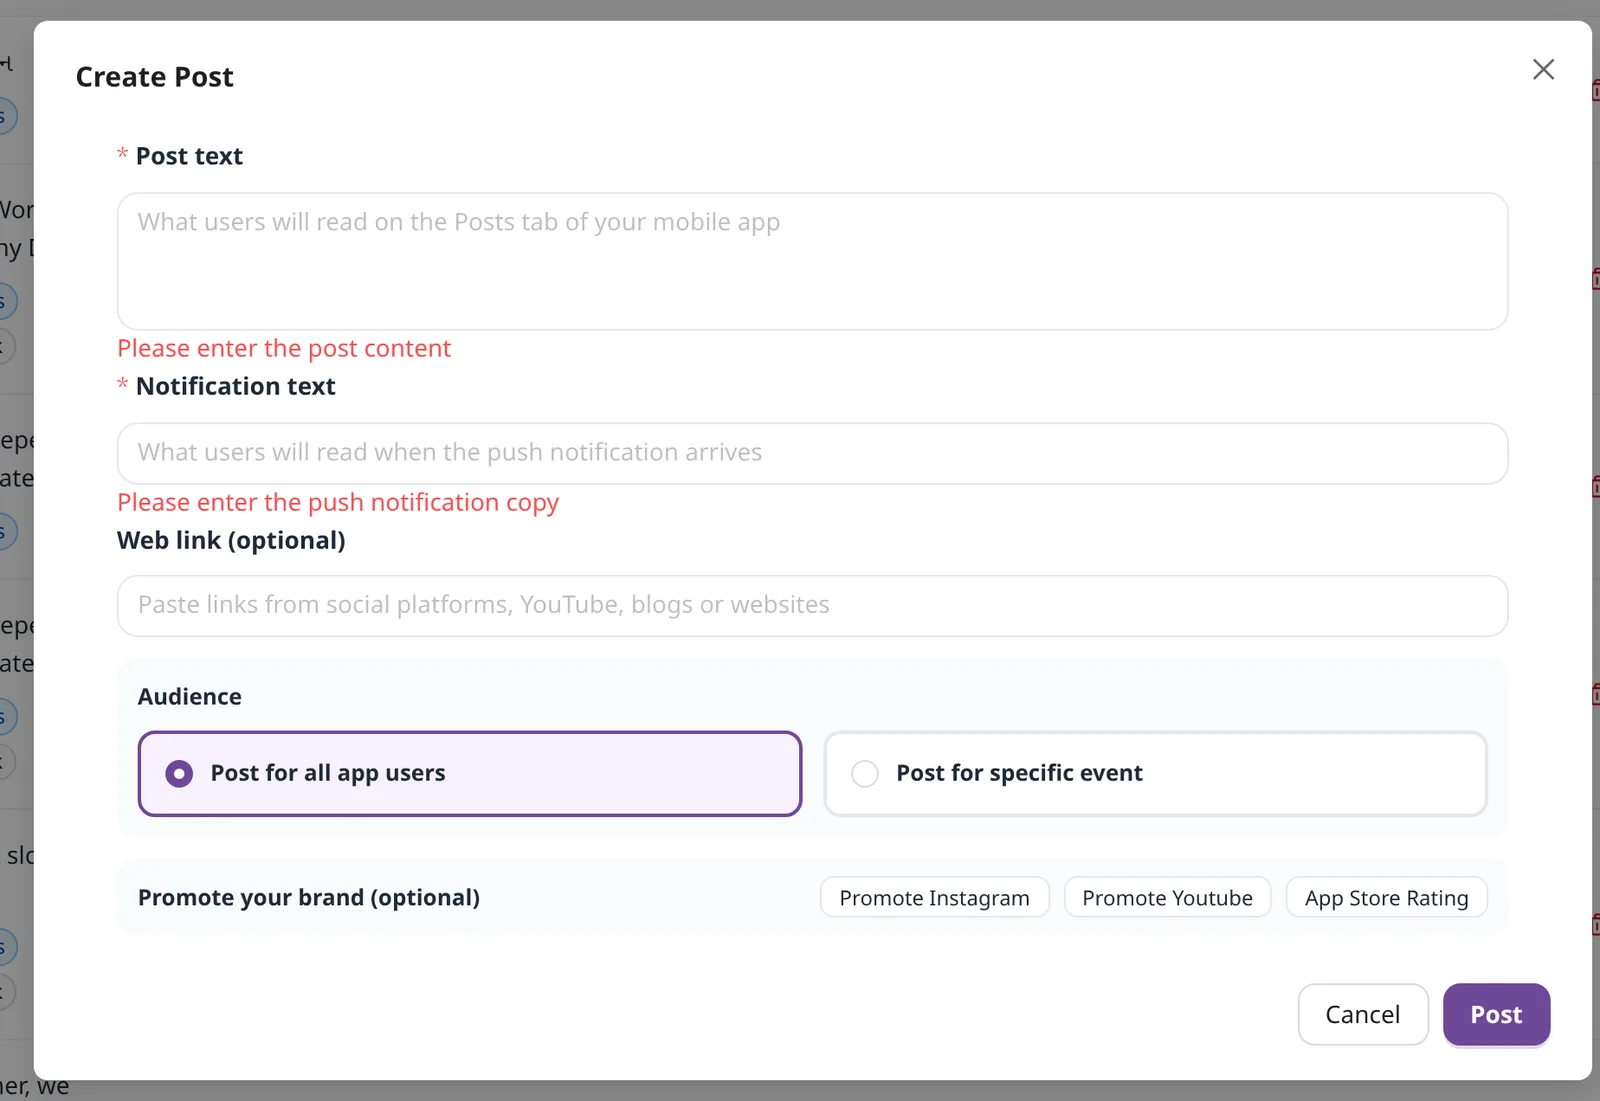
- Click + Create Post.
- In Post text, type the message guests will read in the Posts tab. This is required.
- In Notification text, type the short line that appears in the push notification. This is also required. Keep it short so it fits on a lock screen.
- In Web link (optional), paste a link to your Instagram, a YouTube video, a blog or any website.
- Under Audience, choose who gets it. See the next section.
- If you have your own branded app, you can choose one option under Promote your brand (optional).
- Click Post. The post is published and the notification is sent straight away.
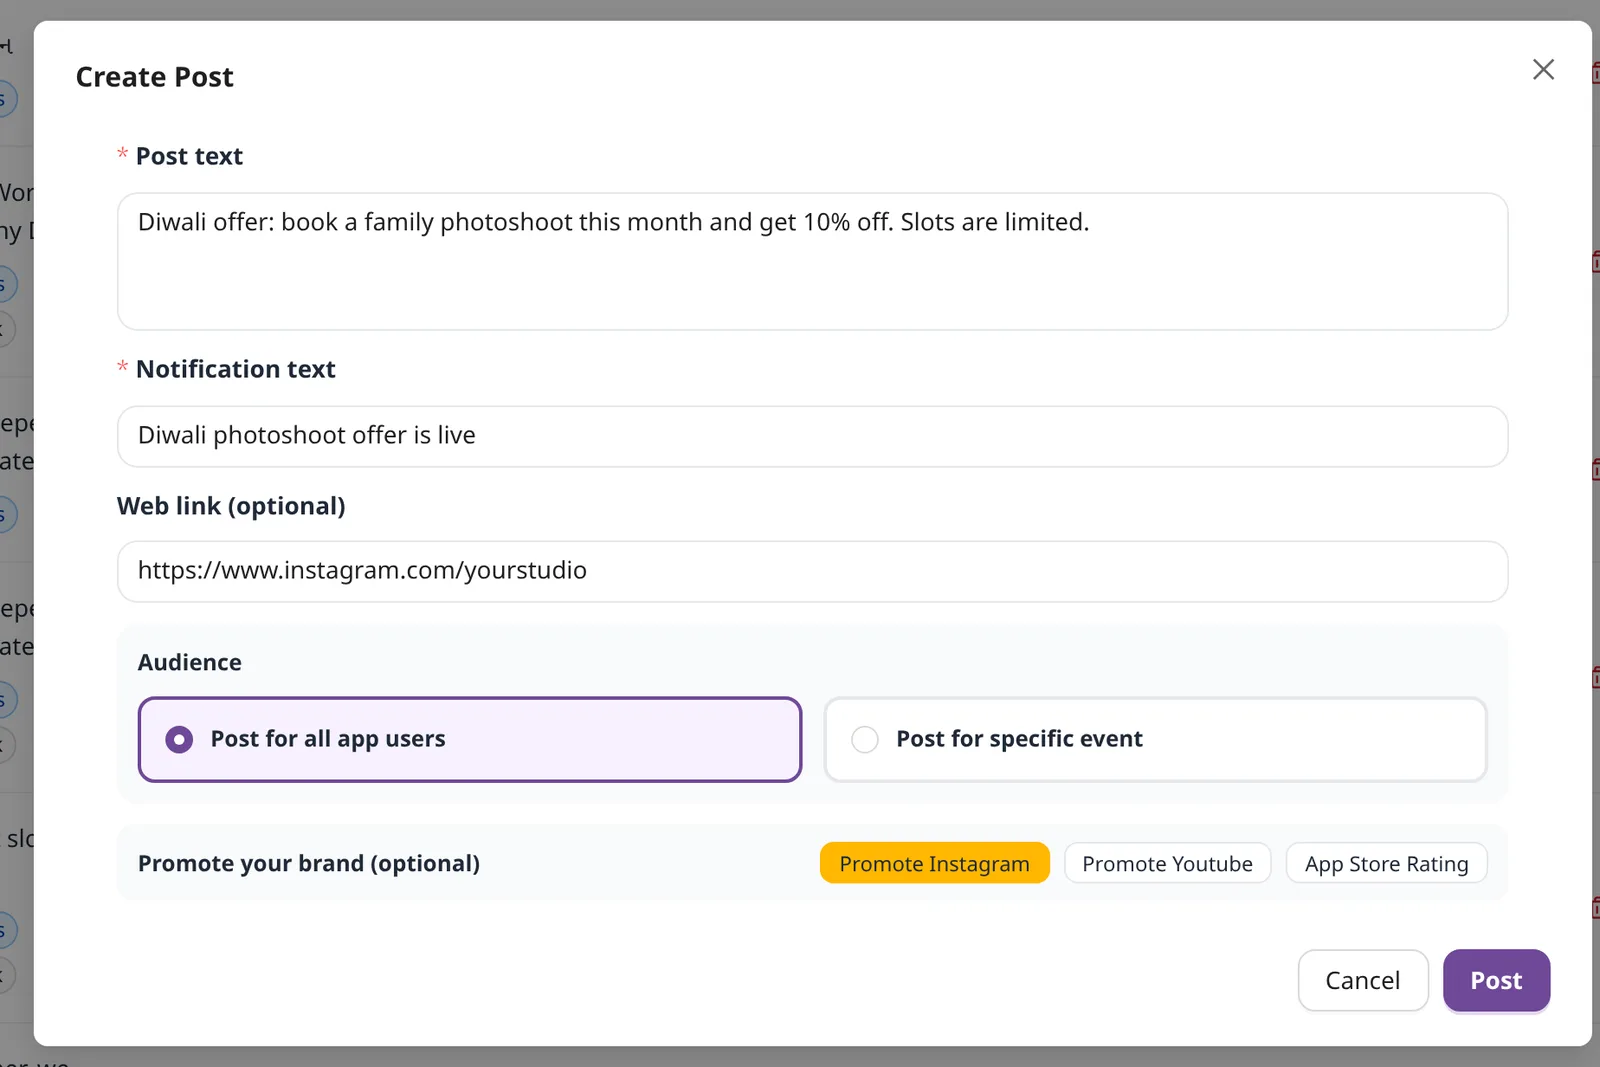
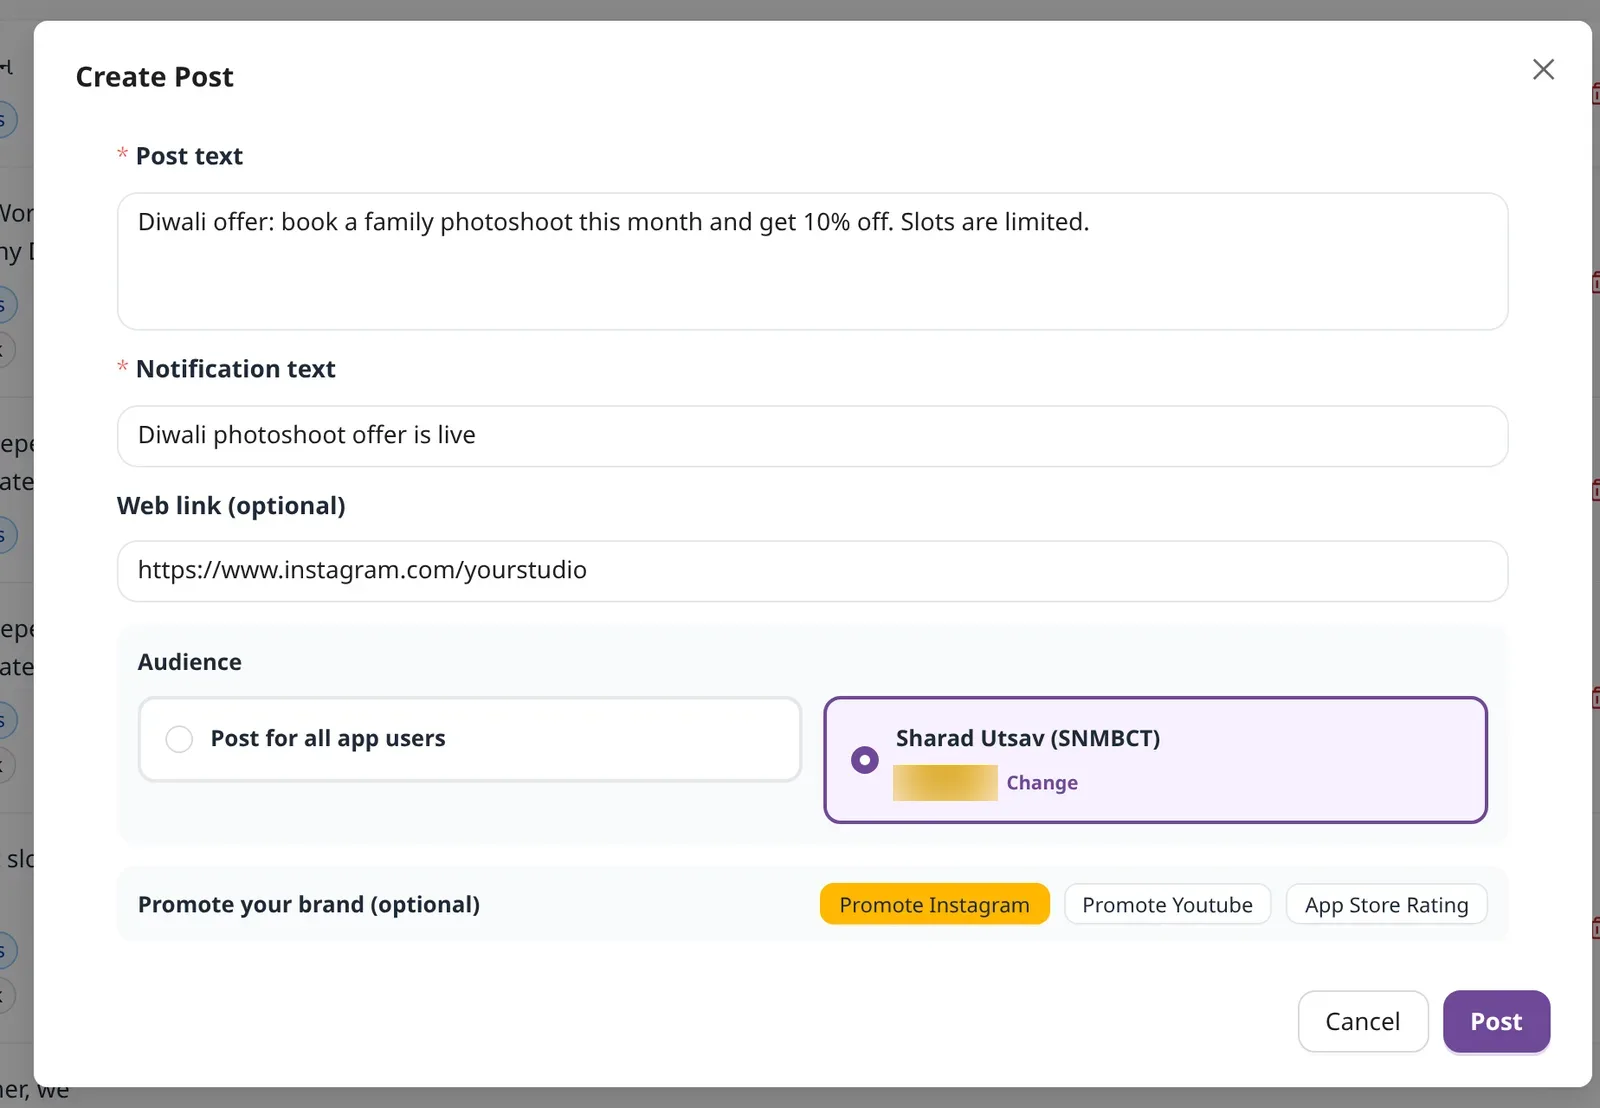
Here is a filled-in example for a Diwali offer, with an Instagram link and Promote Instagram selected:
If you click Post with an empty field, the form shows Please enter the post content or Please enter the push notification copy. Fill in the field and try again.
Choose the audience
- Post for all app users: everyone who uses your branded app gets the post. This option is only for studios with their own branded app.
- Post for specific event: only the guests who follow one event get the post.
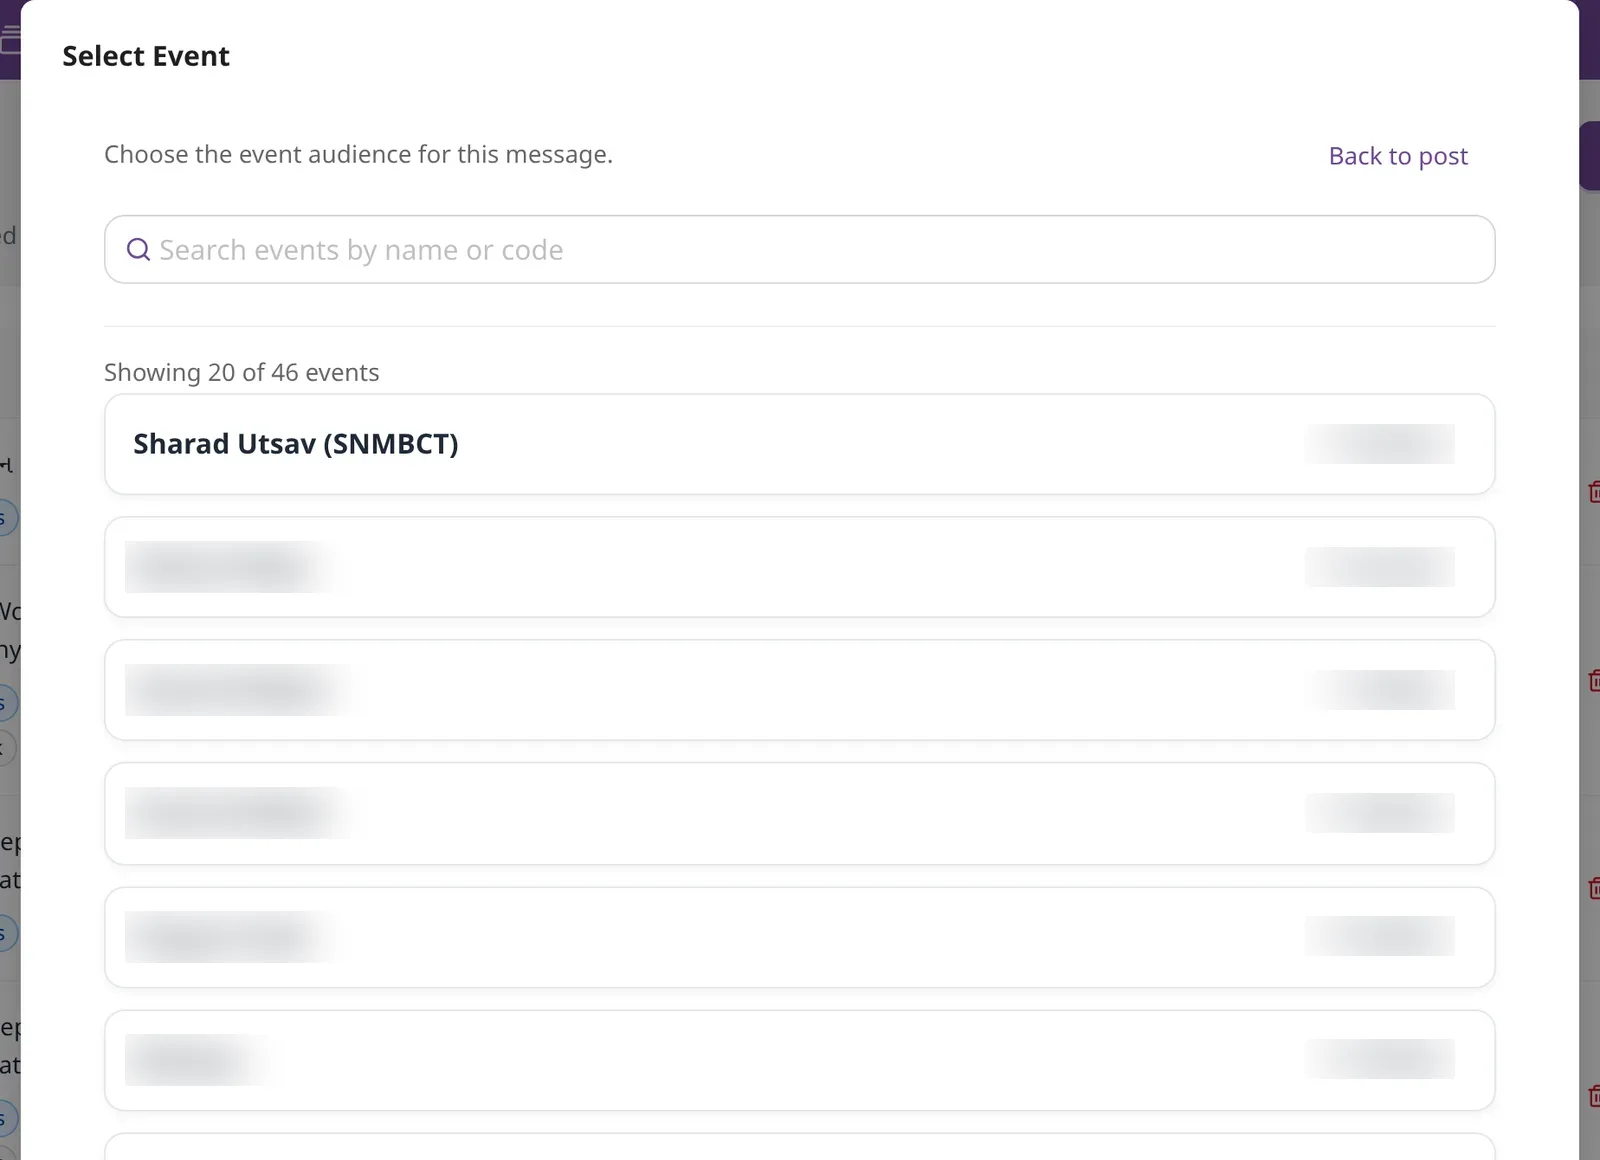
When you choose Post for specific event, the Select Event window opens. On the Kamero app, it opens as soon as you click + Create Post, because every post goes to one event.
- Type in Search events by name or code, or scroll the list. It shows 20 events at a time. Click Load more to see older ones.
- Click the event.
- You go back to the form. Click Back to post if you want to return without picking one.
The audience card now shows the event name and its code. Click Change to pick a different event.
Promote your brand
Studios with their own branded app see Promote your brand (optional). Pick one option, or none:
- Promote Instagram: use this when your link is your Instagram page or post.
- Promote Youtube: use this when your link is a YouTube channel or video.
- App Store Rating: asks guests to rate your app. The post shows a Rate App button.
Click a selected option again to turn it off.
Images and scheduling
Posts have no image upload and no scheduling. A post is text plus one optional link, and it goes out the moment you click Post. To share photos or a video, paste a link to them in Web link.
Edit or delete a post
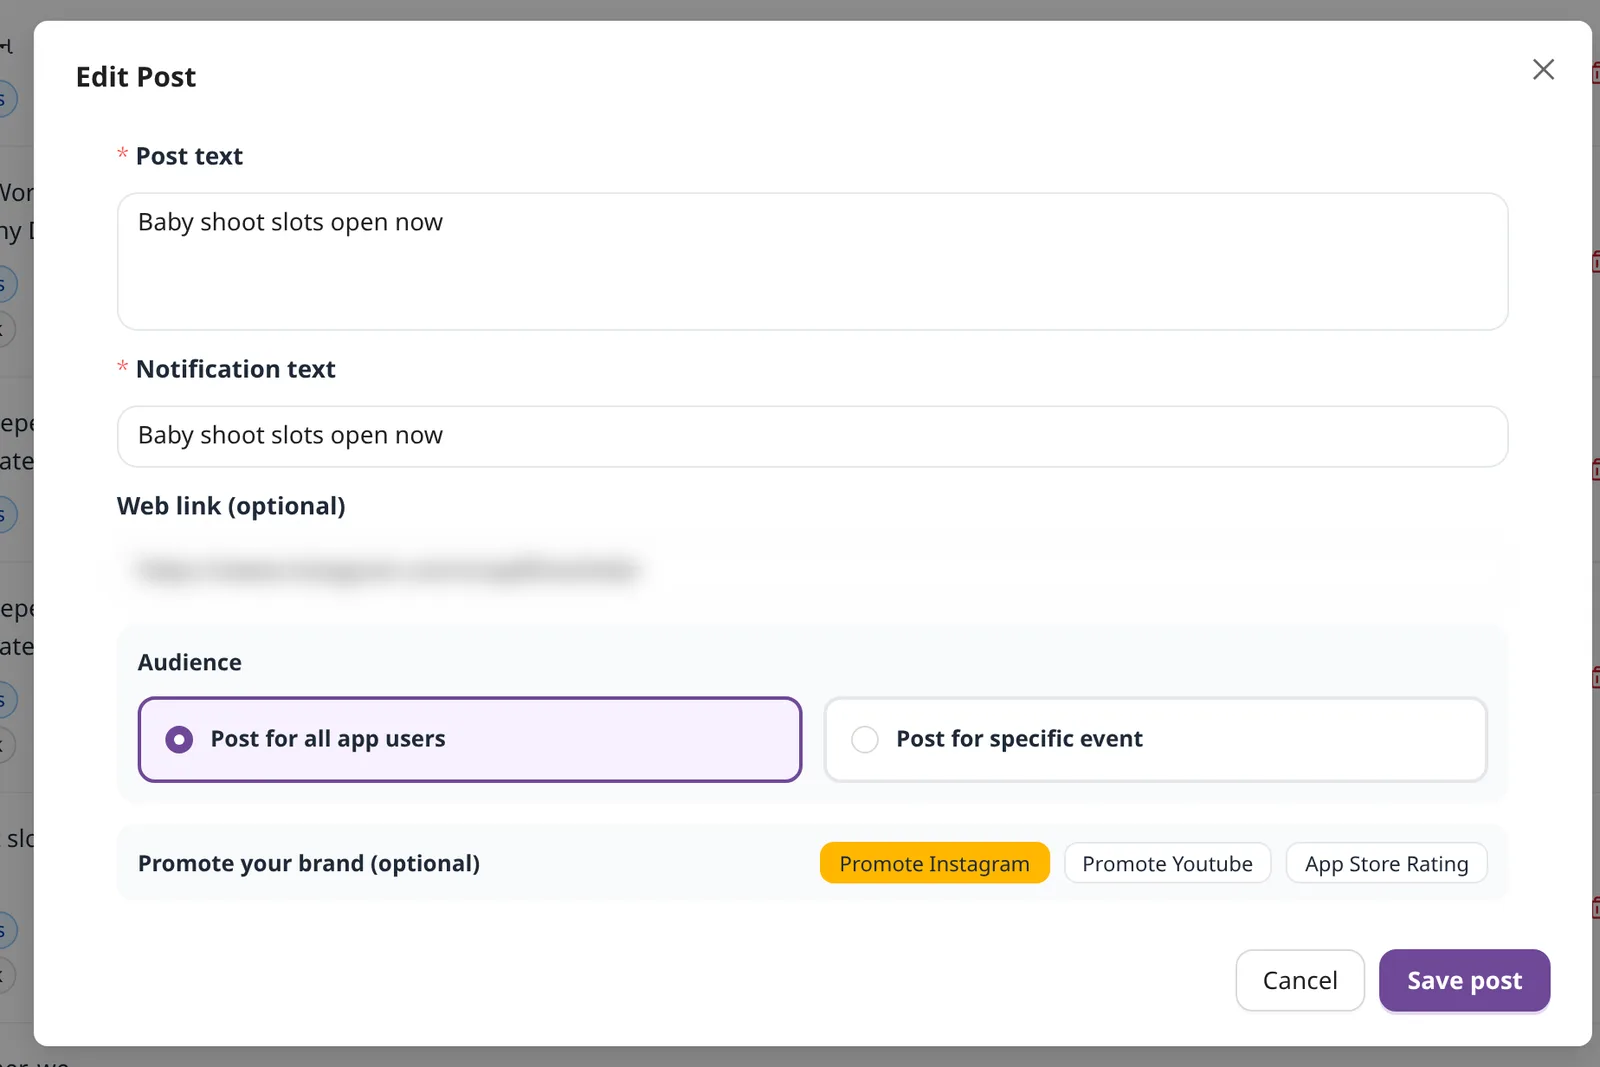
Click the edit icon on a row to open Edit Post. Change the text, link, audience or promotion, then click Save post. Editing does not send the notification again.
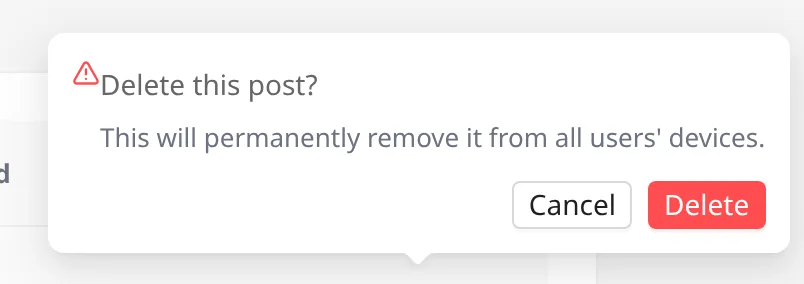
Click the delete icon, then Delete to confirm. The post is removed from every guest's device.
Posts on a phone
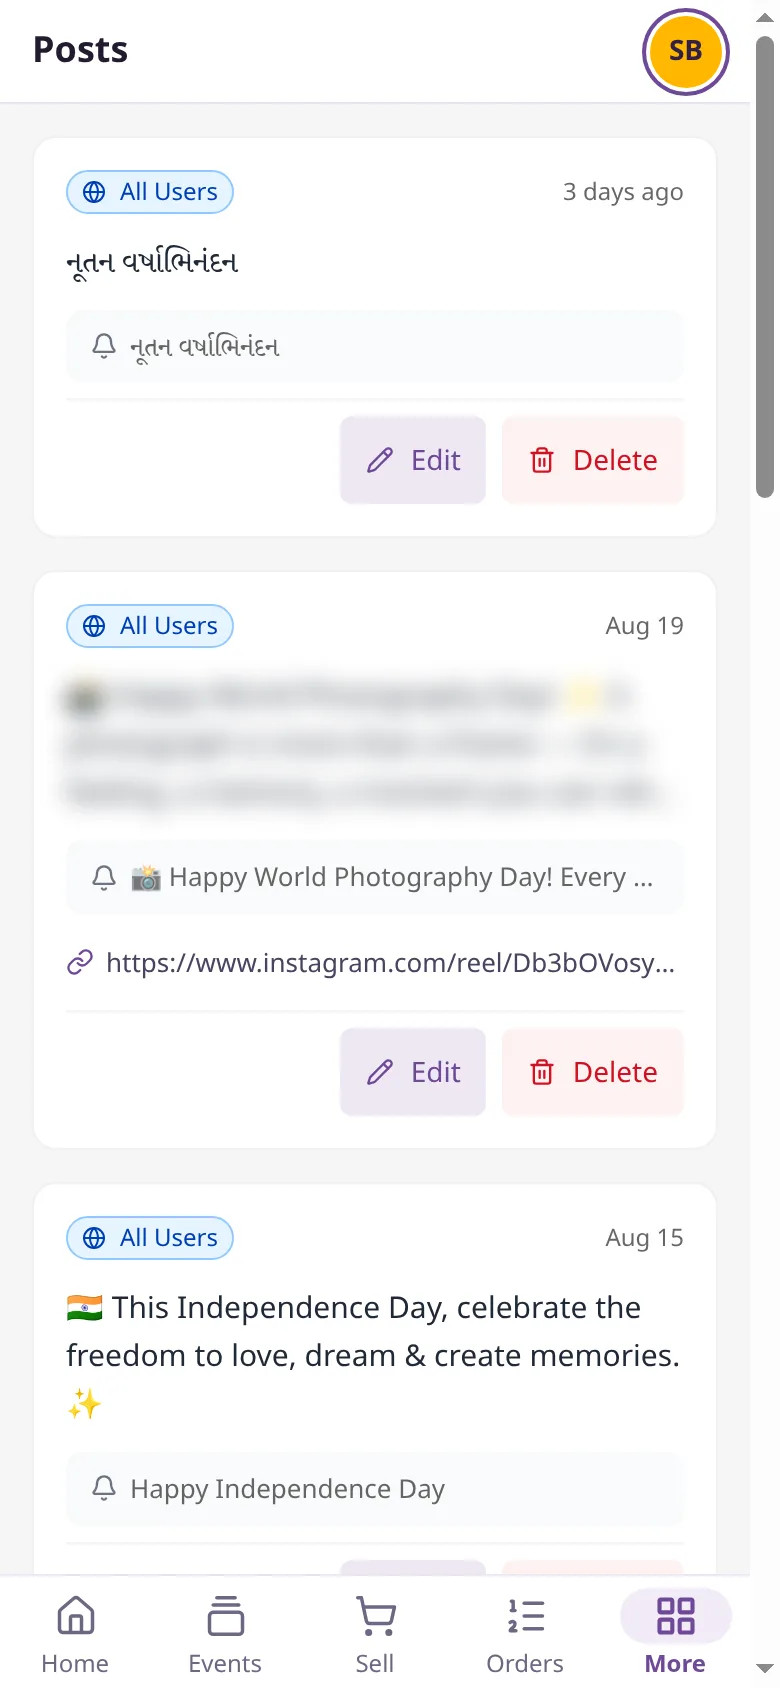
On a phone, each post shows as a card with its audience tag, date, text, notification line and link, plus Edit and Delete buttons.
What guests see
Guests open the Posts tab in the bottom bar of the app. Each post shows as a card with your profile picture, the notification line and the post text. If the post has a link, the card has a Checkout button that opens it. App rating posts show Rate App instead.
The push notification uses your notification text as the title and the post text below it. Tapping it opens the app. To learn more about the guest app, see app features.
Tips for good posts
- Keep the notification text short and specific, such as "Your Sangeet photos are ready".
- Use a specific event for news that only matters to one event's guests.
- Do not post too often. Guests who get too many notifications may turn them off.
To get guests into an event in the first place, share its QR code. See Common QR.
Frequently asked questions
Who gets the push notification?
If you post for a specific event, the guests who follow that event in the app get it. If you post for all app users, everyone who uses your branded app gets it. Guests who turned off notifications still see the post in the Posts tab.
Does editing a post send the notification again?
No. The notification goes out once, when you click Post. Editing changes what guests see in the Posts tab but does not notify them again.
Can I add a photo or video to a post?
No. A post has text and an optional web link. To show a video or a photo album, paste its link in Web link, for example a YouTube video or an Instagram post.
Can I schedule a post for later?
No. A post is published and the notification is sent as soon as you click Post. Write it ahead of time and post it when you are ready.
Why do I not see Post for all app users?
That option is only for studios with their own branded app. On the Kamero app, you can post to the guests of one of your events at a time.
What happens when I delete a post?
It is removed from the Posts tab on every guest's phone. A notification that already arrived stays in their notification list until they clear it.
More Sharing & website tutorials
Try it in your dashboard
Sign in to Kamero and follow along. Questions? Raise a support ticket from the dashboard.