How to build and publish your studio website
Kamero gives every studio a free website at yourname.kamero.ai. It shows your work, your services and how to reach you, and it lists your event galleries for you. Visitors can send you an enquiry from it. You build it in the dashboard, with no code and no hosting to set up.
Where to find it
In the dashboard, click the Your Website icon in the top bar. On a phone, it is in the menu as Your Website. The page is called Your website.
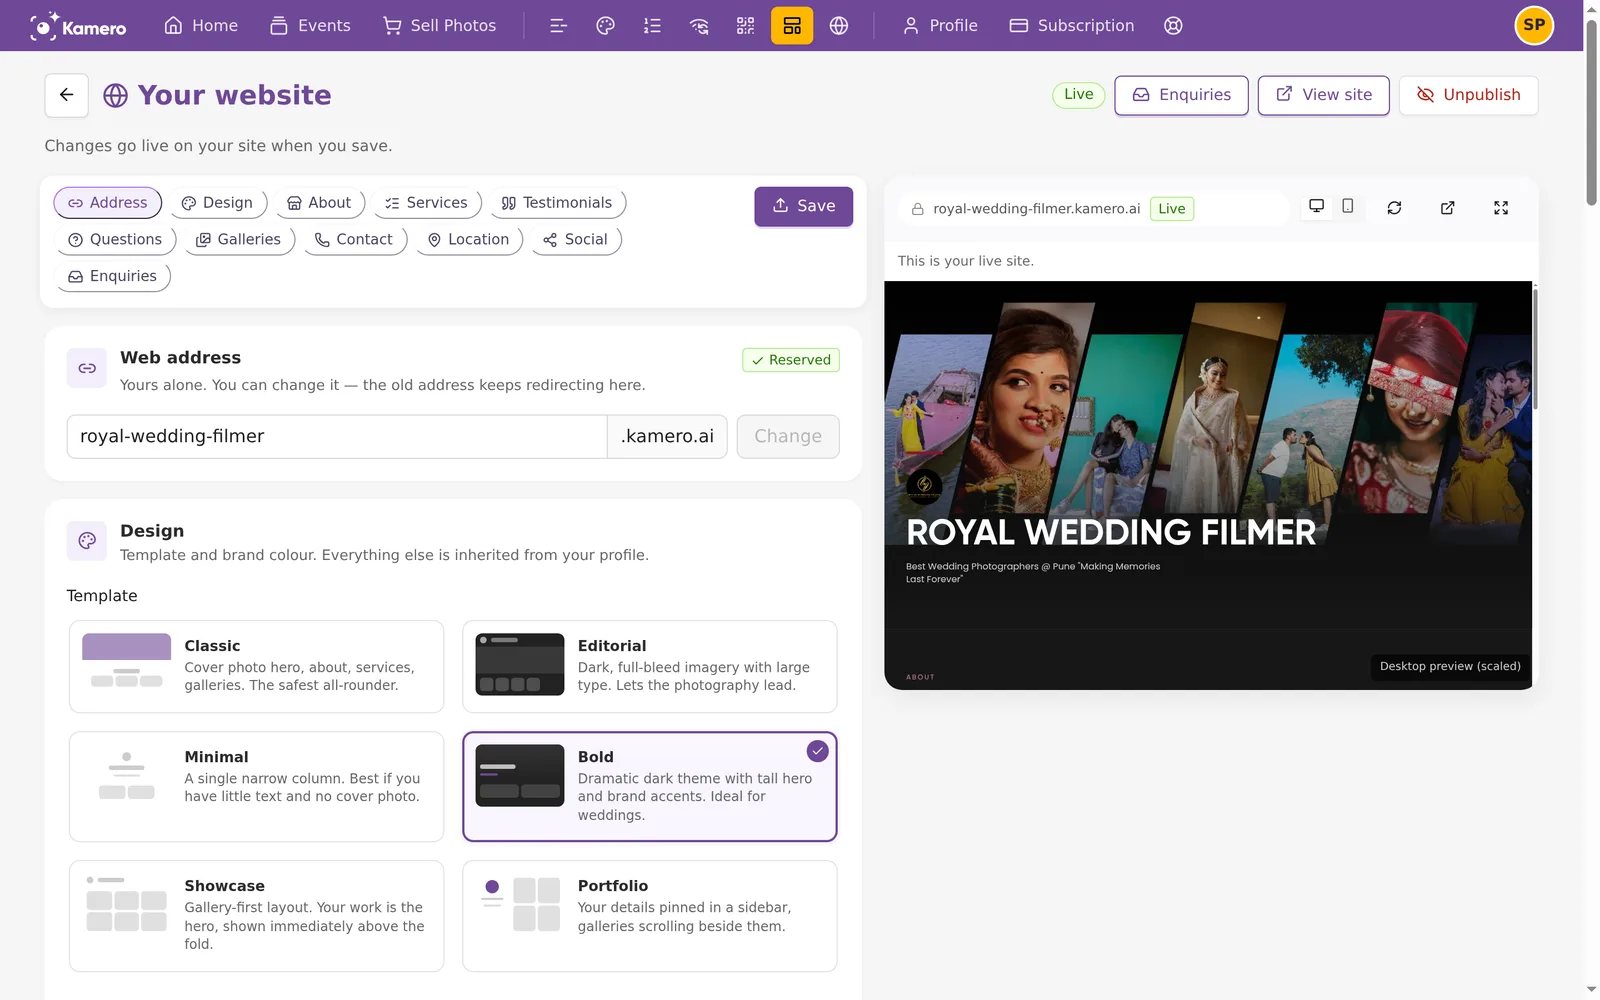
At the top of the page you see:
- A status tag: Draft before you set it up, Ready to publish when it has an address, and Live once it is public.
- Enquiries, which opens your inbox of messages from visitors.
- View site, which opens your live site in a new tab.
- Publish or Unpublish.
- Save. An Unsaved changes note appears next to it when you have edited something. Nothing changes on your live site until you save.
The buttons below the header jump to each section: Address, Design, About, Services, Testimonials, Questions, Galleries, Contact, Location, Social and Enquiries. The preview on the right has desktop and mobile views, a reload button and a button to open the site.
Step 1: reserve your web address
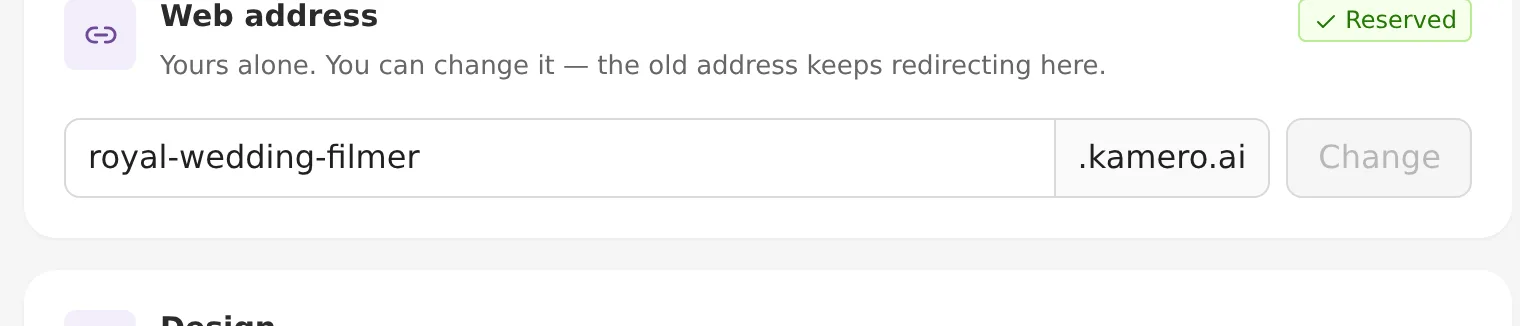
- In the Web address card, type the name you want. It can be 3 to 63 characters, for example your studio name with hyphens.
- Click Change. If you already have an address, Kamero asks you to confirm with Change address.
- You see Address reserved. Your site will live at
yourname.kamero.ai.
You need a reserved address before you can publish. If you change it later, the old address keeps redirecting to the new one. Kamero keeps your last 5 addresses redirecting. When you go past 5, the oldest one stops and another studio can claim it.
To use your own domain, such as yourbrand.com, see Connect a custom domain.
Step 2: choose a template and colours
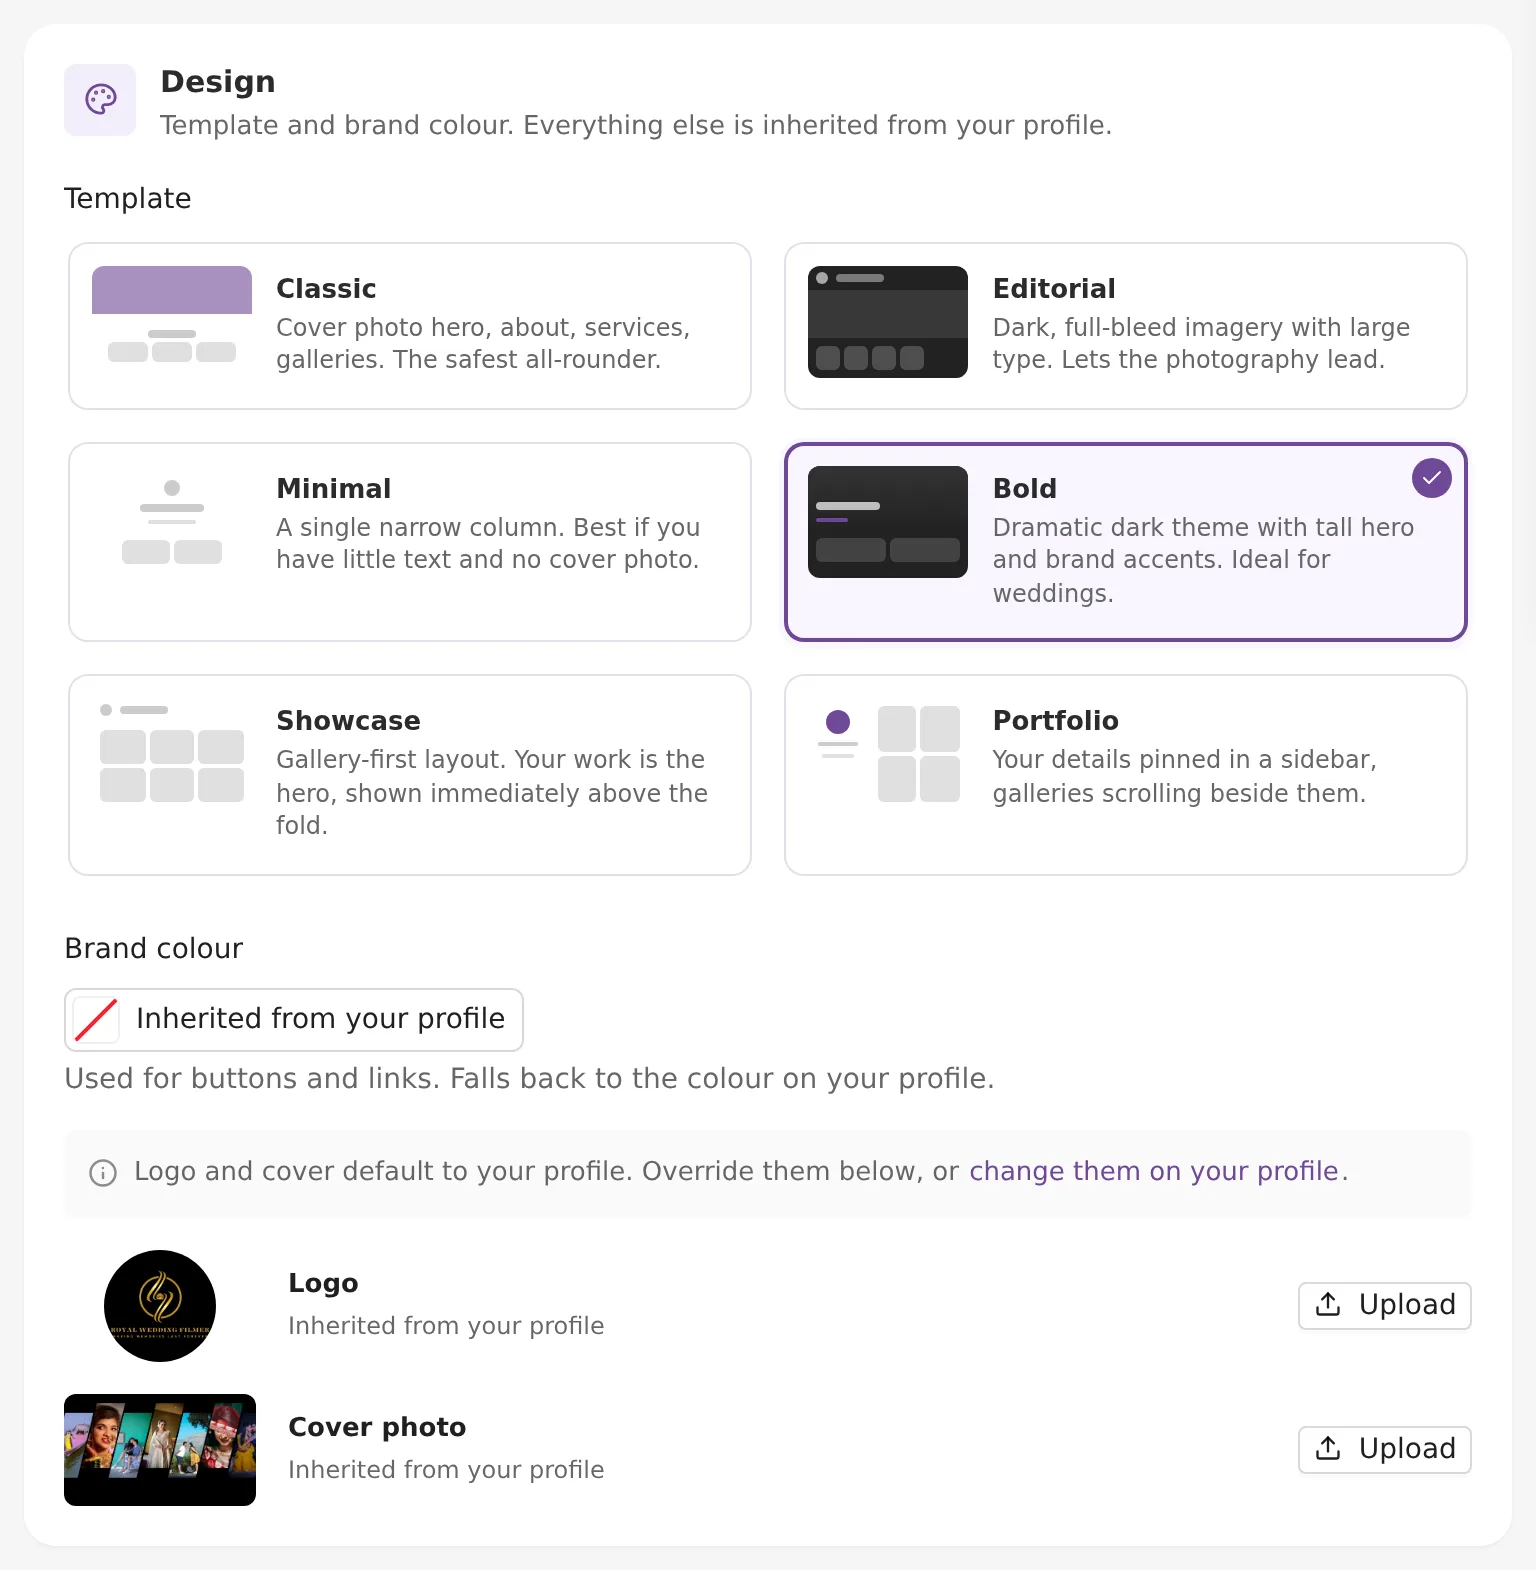
The Design section has six templates:
- Classic: cover photo at the top, then about, services and galleries. A safe choice for most studios.
- Editorial: dark, full-width photos with large text.
- Minimal: one narrow column. Good if you have little text and no cover photo.
- Bold: a dark theme with a tall cover and your brand colour. Suits wedding work.
- Showcase: galleries first, right at the top of the page.
- Portfolio: your details in a sidebar, with galleries scrolling beside them.
Brand colour is used for buttons and links. If you leave it empty, the site uses the colour on your profile. Logo and Cover photo also come from your profile. Click Upload to use a different one only on the website. The card then says Custom, just for your site instead of Inherited from your profile. You can upload JPG, PNG, WebP or HEIC files. To change them everywhere, edit your profile instead (see Profile setup).
Step 3: add your content
Each section below is optional. Leave a field empty and the site uses what is on your profile, or leaves that part out.
About your studio
Business name, a Tagline of up to 160 characters, and About us of up to 4,000 characters. The tagline shows under your name at the top of the site.
Services
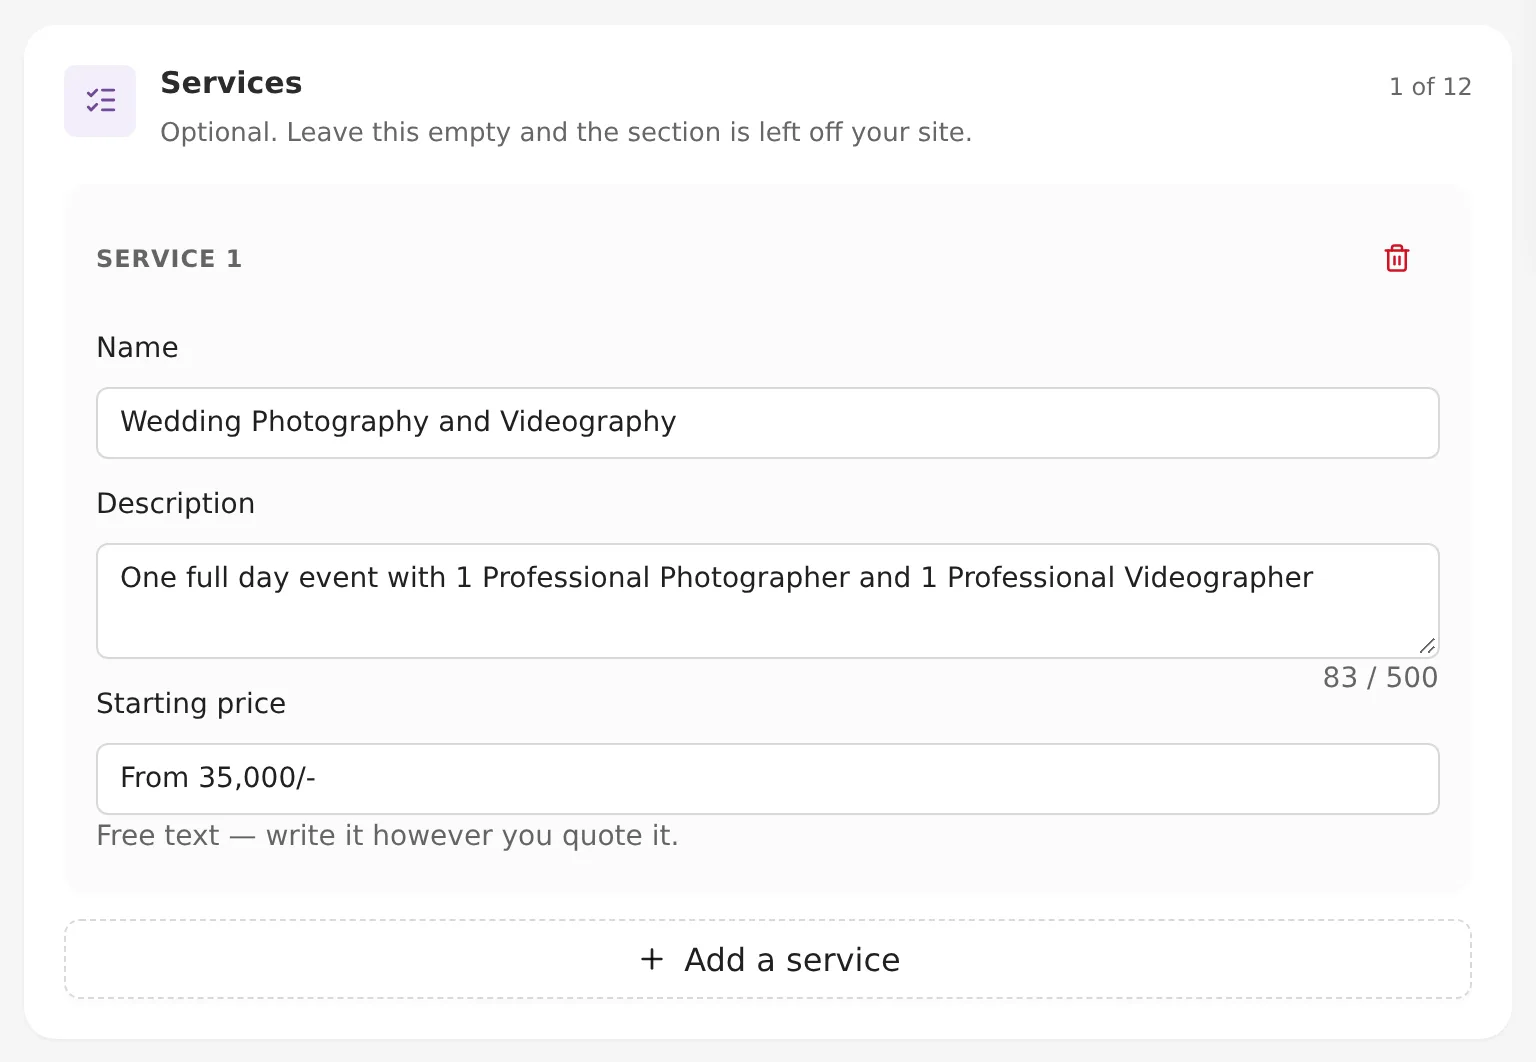
Click Add your first service, then Add a service for more. You can add up to 12. Each has a Name (80 characters), a Description (500 characters) and a Starting price. The price is free text, so you can write "From ₹25,000" or "On request".
Testimonials
Click Add your first testimonial. You can add up to 12. Each has What they said (600 characters), the Client name, Who they are (for example "Bride, Pune"), an optional photo and a star rating. Add only quotes your clients agreed to share.
Questions and answers
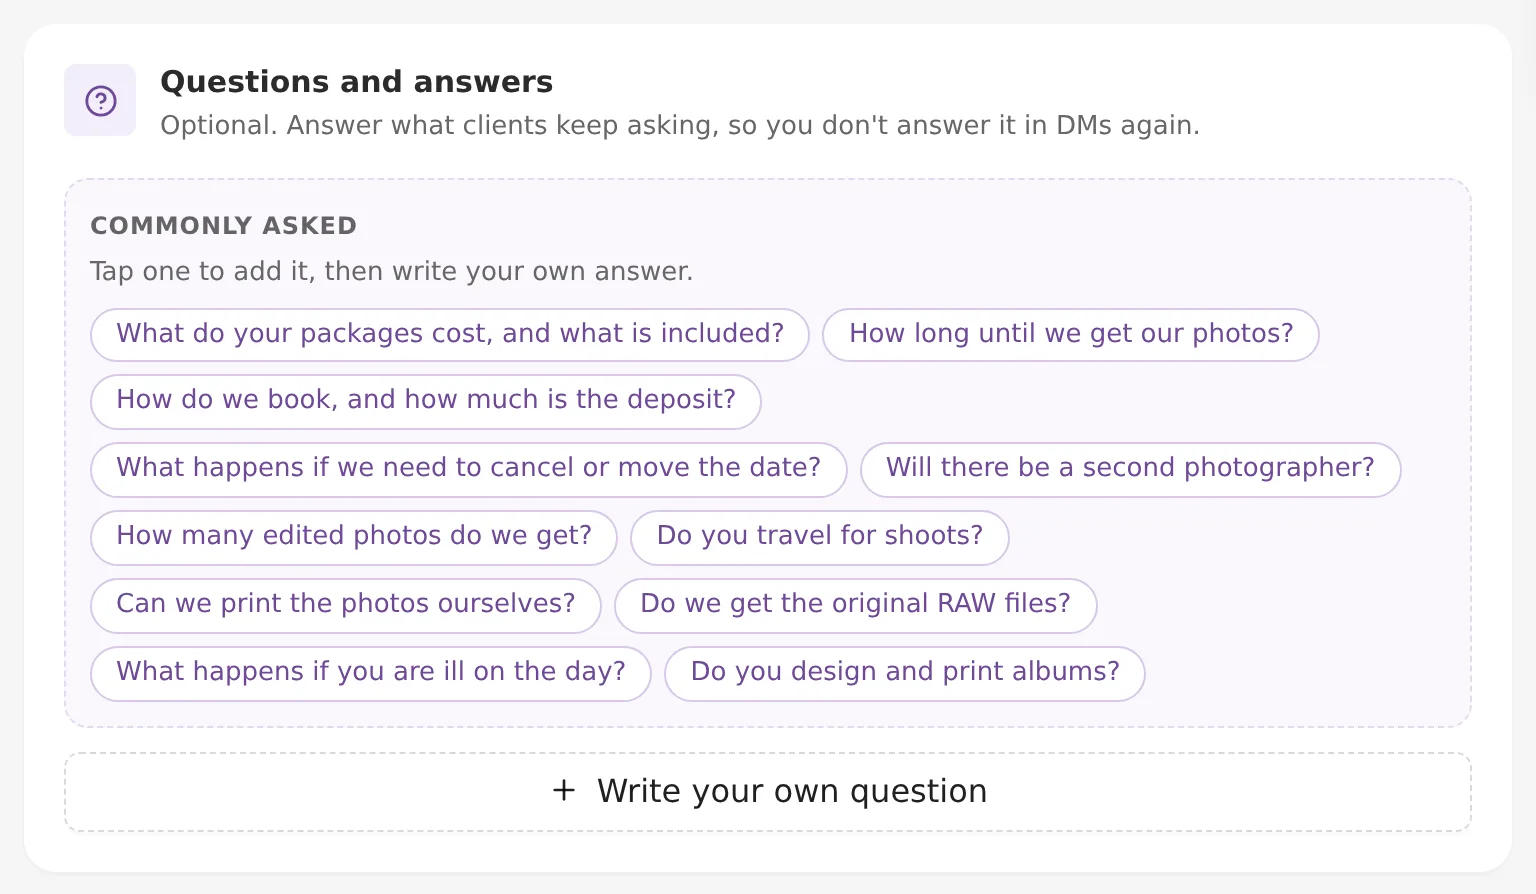
Tap any question in the Commonly asked list to add it, then write your answer. Or click Write your own question. You can add up to 12. A question can be 200 characters and an answer 1,200.
Contact, Location and Social
- Contact: phone, email and website. Empty fields use the ones on your profile.
- Location: address, city, state, postal code, country and a Google Maps link. This is optional. If you leave it blank, the site shows no address.
- Social: your WhatsApp number (with the country code), plus Instagram, Facebook, YouTube and other links. Click Add social link for each one. If you add none here, the links on your profile are used.
Step 4: choose which galleries show
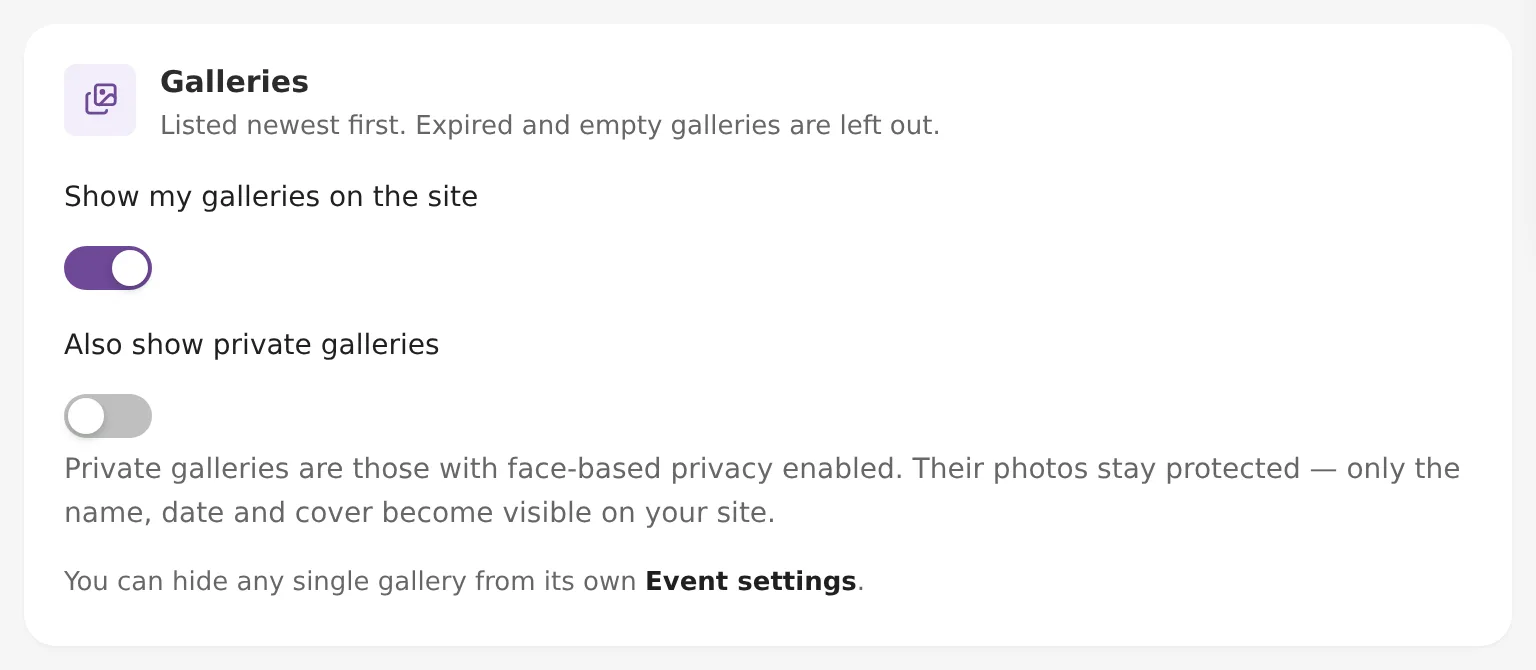
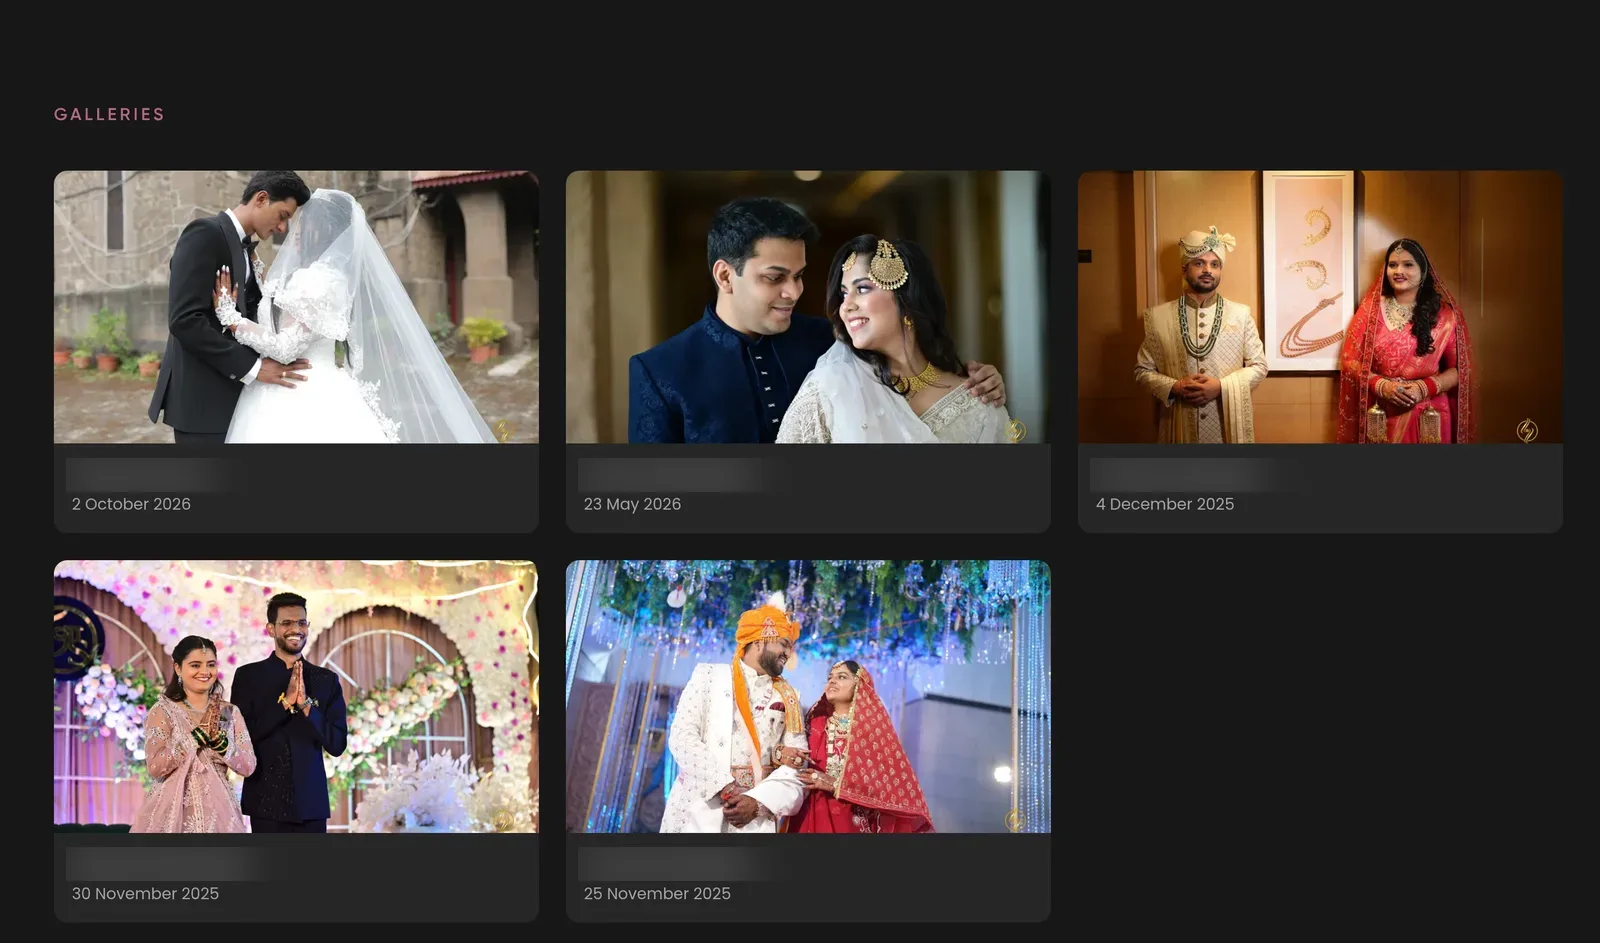
Your event galleries are listed on the site automatically, newest first. Expired and empty galleries are left out. There are two switches:
- Show my galleries on the site is on by default. Switch it off to show no galleries at all.
- Also show private galleries is off by default. Private galleries are events with face-based privacy turned on. If you switch this on, only their name, date and cover show on the site. The photos stay protected.
To hide a single event, change it in that event's settings:
- Open the event and go to its Settings.
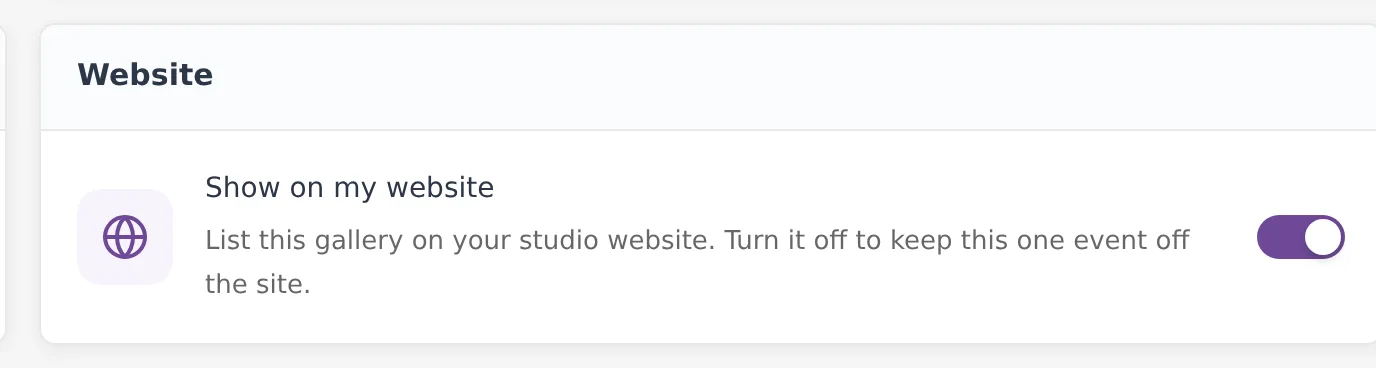
- In the Website card, switch off Show on my website.
See Event settings for the other options on that page.
Step 5: turn on enquiries
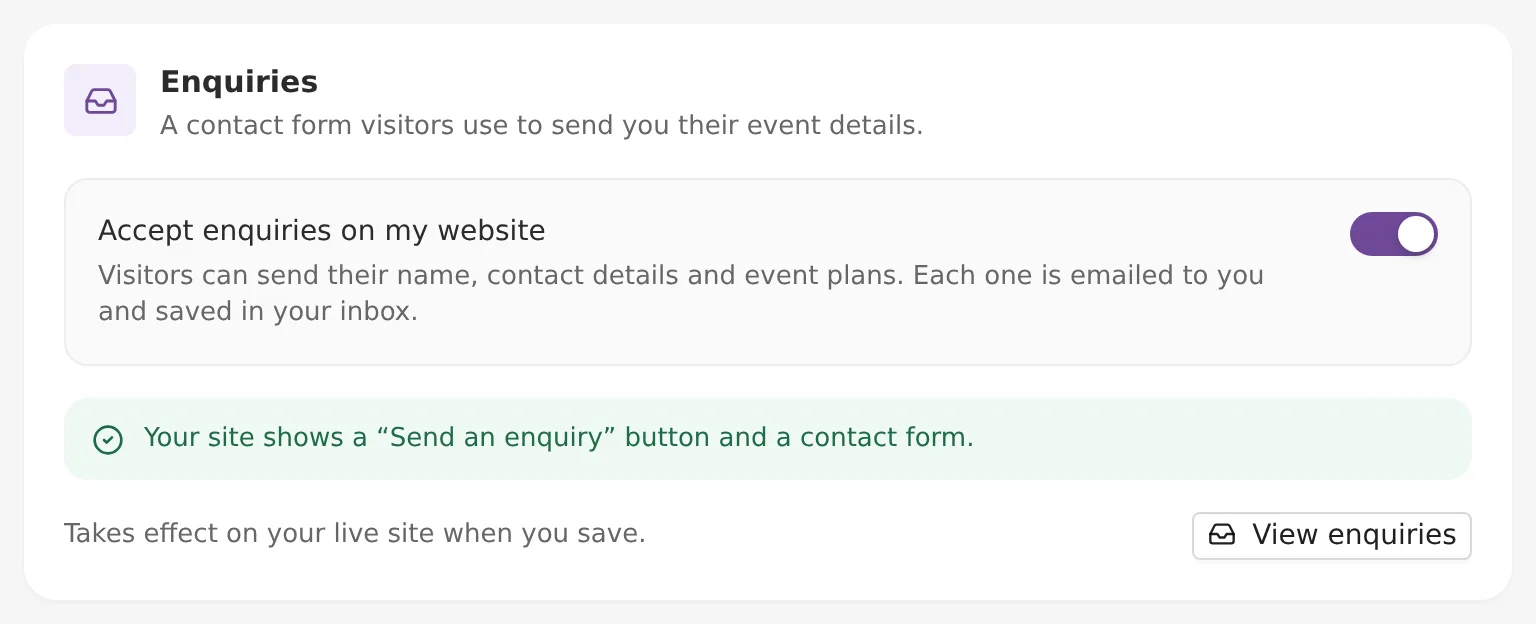
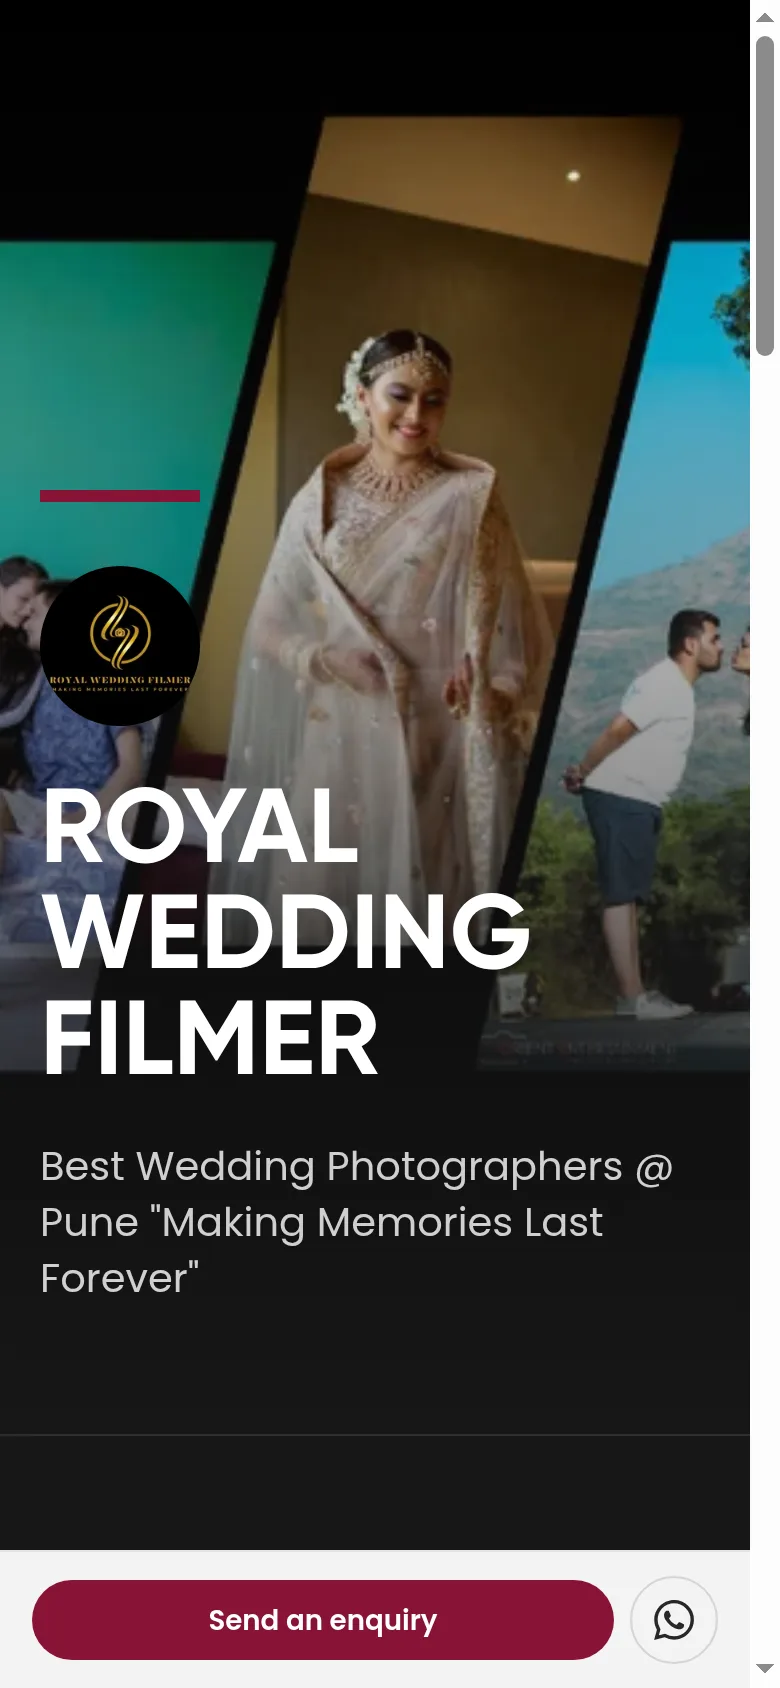
Switch on Accept enquiries on my website. Your site then shows a Send an enquiry button and a contact form. Visitors can send their name, contact details and event plans. Each enquiry is emailed to you and saved in your inbox. Switch it off to hide the button and the form. Like every other setting, it takes effect when you click Save.
Step 6: publish
- Check the preview on the right. Switch to the mobile view to see how it looks on a phone.
- Click Publish. Kamero asks Publish your website? and tells you anyone will be able to open your address. Publishing also saves your changes.
- Confirm. You see Your site is live and the status tag changes to Live.
After that, any change you make goes live when you click Save.
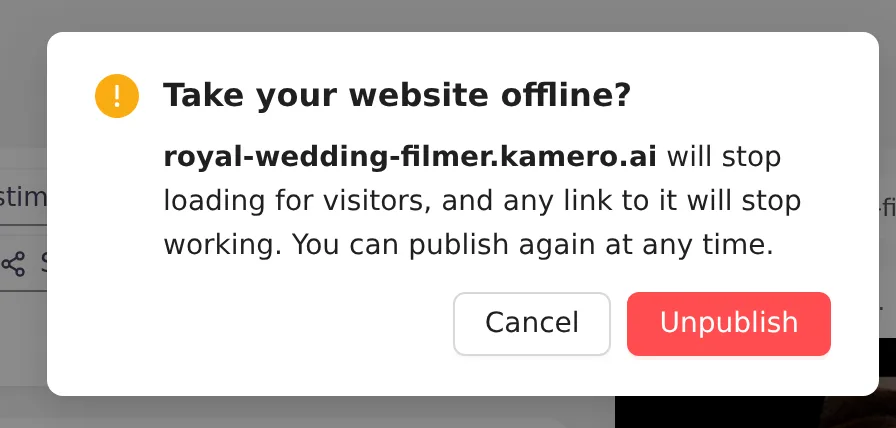
To take the site down, click Unpublish. Kamero warns you that the site will stop loading for visitors and that links to it will stop working. You can publish again at any time.
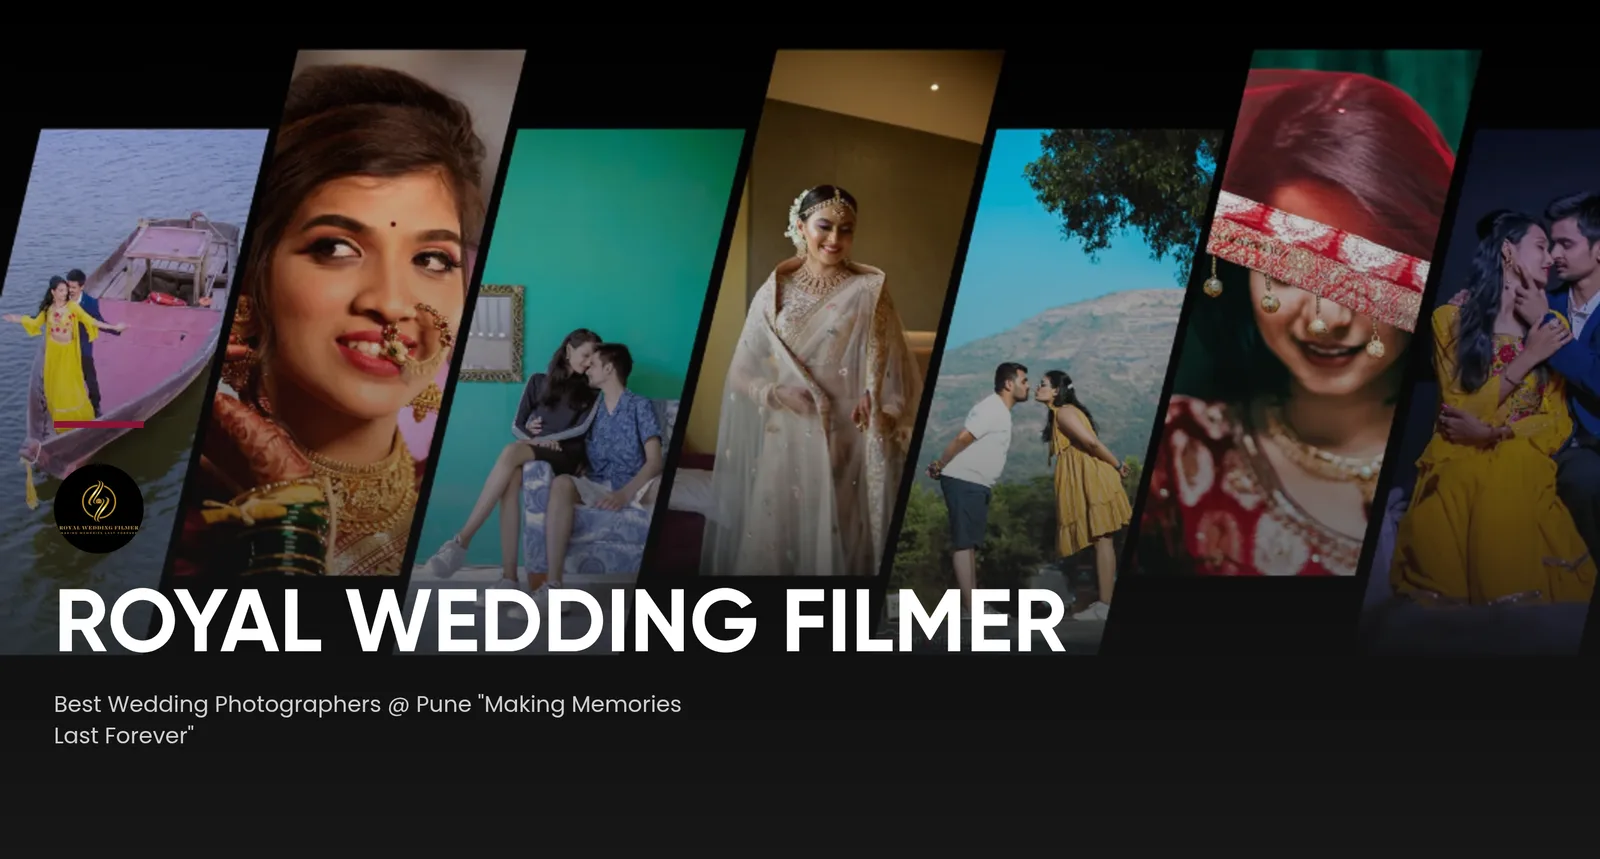
What visitors see
Your site opens at yourname.kamero.ai. With the Bold template, it starts with your cover photo, logo, business name and tagline.
Below that come your About text, your galleries, your services, questions and testimonials. Each gallery card shows the event name and date. Visitors click it to open the gallery.
At the bottom, Get in touch shows your phone, email, WhatsApp, website, address and social links, with Send an enquiry and WhatsApp buttons. The site works on phones too.
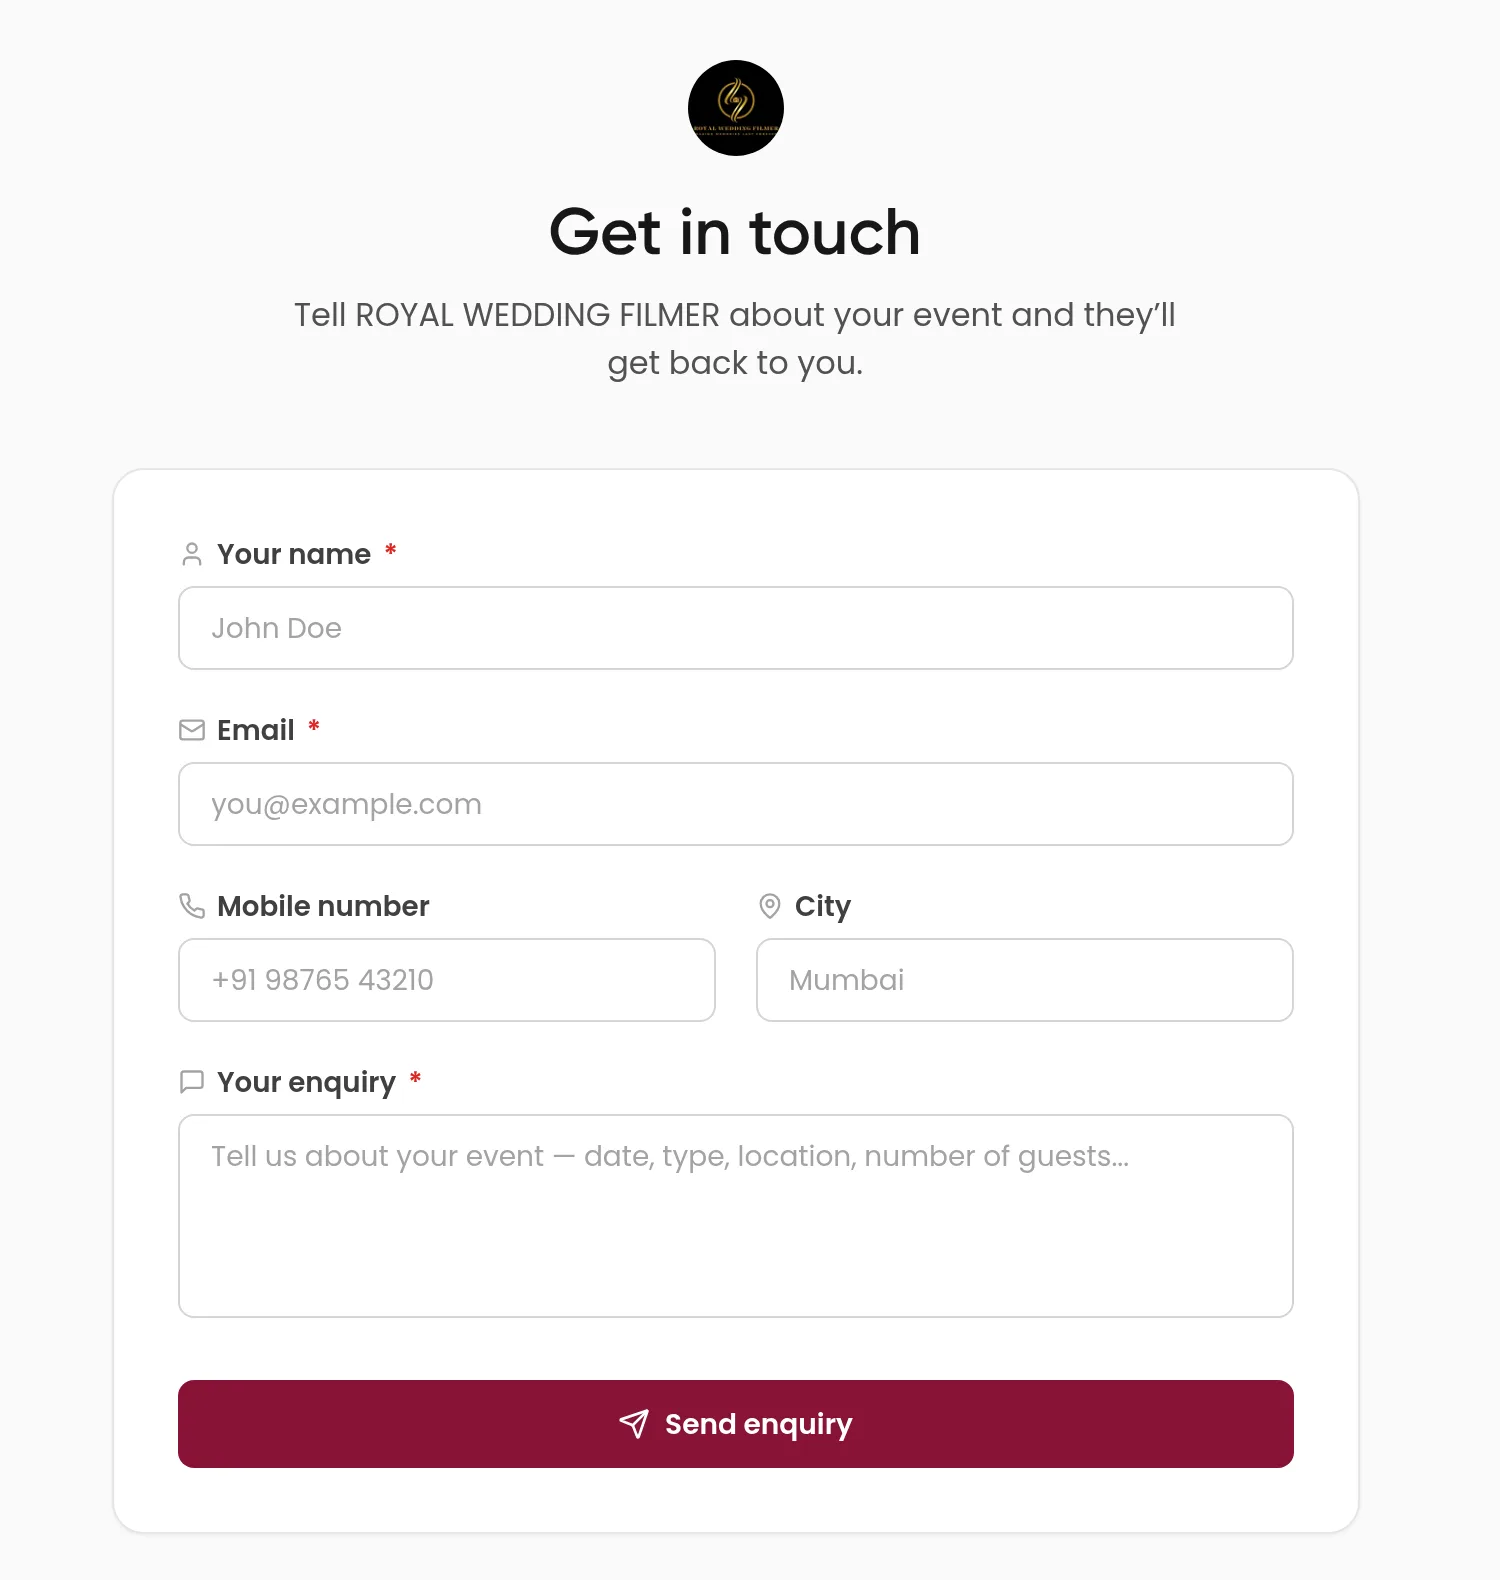
Send an enquiry opens a contact form with Your name, Email, Mobile number, City and Your enquiry. Name, email and enquiry are required. The visitor clicks Send enquiry to send it to you.
Answer enquiries
Click Enquiries at the top of the Your website page, or View enquiries in the Enquiries section. The page lists everything sent through your site's contact form, newest first.
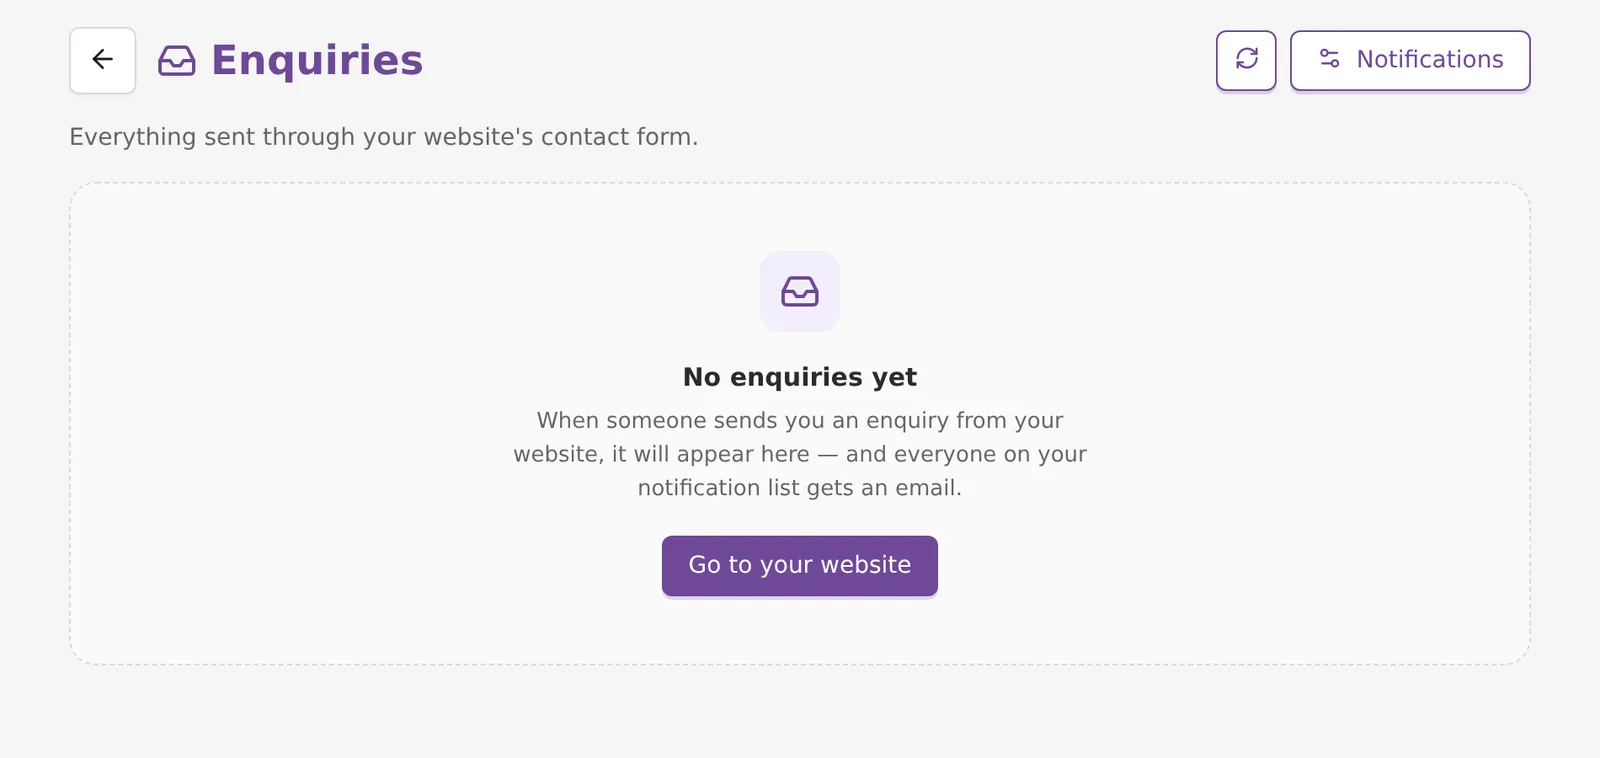
- Use the All, New and Handled filters to sort them.
- Each enquiry shows the sender's name, where it came from (Website or From your app), when it arrived, their city and their message.
- Use the Email, Phone or WhatsApp buttons to reply.
- Click Mark handled once you have replied, so it moves out of New.
- Click Add note to keep a private note, for example "Quoted ₹45,000, following up Monday". Visitors never see notes.
- Click the refresh button to check for new enquiries without reloading the page.
Choose who gets enquiry emails
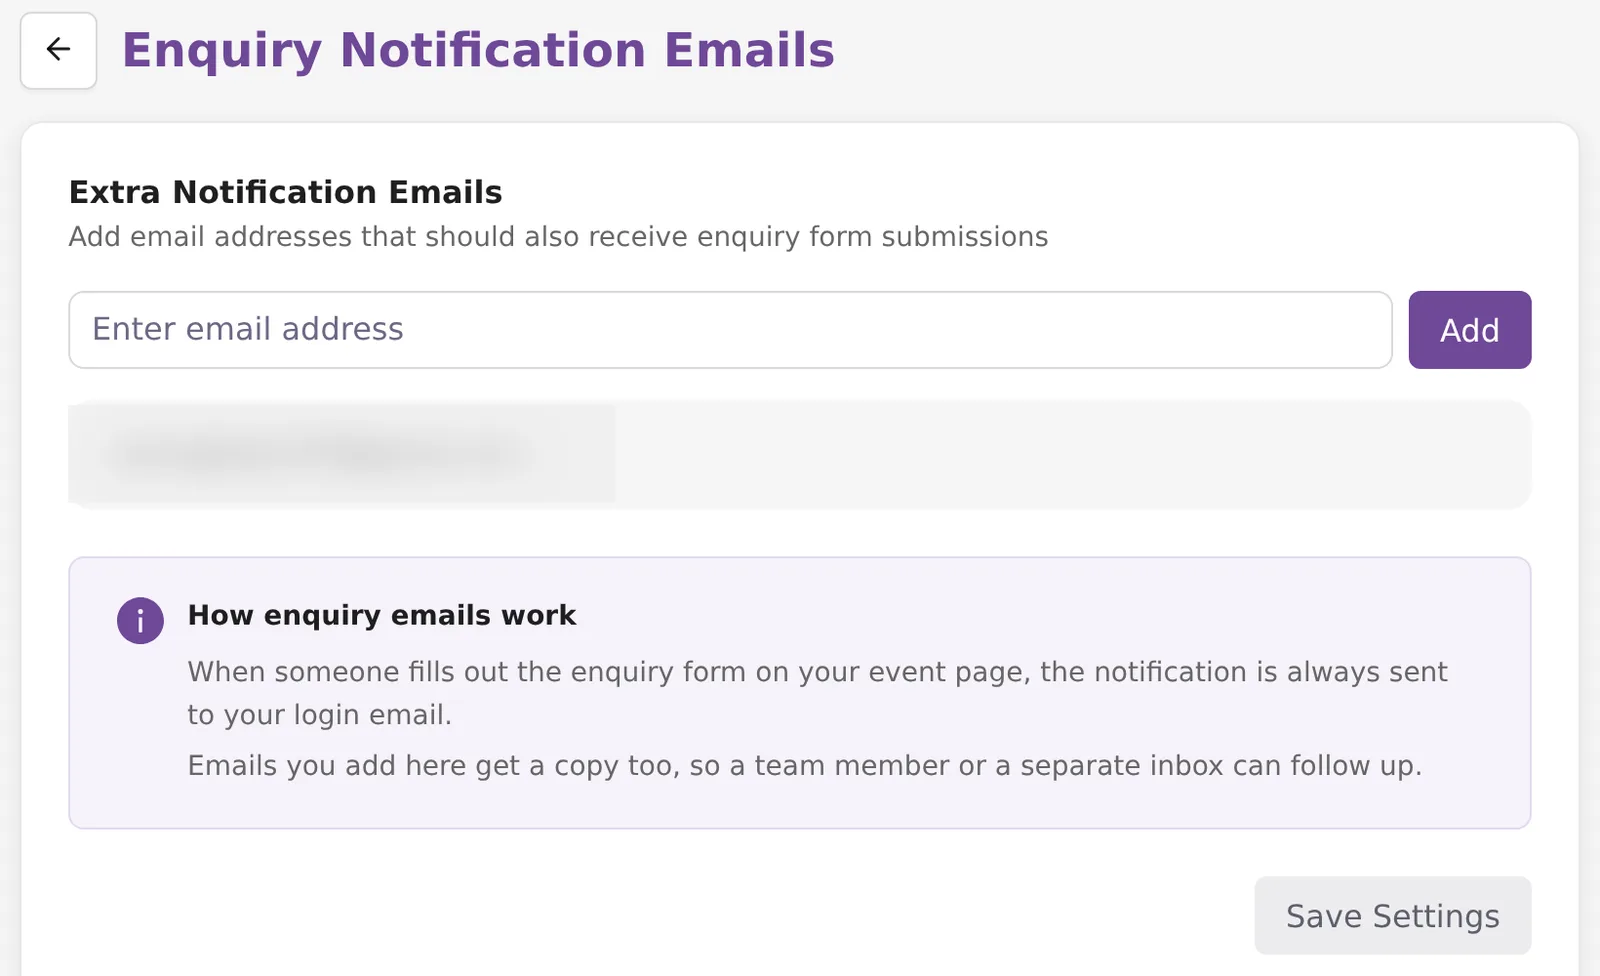
Every enquiry is emailed to your login email. To send copies to other people, click Notifications on the Enquiries page. On Enquiry Notification Emails, type an address, click Add, then click Save Settings.
Common problems
- The Publish button asks for an address. Reserve a web address in Step 1 first.
- An event is missing from the site. Check that it has photos, that it has not expired, and that Show on my website is on in its settings. If it uses face-based privacy, also turn on Also show private galleries.
- The site shows old details. Click Save, then reload the site. Remember that empty fields use your profile, so the old details may come from there.
- No Send an enquiry button. Switch on Accept enquiries on my website and click Save.
Frequently asked questions
Does the website cost anything?
No. The website and its yourname.kamero.ai address are free on every Kamero account. You only pay if you want it on your own domain, such as yourbrand.com. That is the Custom domain package.
Do I have to fill in every section?
No. Most fields fall back to your profile, so a new site already has your business name, logo, cover photo, phone and email. Sections you leave empty, such as Services, Testimonials or Location, are left off the site.
How do I keep one event off my website?
Open that event, go to Settings and switch off Show on my website in the Website card. The rest of your galleries stay listed.
Will my private galleries show up?
Not by default. Turn on Also show private galleries in the Galleries section if you want them listed. Only the name, date and cover show on the site. The photos stay protected by face search.
What happens to old links if I change my web address?
The old address keeps redirecting to the new one. Kamero keeps your last 5 addresses redirecting. After that, the oldest one stops working and another studio can claim it.
Where do enquiries go?
Each enquiry is saved under Enquiries on the Your website page and emailed to your login email. You can add more emails under Notifications, for example a team member or a separate inbox.
I changed something but my live site looks the same. Why?
Changes go live only when you click Save. Check for the Unsaved changes note next to the Save button, click Save, then reload your site.
More Sharing & website tutorials
Try it in your dashboard
Sign in to Kamero and follow along. Questions? Raise a support ticket from the dashboard.