Event settings: what every option does
Each event has its own Settings page. It controls who can see the photos, whether guests can download or upload them, who else manages the event, and how the gallery looks. This guide goes through every card in the order they appear, with the default and what guests see.
Where to find event settings
- Click Events in the top menu and open the event.
- Click the Settings (gear) icon in the event toolbar.
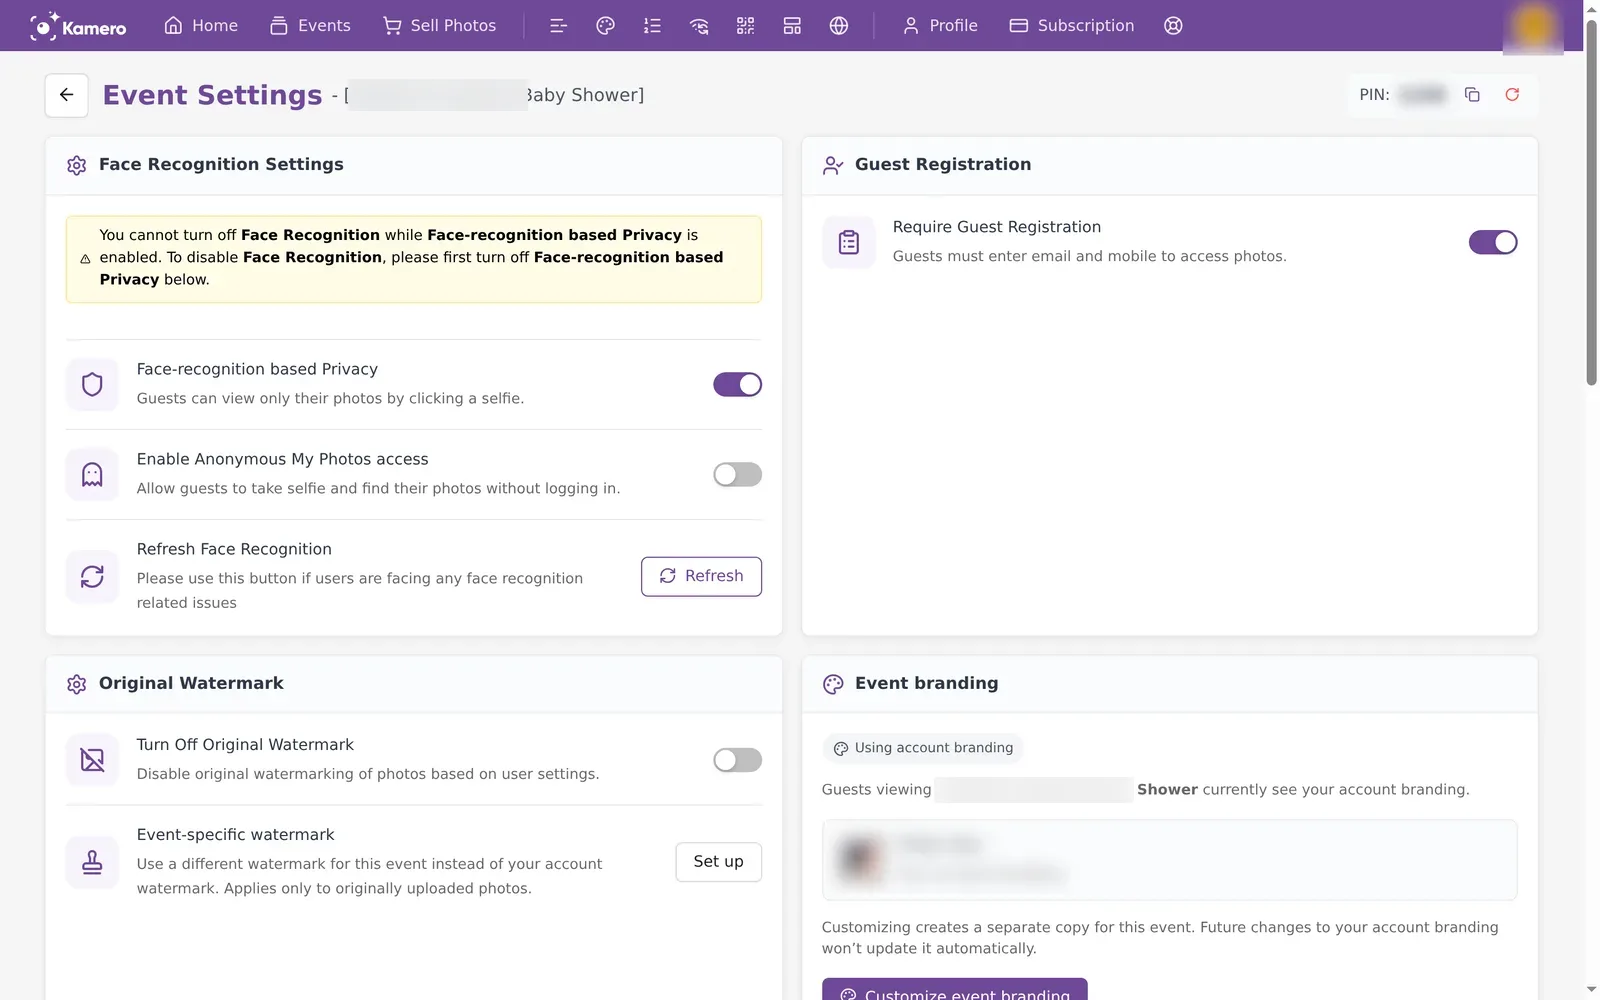
The page title shows the event name. At the top right you see the event PIN with a copy button and a reset button. Every switch saves straight away and shows "Setting updated successfully".
Reset the event PIN
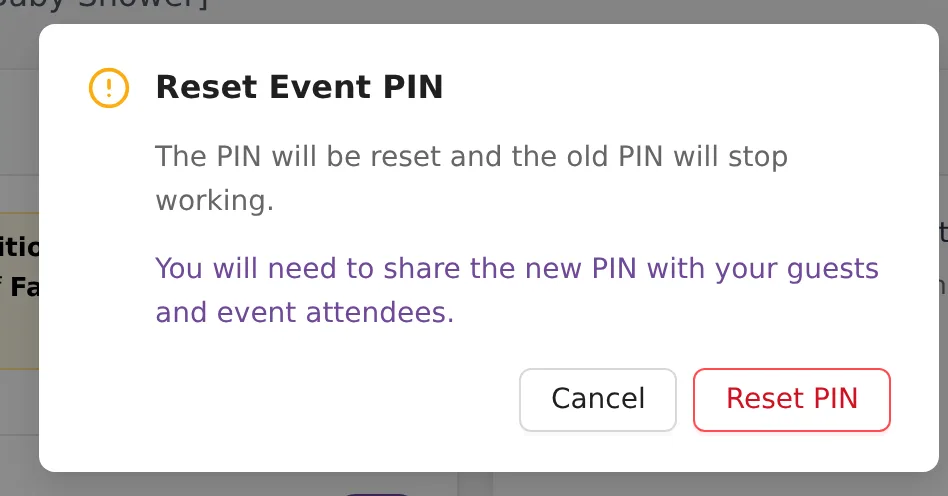
Guests do not need the PIN to open a public event. The link, QR code or event ID is enough. The PIN is for downloading all photos from the web gallery, and for seeing every photo when Face-recognition based Privacy is on. If the PIN has been shared with the wrong people, click the reset button next to it and confirm with Reset PIN. The old PIN stops working at once, so share the new one with the people who should have it. See share an event for more on the PIN.
Face Recognition Settings
This card appears only on events that have face recognition.
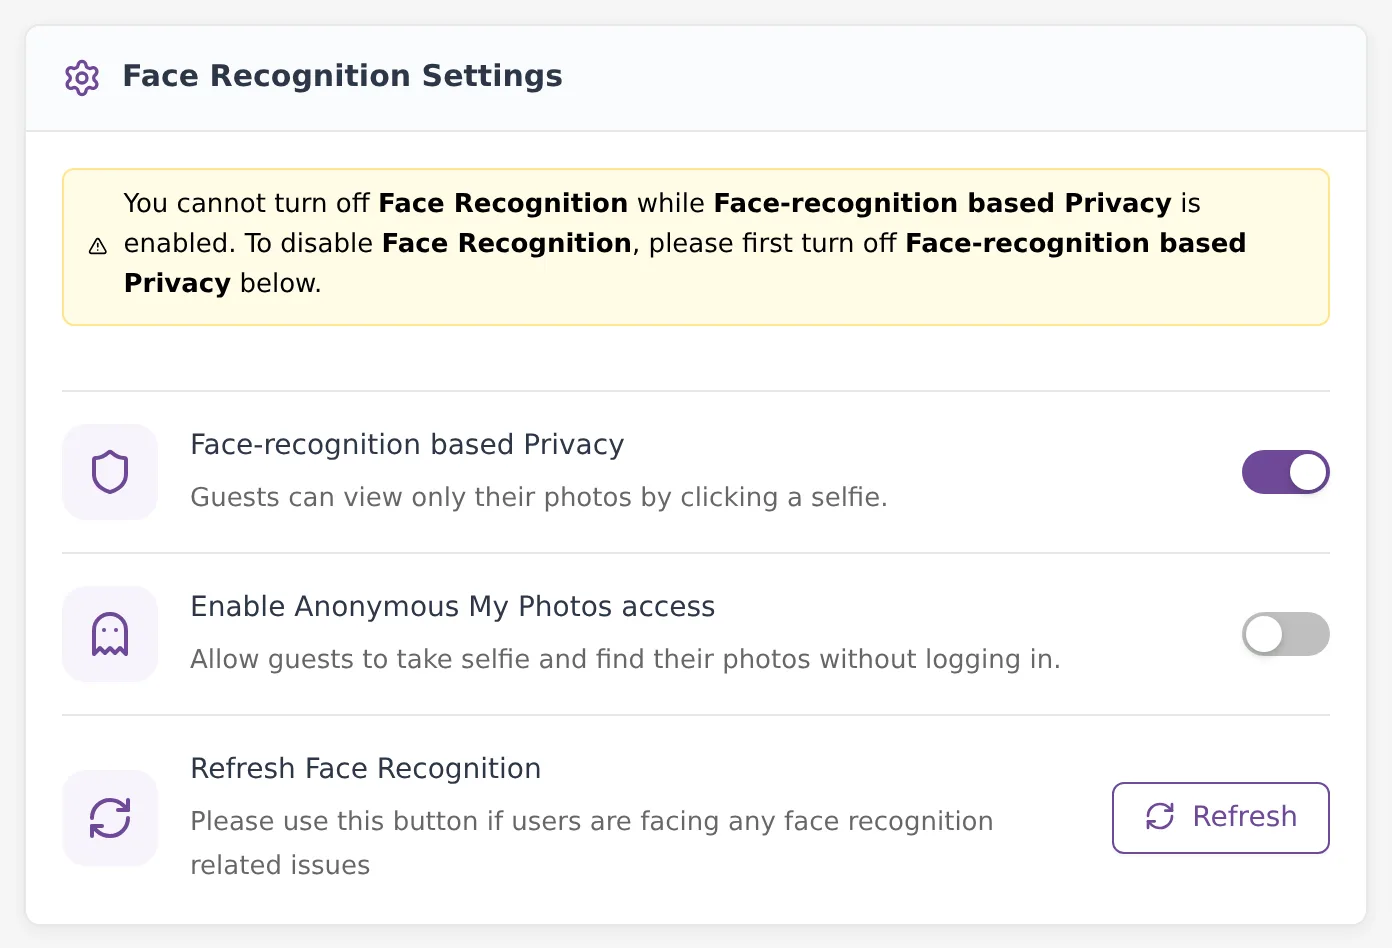
- Face Recognition (on): guests can find their photos with a selfie. You can turn it off and back on at any time, but not while Face-recognition based Privacy is on. A yellow note tells you this.
- Face-recognition based Privacy (off by default): guests see only the photos they appear in, after taking a selfie. When this is on, the card shows a PIN to view All Photos with a COPY button. Give it to the people who should see every photo.
- Enable Anonymous My Photos access (off by default): guests can take a selfie and find their photos without logging in.
- Refresh Face Recognition: click Refresh if guests report that the selfie search is not finding their photos.
Guest Registration
Require Guest Registration (off by default): guests must enter their email and mobile number before they can see the photos. When it is on, a Guests Data button appears on the event page to download the list. See event videos, views and guest list.
Original Watermark
Sell Photos events do not have this card.
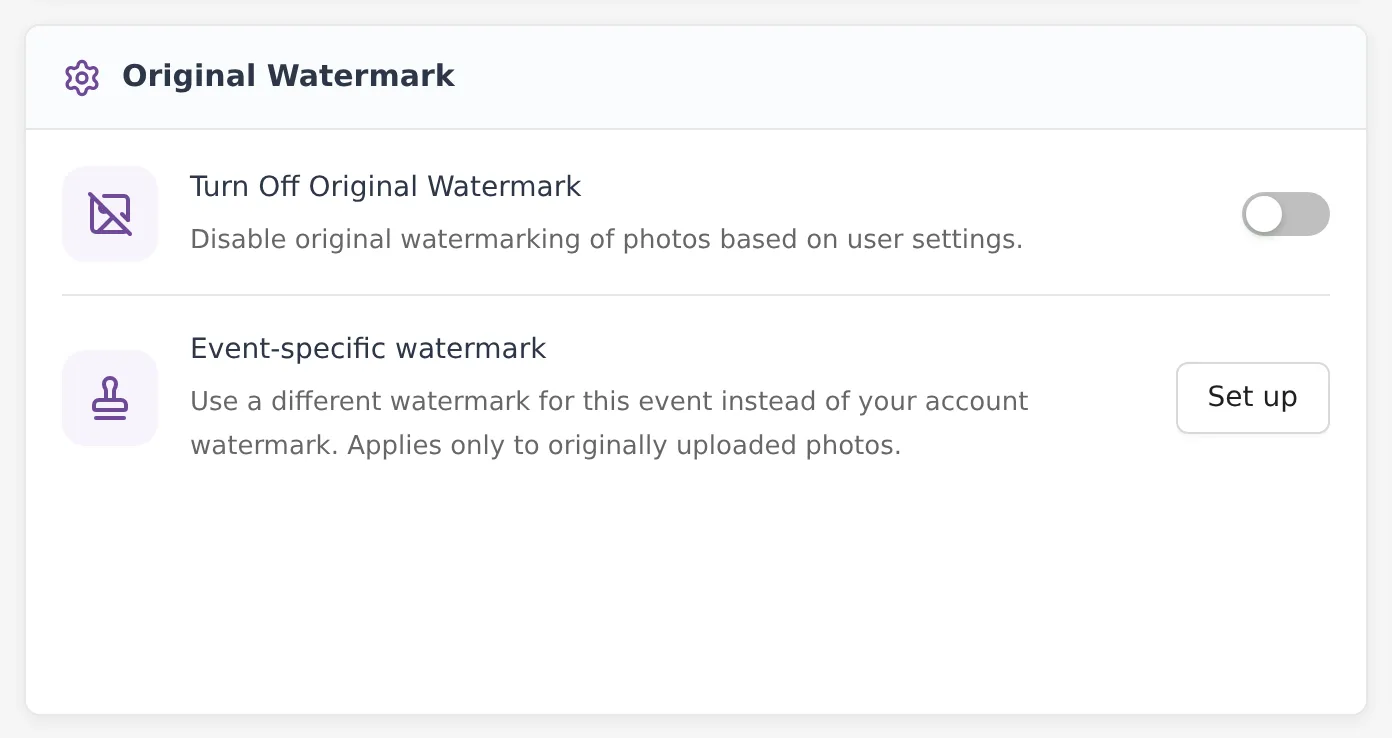
- Turn Off Original Watermark (off by default): stops your watermark from being added to the original photos of this event.
- Event-specific watermark: click Set up to use a different watermark for this event instead of your account watermark. It applies only to originally uploaded photos. See original watermark.
Event branding
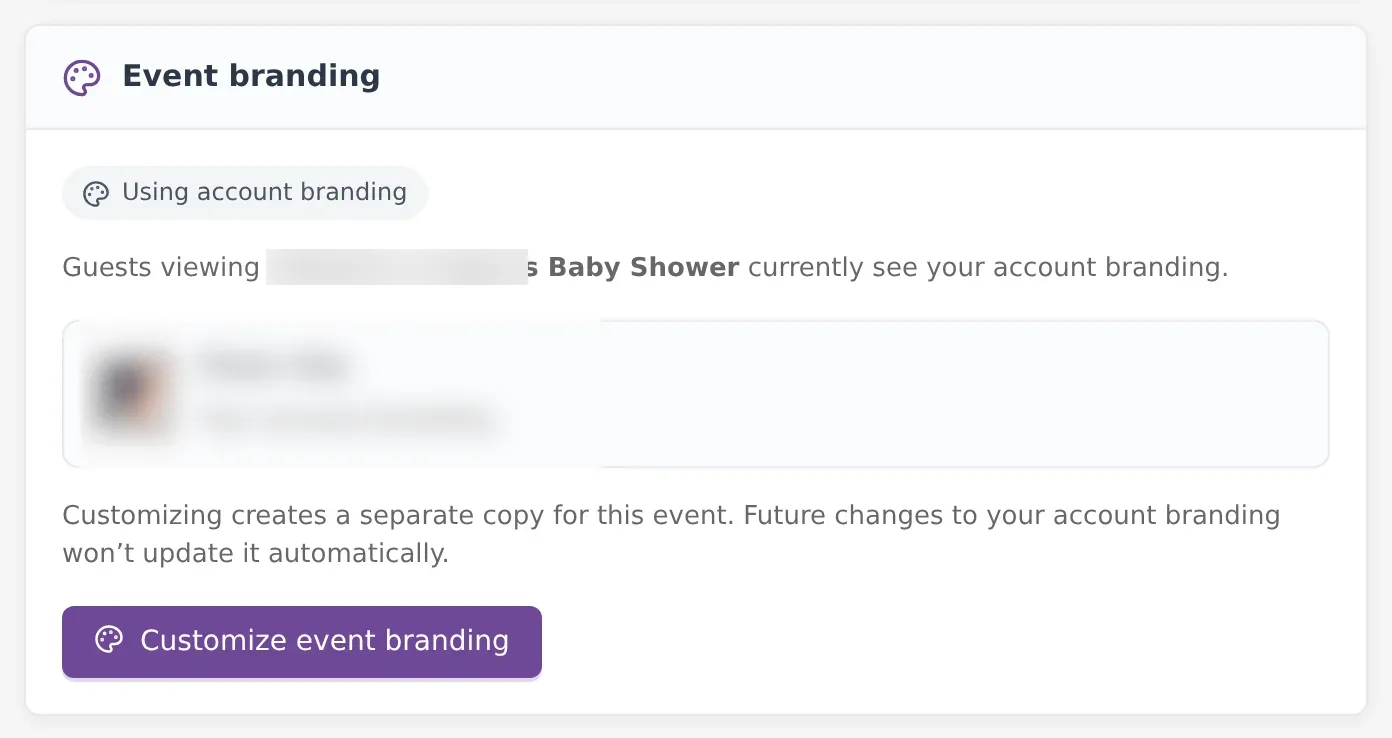
By default the event uses your account branding. Click Customize event branding to give this one event its own logo, colours and contact details. Customizing makes a separate copy, so later changes to your account branding do not reach this event. Your account branding needs a company name first. See event branding for the full steps.
Guest Uploads
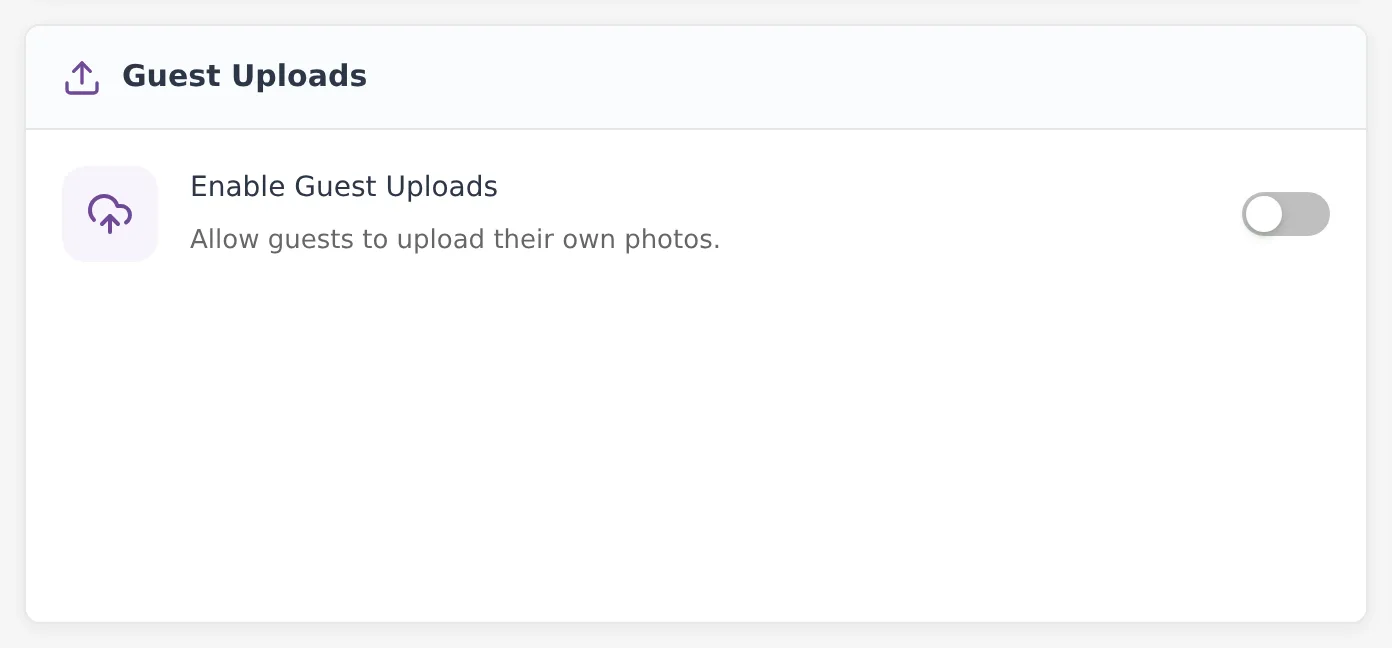
Enable Guest Uploads (off by default) lets guests upload their own photos to the event from their phones.
- Turn on the switch.
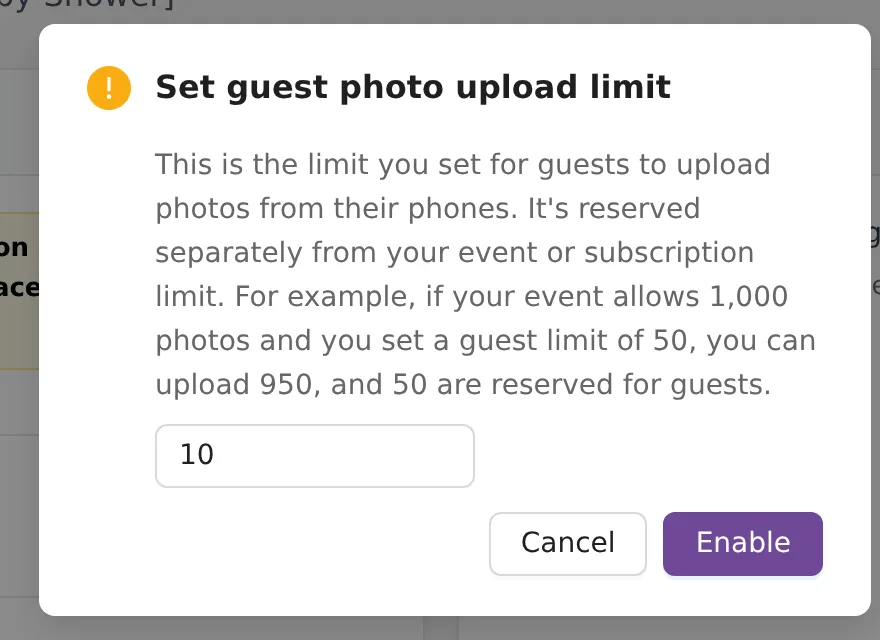
- In "Set guest photo upload limit", enter how many photos guests can upload in total. The default is 10.
- Click Enable.
The guest limit is reserved out of your event or subscription limit. With a 1,000-photo event and a guest limit of 50, you can upload 950 and 50 are kept for guests. Photos that guests upload go to the Guest Uploads album on the event page. See organise event albums and photos.
Once guest uploads are on, the card shows two more settings:
- Guest photo upload limit: change the number and press Enter or click outside the box to save. It must be more than the photos guests have already uploaded, and it must fit in the space left on the event.
- Watermark Guest Photos (off by default): adds your watermark to photos uploaded by guests.
When you turn guest uploads off, a confirmation appears. The limit is set to the number of guest photos already uploaded. To turn uploads on again later, set a limit higher than that number.
Edit Event Details
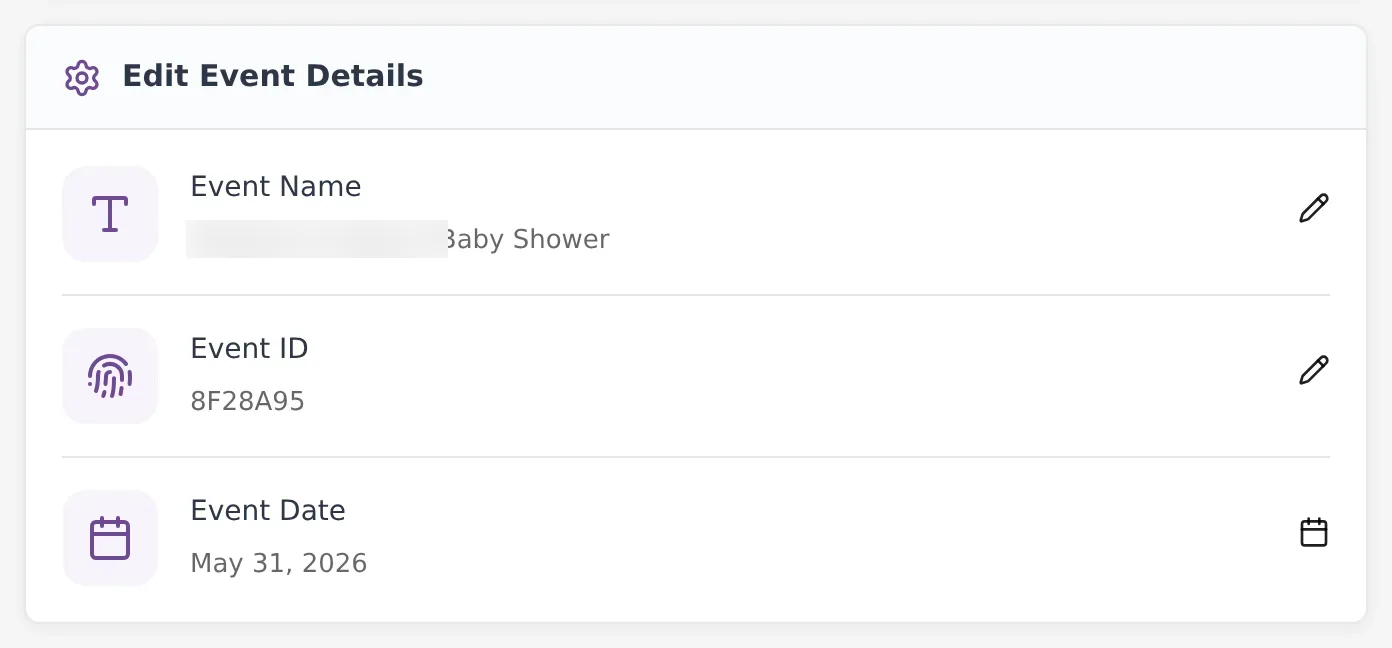
Click the pencil or calendar icon next to a field to change it.
- Event Name: up to 35 characters.
- Event ID: letters, numbers, @ and - only, no spaces, up to 50 characters. The ID is part of the event link and QR code. Changing it gives the event a new link and QR code, and the old ones stop working.
- Event Date: the date shown on the event.
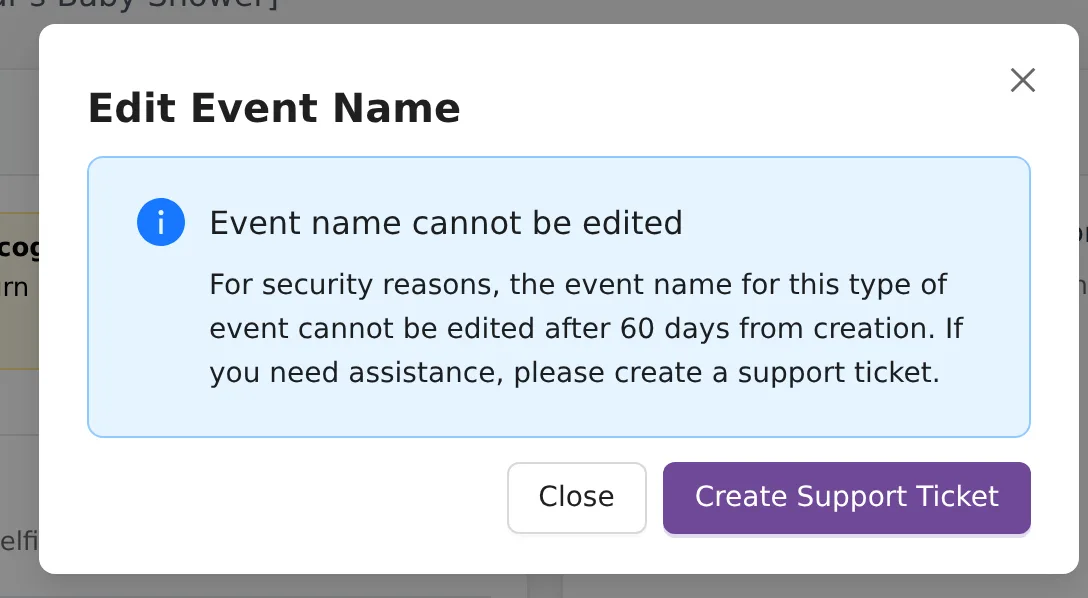
For pack events, the name and ID cannot be changed 60 days after the event was created. The dialog then says the field cannot be edited and offers Create Support Ticket or Contact Support. Subscription events can be edited at any time.
Download Options
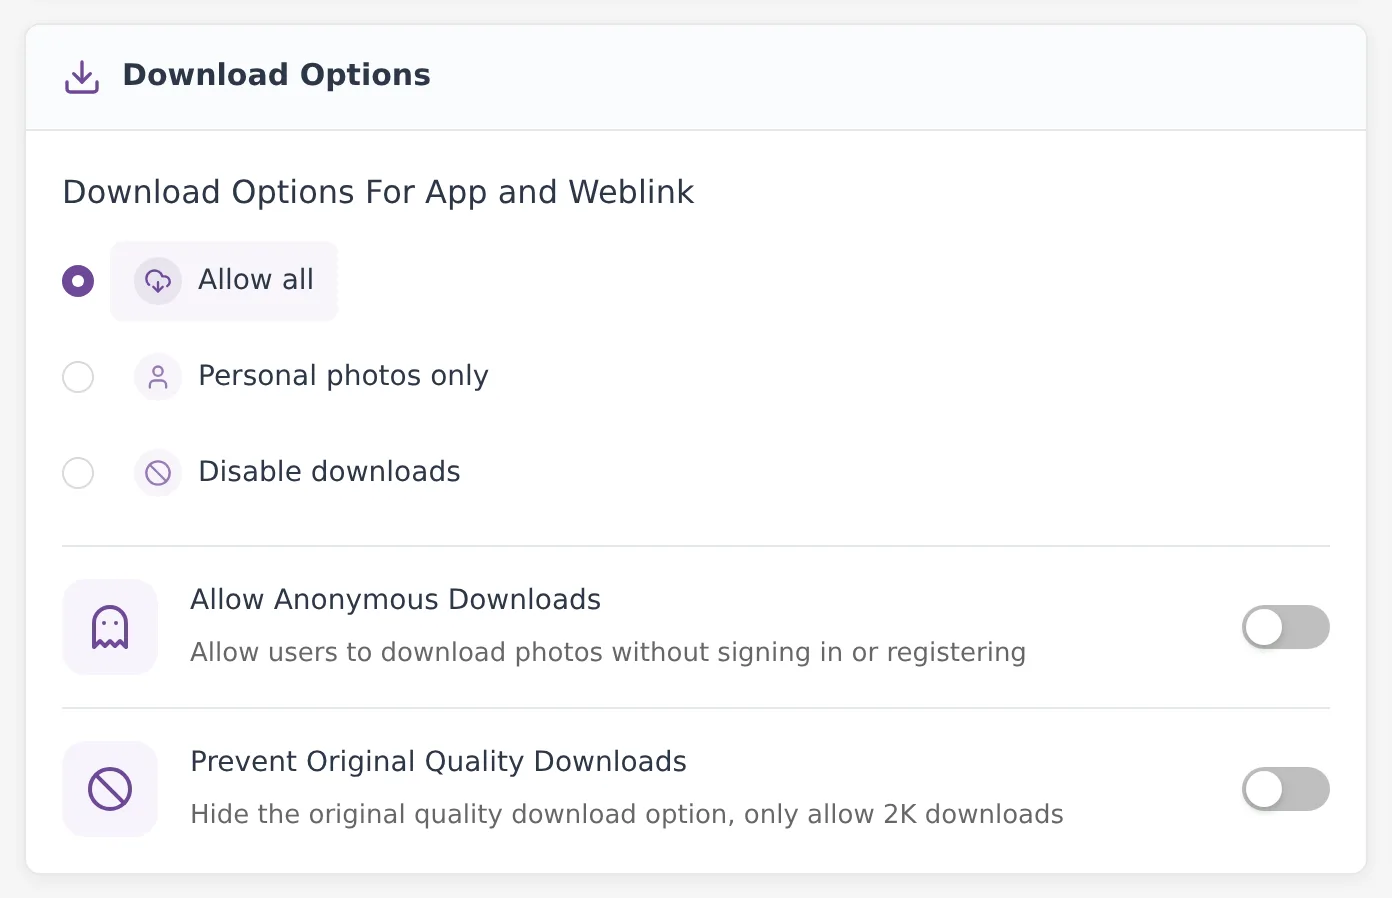
Under "Download Options For App and Weblink", choose what guests can download in the app and the web gallery. Sell Photos events do not have this card.
- Allow all (default): guests can download any photo.
- Personal photos only: guests can download only the photos found by their selfie.
- Disable downloads: guests can view photos but cannot download them.
Unless downloads are disabled, two more switches appear:
- Allow Anonymous Downloads (off by default): guests can download without signing in or registering.
- Prevent Original Quality Downloads (off by default): hides the original quality option, so guests can download only 2K copies.
Download All Photos
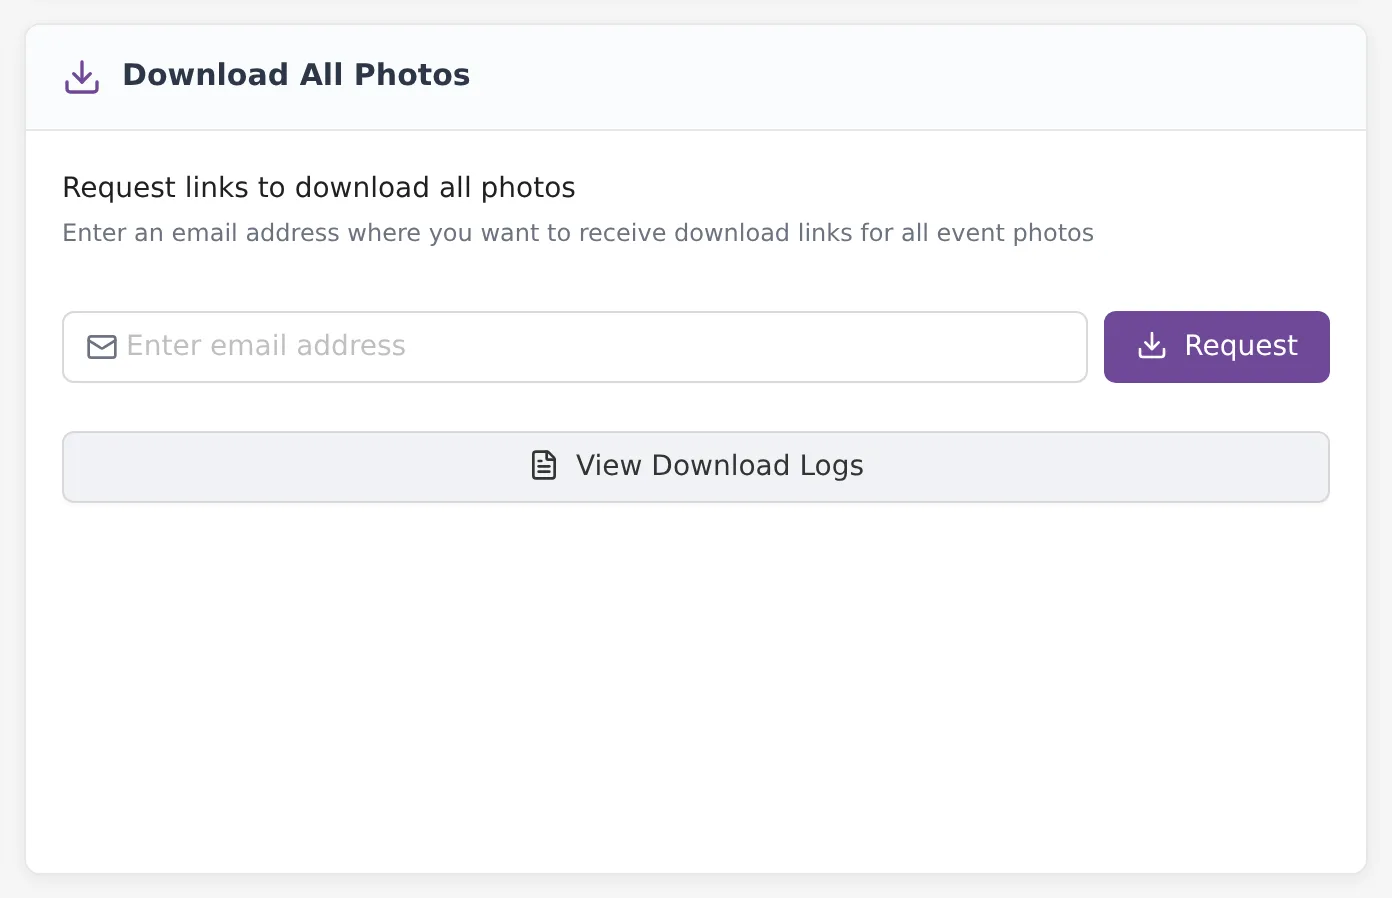
Use this to get every photo of the event as zip files, for example to hand them to your client. Sell Photos events do not have this card.
- Enter the email address that should receive the links.
- Click Request.
- The download links arrive by email within 30 minutes. You get one zip file per album. Download them as soon as the email arrives, because the links expire.
Only one download request can run for an event at a time.
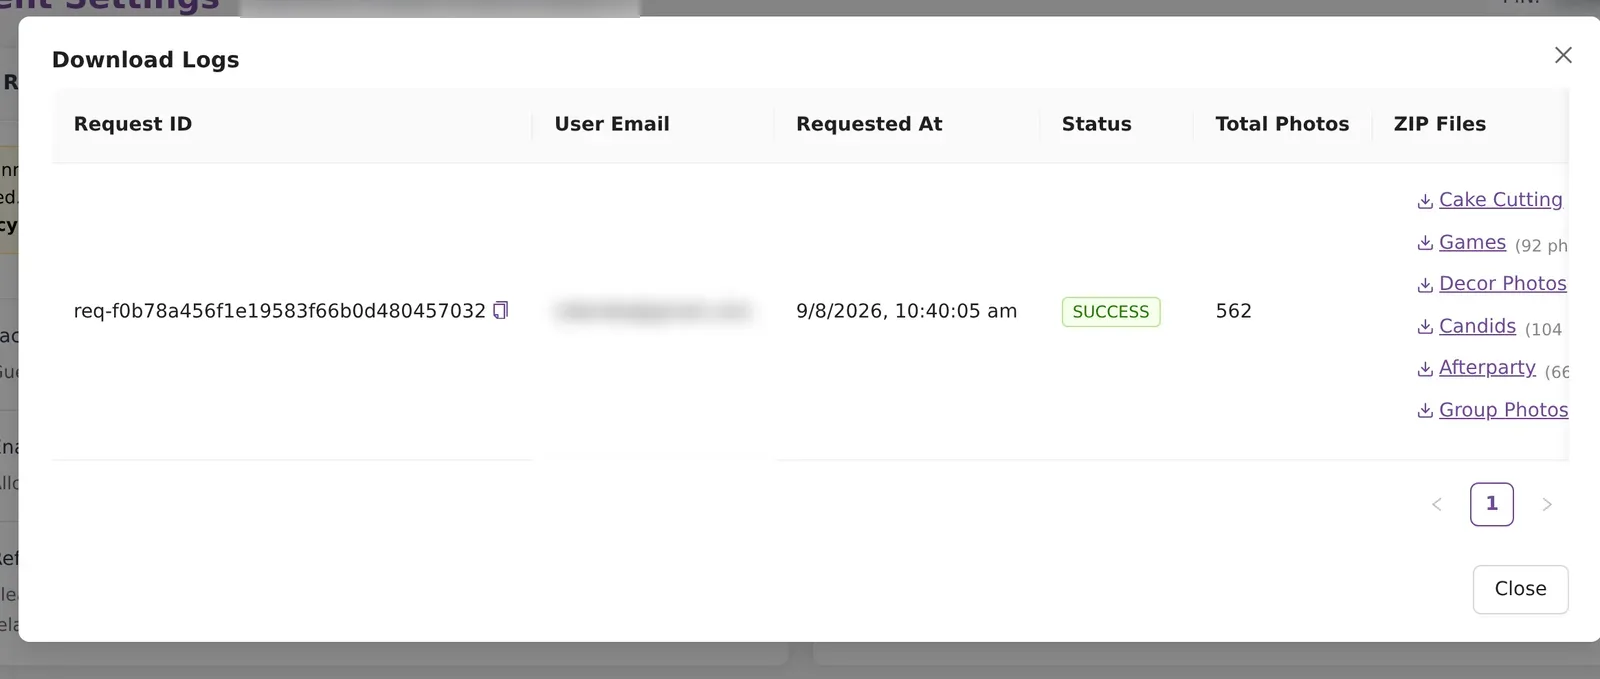
Click View Download Logs to see past requests: the request ID, the email, when it was requested, its status (success, failed or cached), the number of photos and the zip files.
Web Gallery Settings
Skip App Download Landing Page (off by default): guests who open the event link go straight to the gallery, without the page that asks them to download the app.
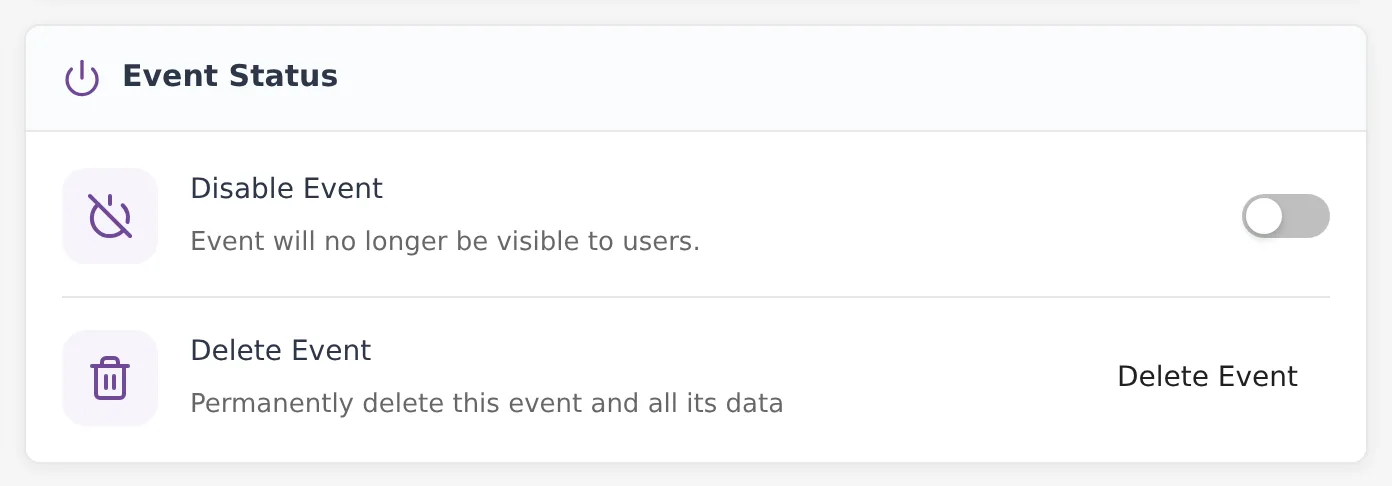
Event Status
- Disable Event (off by default): the event is no longer visible to guests. The photos stay, and you can turn the event back on.
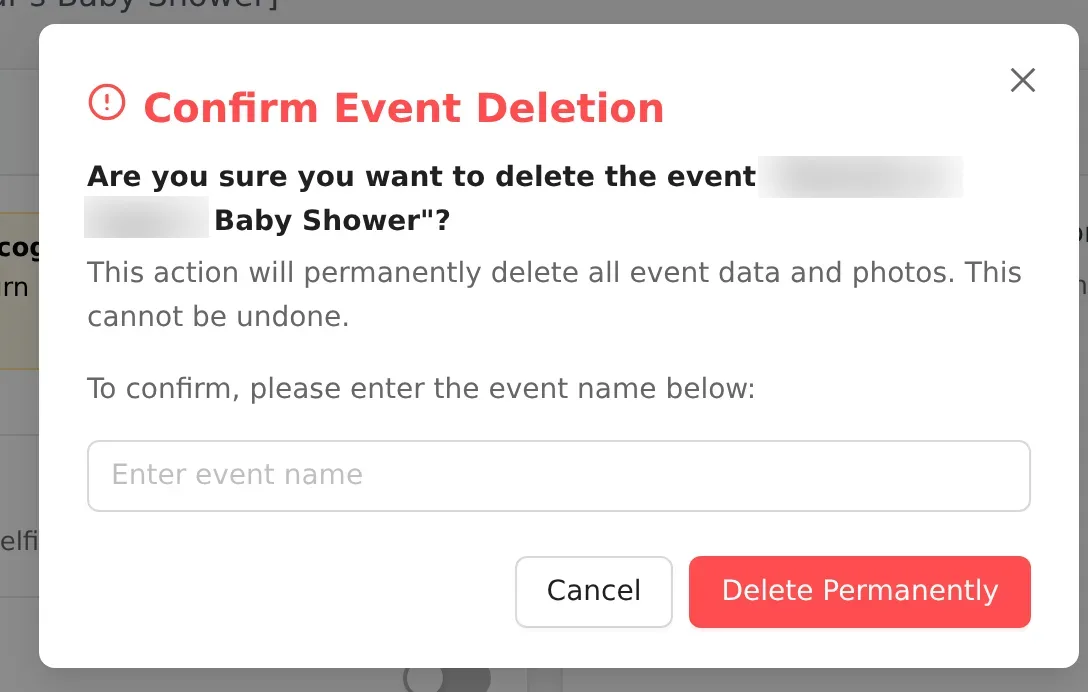
- Delete Event: removes the event and all its photos permanently. In "Confirm Event Deletion", type the event name and click Delete Permanently. This cannot be undone.
Event Hosts
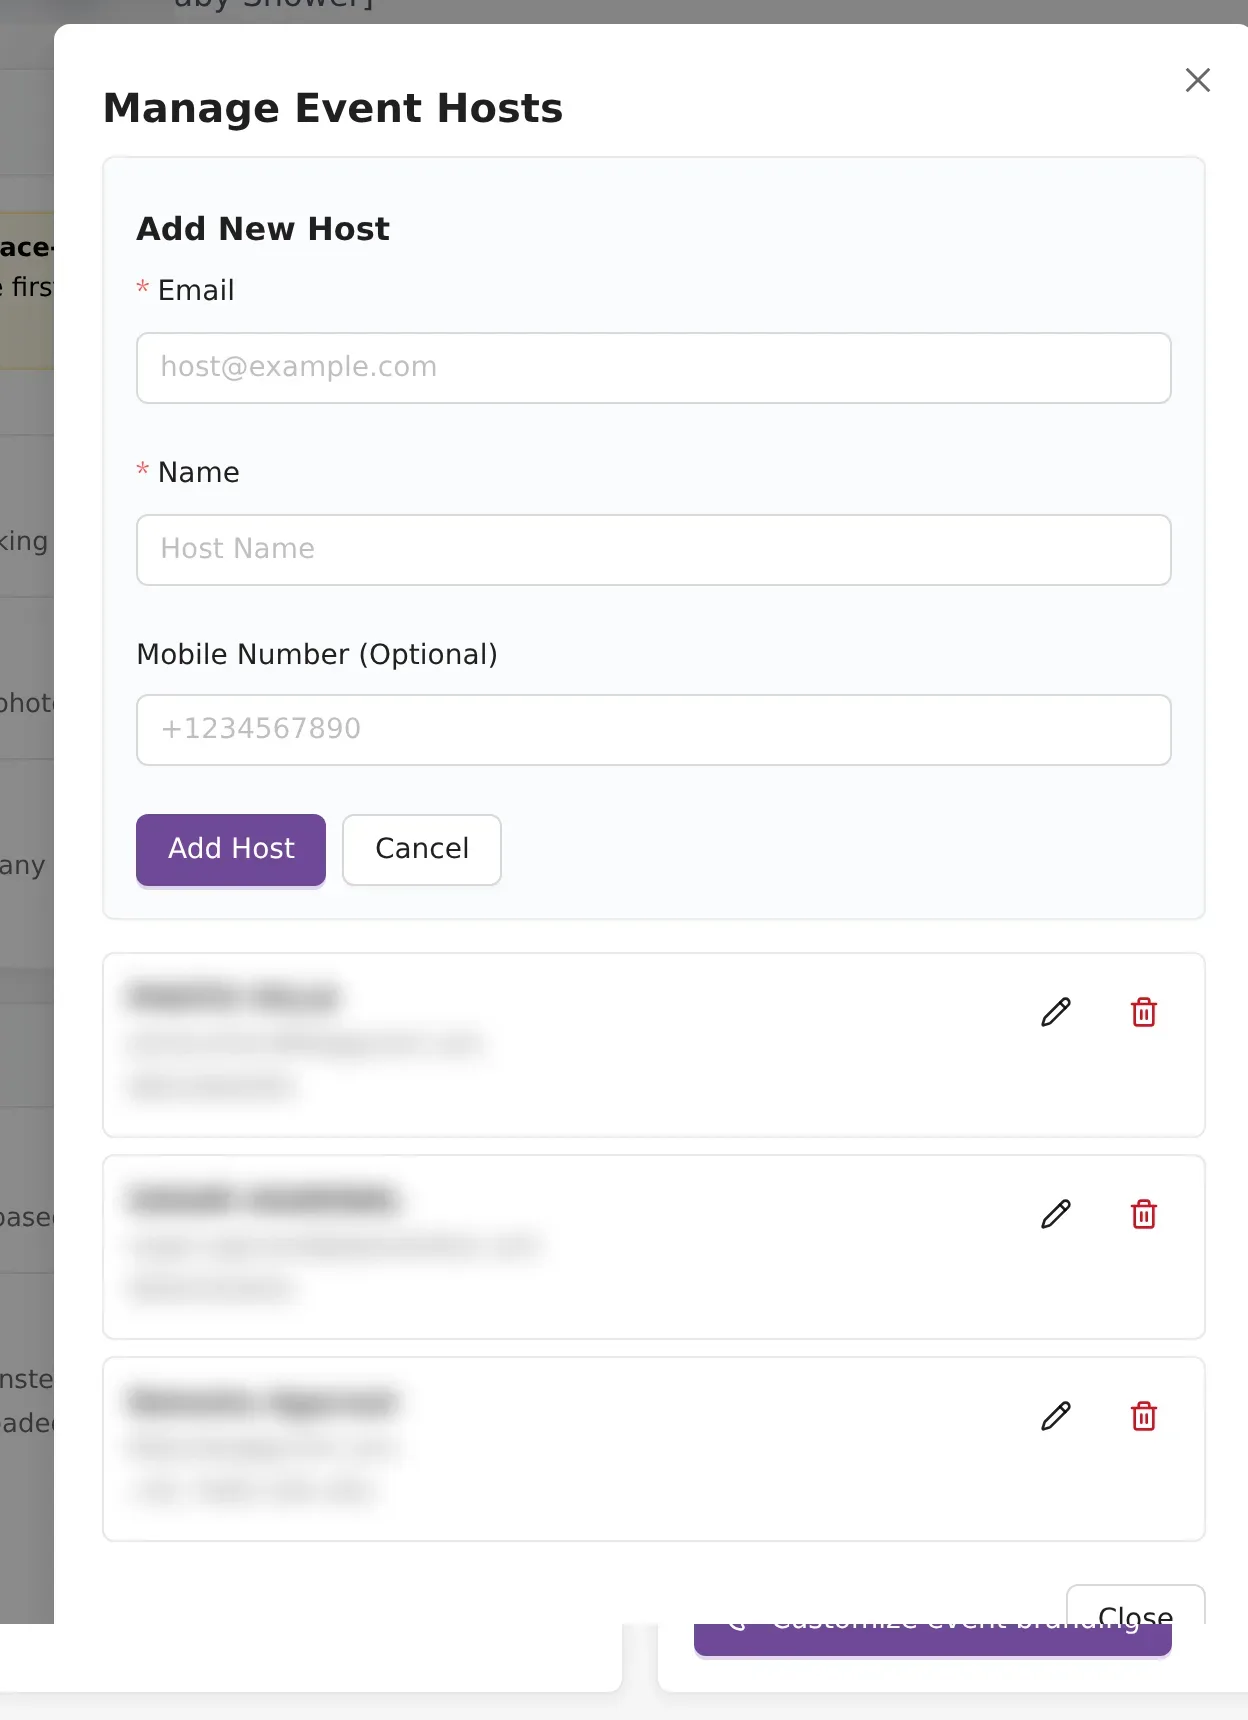
Hosts are the people the event belongs to, such as the couple or the client who booked you. The card shows how many hosts are added. Hosts receive the renewal reminder emails for the event, and they can always open it, even when guarded access is on.
- Click Manage.
- Click Add Host.
- Enter the host's Email and Name. The Mobile Number (Optional) can be left empty. Each email can be added once.
- Click Add Host to save.
Use the pencil icon to edit a host and the bin icon to remove one.
Website
Show on my website (on by default): lists this gallery on your studio website. Turn it off to keep this one event off the site. See your website.
Enquiry Settings
Allow Enquiry (on by default): people viewing the gallery can contact you, so you get new leads.
Guarded access
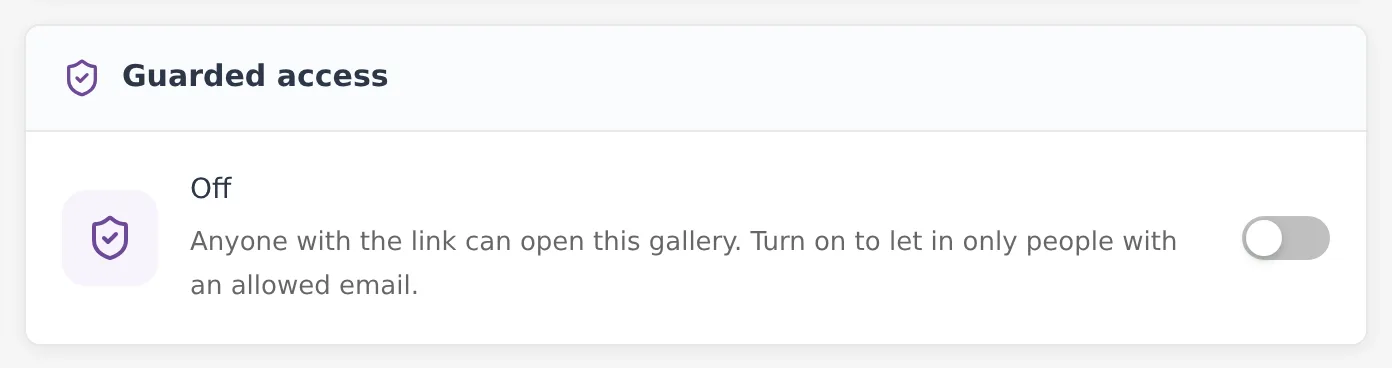
Guarded access is off by default, which means anyone with the link can open the gallery. Turn it on to let in only people with an allowed email. You choose Email domains (for example everyone at one company) or an Email list that you upload as a CSV file or paste in. Guests then sign in with an allowed email to open the gallery. Turning it off keeps your domains and list, so you can turn it back on later. Sell Photos events do not have this card.
For the full setup, read guarded access for a private event gallery.
Common problems
- The Face Recognition Settings card is missing: the event does not have face recognition.
- Download Options, Download All Photos, Original Watermark or Guarded access is missing: these cards are not shown for Sell Photos events.
- The guest limit will not save: the number must be higher than the guest photos already uploaded and must fit in the photos left on the event. To get more room, see increase an event's photo limit.
- Guests still use an old link or QR code: you changed the event ID. Share the new link or QR code.
Frequently asked questions
Do I need to save after changing a switch?
No. Each switch saves as soon as you change it, and a "Setting updated successfully" message appears. The guest photo limit saves when you press Enter or click outside the box.
How do I let guests see only their own photos?
Turn on Face-recognition based Privacy in the Face Recognition Settings card. Guests then take a selfie and see only the photos they appear in. You can still share the PIN to view all photos with the people who should see everything.
Why can't I turn off face recognition?
Face recognition cannot be turned off while Face-recognition based Privacy is on, because privacy depends on it. Turn off privacy first, then turn off face recognition.
Why can't I change the event name or event ID?
For pack events, the name and ID cannot be edited 60 days after the event was created. Create a support ticket from the dialog if you need a change. Subscription events do not have this limit.
What is the difference between Disable Event and Delete Event?
Disable Event hides the event from guests and keeps all photos, so you can turn it back on. Delete Event removes the event and all its photos for good.
How long do Download All Photos links last?
The links arrive by email within 30 minutes. They expire, so download the zip files as soon as the email arrives. You get one zip file per album.
Do guest uploads use my photo limit?
Yes. The guest limit is reserved out of your event or subscription limit. With a 1,000-photo event and a guest limit of 50, you can upload 950 photos yourself.
More Events tutorials
Try it in your dashboard
Sign in to Kamero and follow along. Questions? Raise a support ticket from the dashboard.