Getting started with the Kamero dashboard
The Kamero dashboard is where you create events, upload photos, brand your gallery and manage your plan. This guide shows how to sign in, what every item in the top menu opens, and what each card on Home tells you. It ends with five steps to get your first event in front of guests.
Sign in
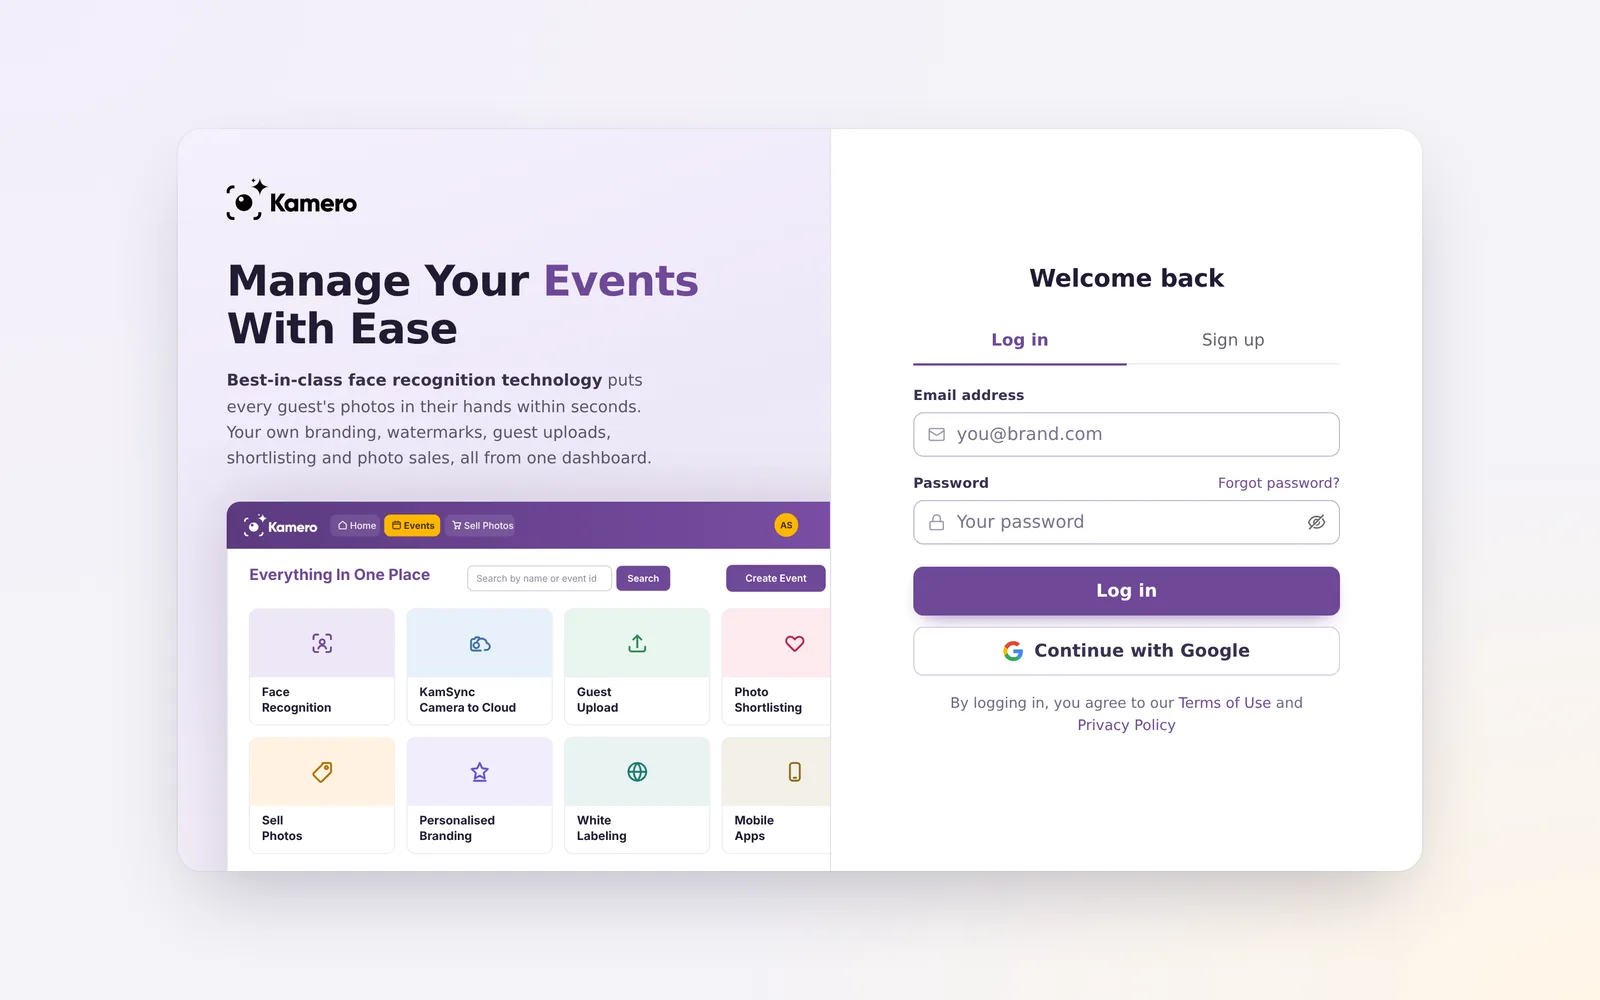
Open login.kamero.ai/login. The page has two tabs, Log in and Sign up.
- To sign in with email, enter your email and password and click Log in.
- To sign in with Google, click Continue with Google and pick your account. No password is needed.
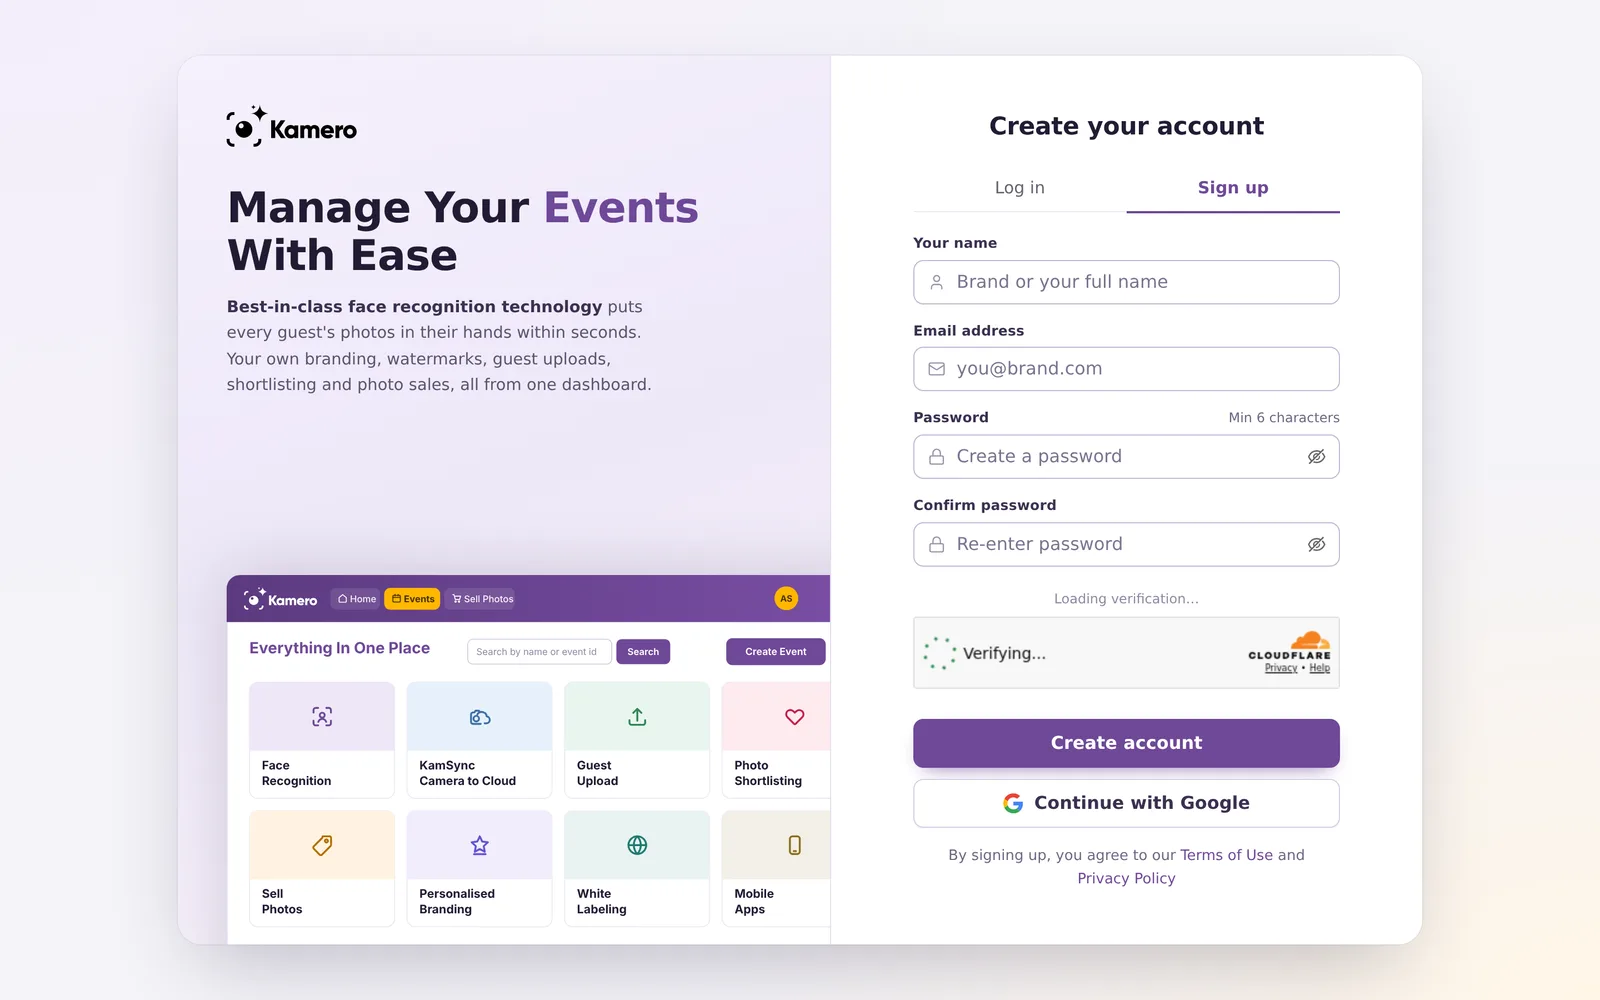
New to Kamero? Open the Sign up tab. Enter your name, email and a password of 6 to 72 characters, type the password again, wait for the security check to finish, and click Create account.
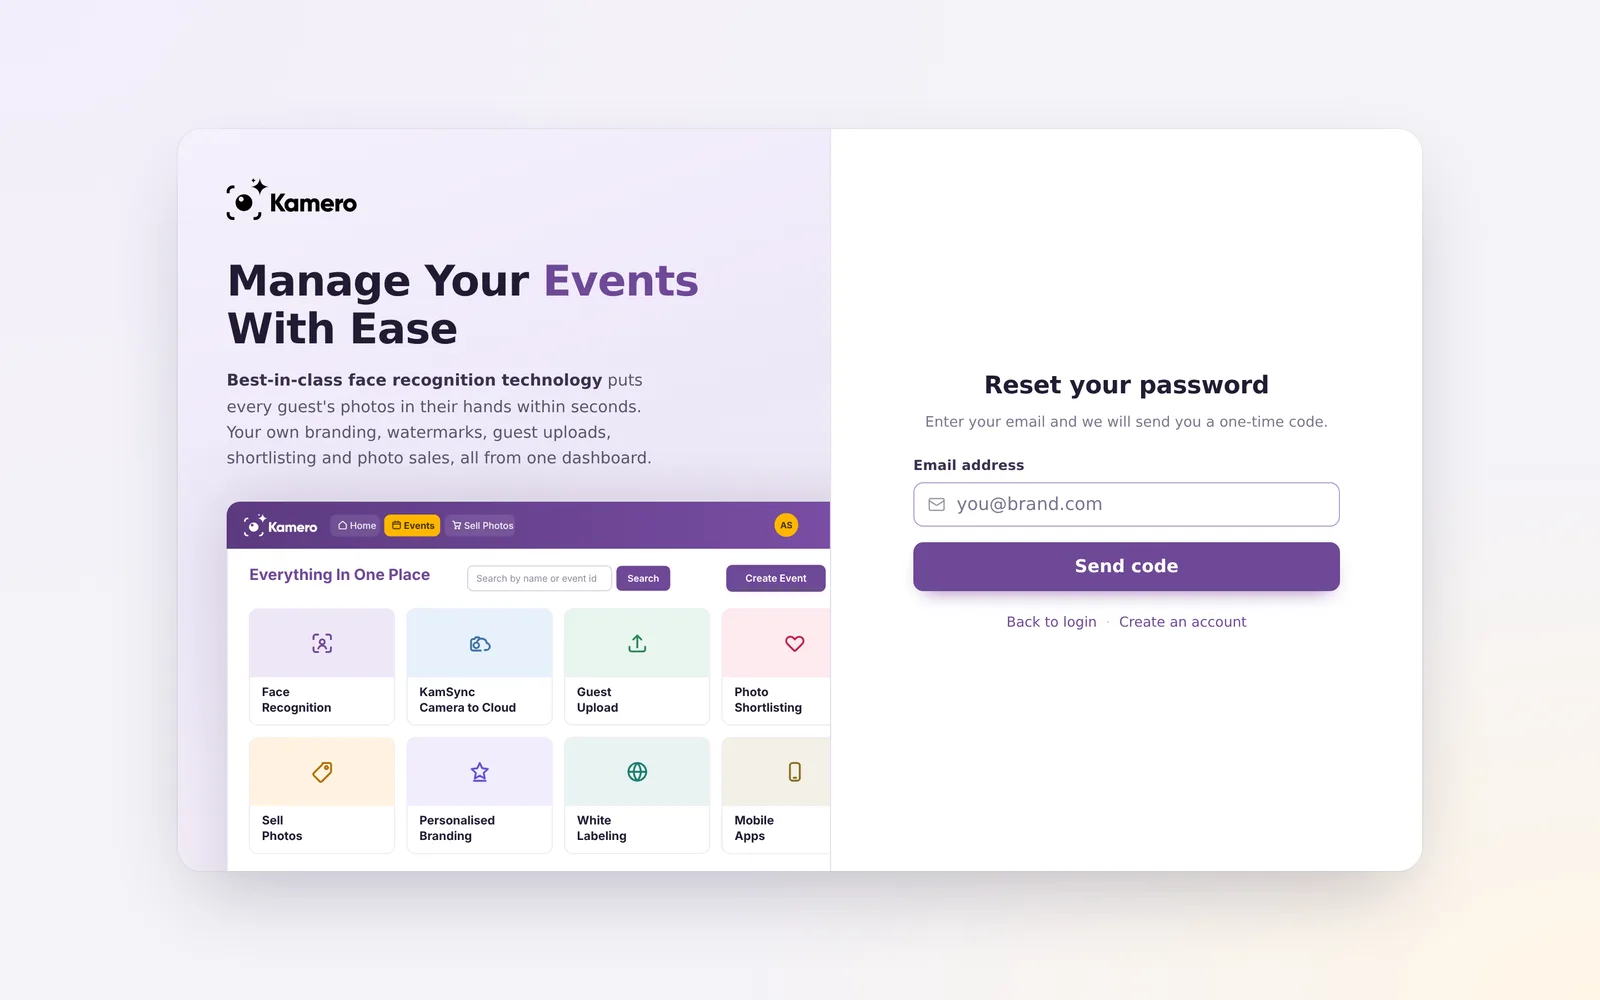
If you forgot your password, click Forgot password? on the Log in tab. Enter your email and click Send code. Kamero emails you a code. Enter it on the next screen and set a new password.
Pop-ups on your first sign-in
The first few times you open Home, Kamero shows some short windows, one at a time.
- A few questions about you: what best describes you, where you are based, your phone number and how you heard about Kamero. The last question can be skipped.
- Phone Number Update Required: appears if your account has no phone number. Enter it so Kamero can reach you with important updates.
- A tutorial video: shows how to create your first event in under 5 minutes. Pick English or Hindi under Pick your language.
- The desktop app: "Upload up to 9× faster with the Desktop App", with For your Mac and For your PC download buttons.
- Your free website: "Create your personal branded website free on Kamero". See Your Website.
Close any window with the X or the Esc key. Each one is shown once, and you can reach everything in it later from the menu.
The top menu
After you sign in, a purple bar runs across the top of every page. Click the Kamero logo at the left to come back to Home at any time.

The menu has three groups.
- Home shows your credits, plan and shortcuts. It is described below.
- Events lists all your events. Create, search, edit and delete events here.
- Sell Photos lets guests buy photos from your events. See Sell Photos setup.
The middle group is icons only. Hold your mouse over an icon to see its name.
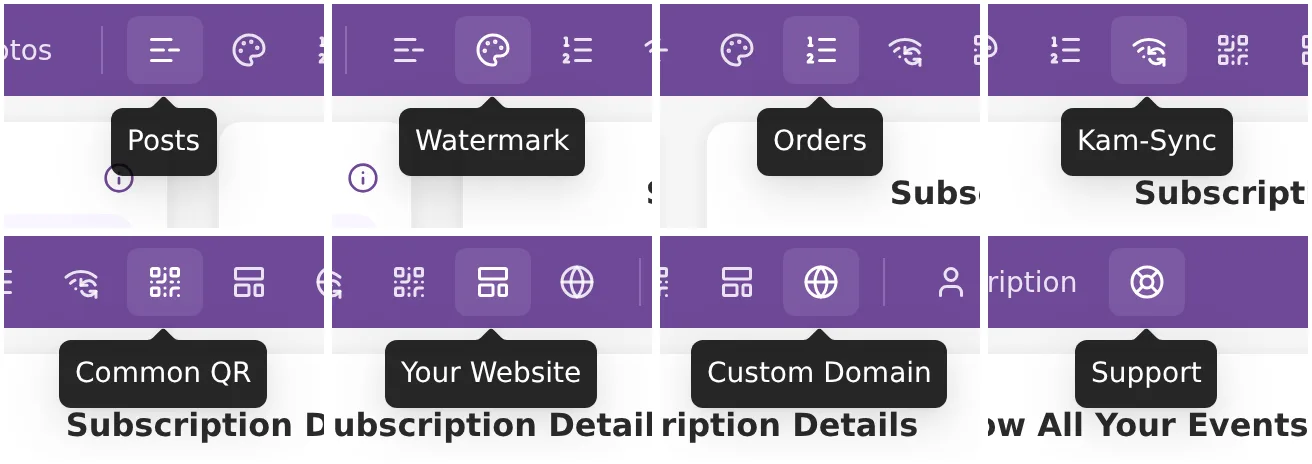
- Posts: send announcements to guests who follow you. Posts and announcements.
- Watermark: add your logo or name to photos. Standard watermark.
- Orders: your purchases and invoices. Orders and invoices.
- Kam-Sync: send photos from your camera to an event while you shoot. Kam-Sync.
- Common QR: one QR code you can print once and point at any event. Common QR code.
- Your Website: a free studio website built from your profile and events. Your Website.
- Custom Domain: put your galleries on your own subdomain. Custom domain.
The last group sits on the right.
- Profile: your studio name, logo, contact details and social links. Profile setup.
- Subscription: plans and photo limits. Subscription plans.
- The lifebuoy icon opens Support. Support tickets.
The profile picture menu
Click your profile picture at the far right to open a menu with Wallet Ledger, Commission Ledger, Support, Account Settings, Usage Report, Events Report and Logout. White label accounts also see App Features and App Analytics, and for them Account Settings is called Whitelabel Settings. Logout asks you to confirm before it signs you out.
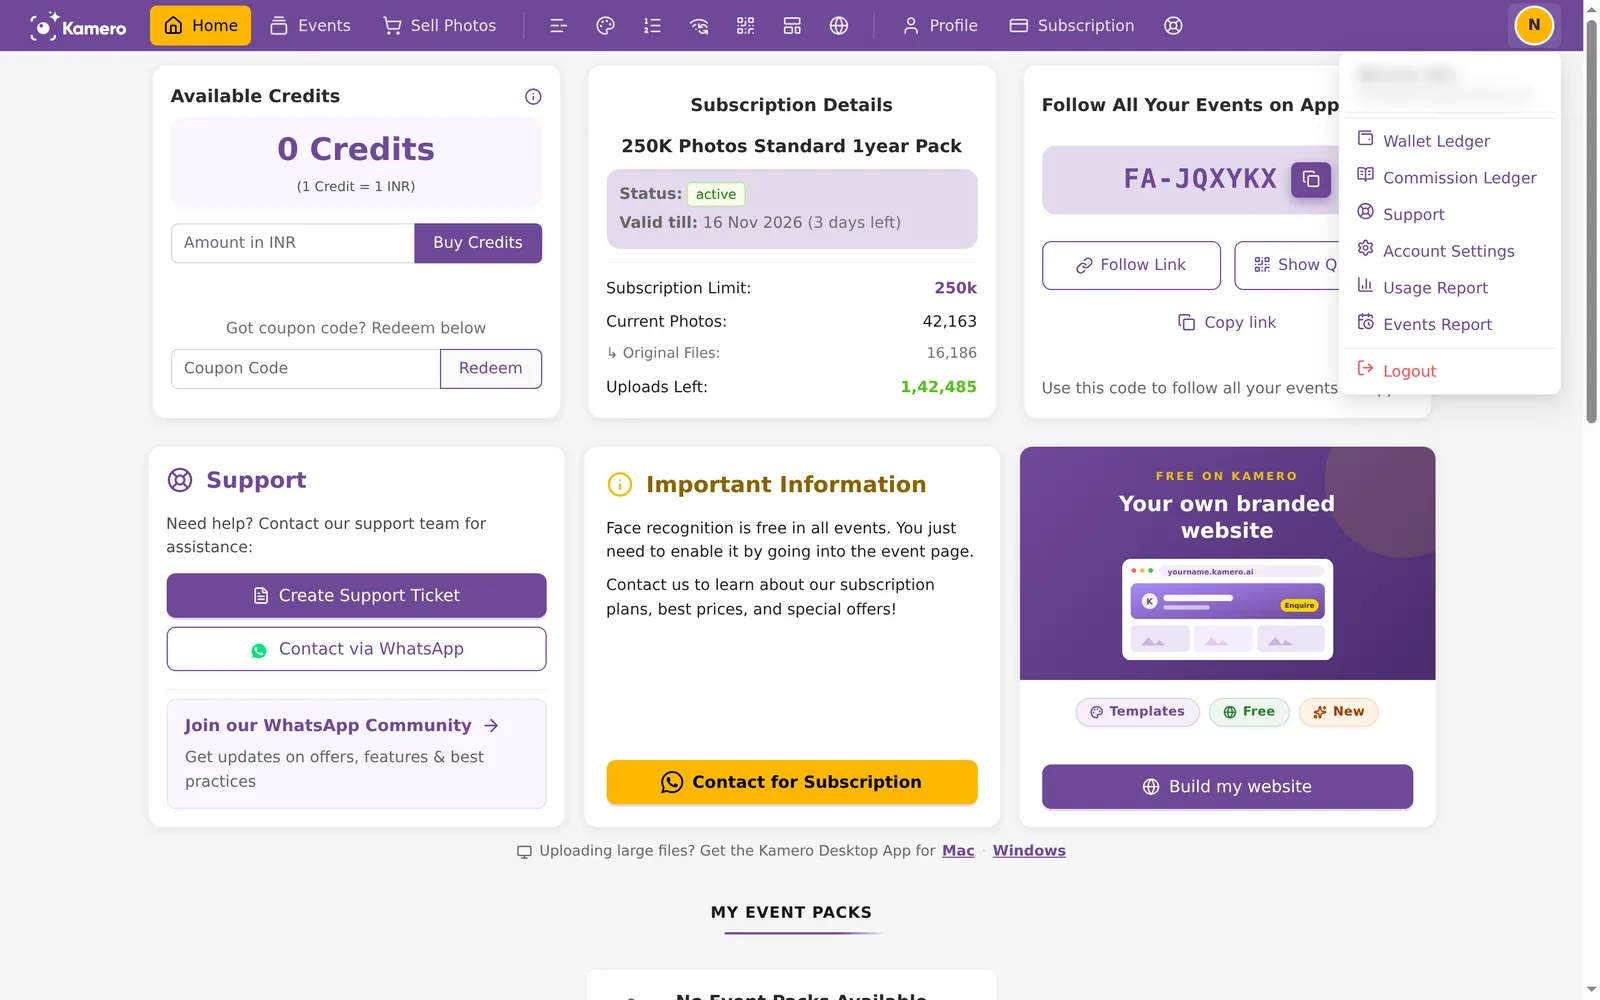
Each entry has its own guide: Wallet Ledger, Commission Ledger, Account Settings, Usage Report, Events Report, App Features and App Analytics.
On your phone
On a phone, the top menu becomes a tab bar at the bottom of the screen with Home, Events, Sell, Orders and More.
- More opens a sheet with tiles for Posts, Watermark, Kam-Sync, Common QR, Your Website, Custom Domain, Profile, Subscription and Support.
- Below the tiles are your account pages: Account Settings (Whitelabel Settings on branded accounts), Wallet Ledger, Commission Ledger, Usage Report and Events Report. White label accounts also see App Features and App Analytics.
The Home page
Home is the first page you see after you sign in. It is made of cards.
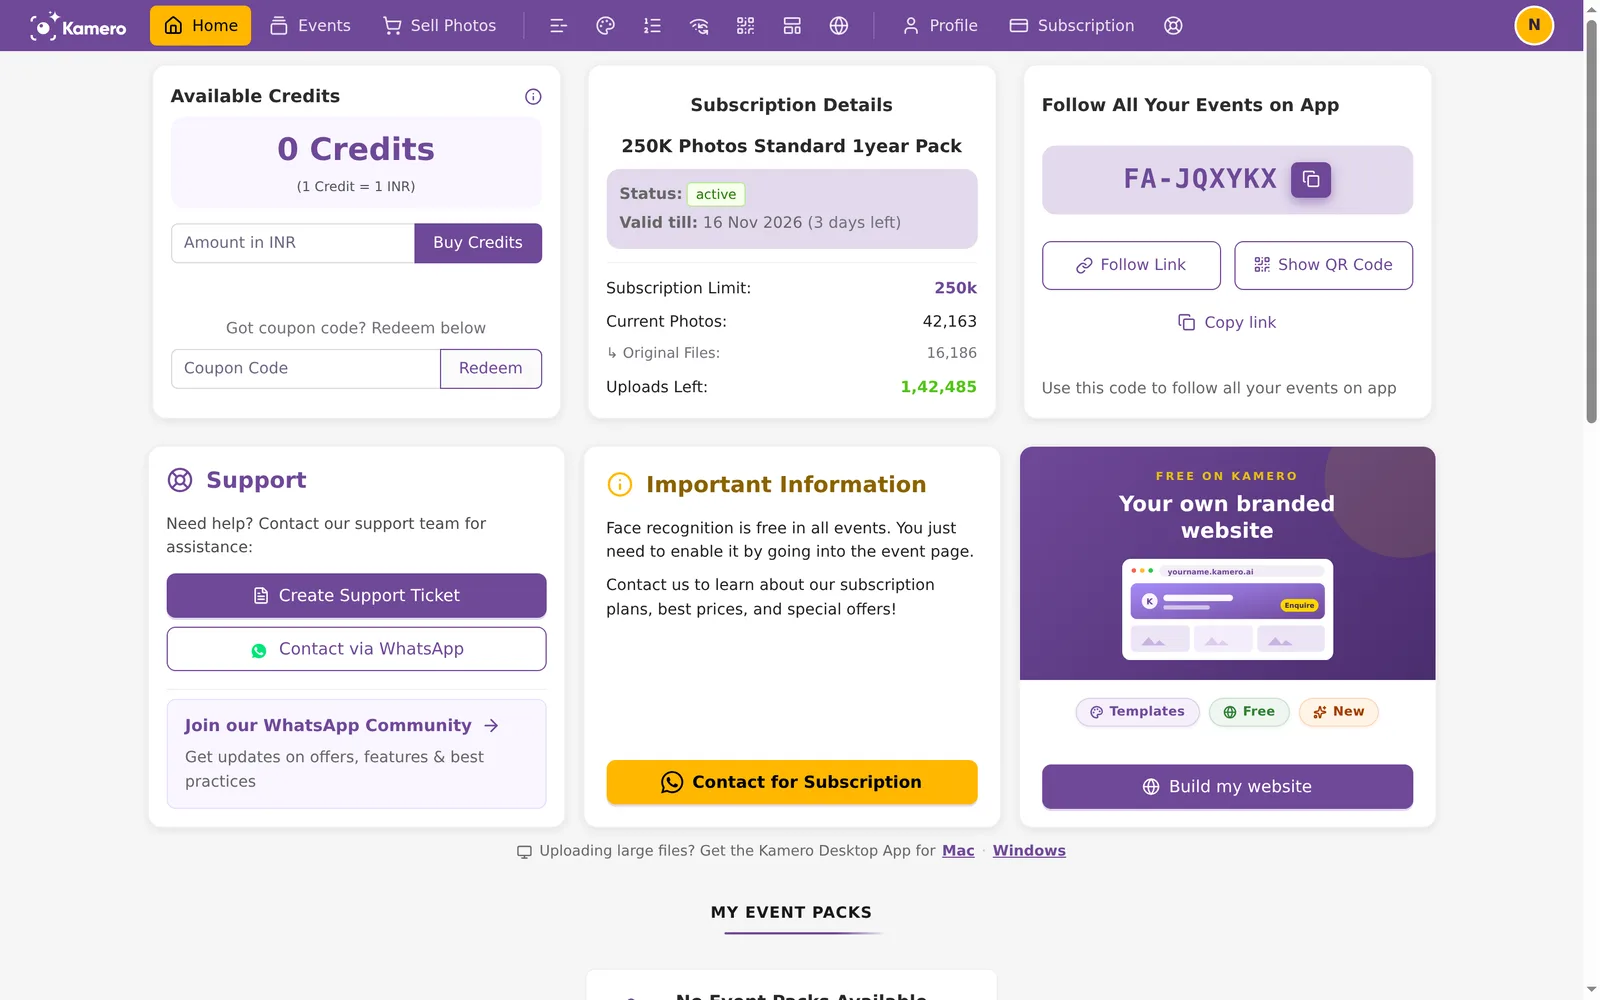
Available Credits
Shows your wallet balance. 1 credit is 1 INR. To add credits, type an amount in INR and click Buy Credits. If you have a coupon code, enter it below and click Redeem.
Subscription Details
Shows your plan name, its status and the date it is valid till, with the days left in brackets. Below that you see your subscription limit, how many photos you have now, how many of those are original files, and how many uploads you have left.
Follow All Your Events on App
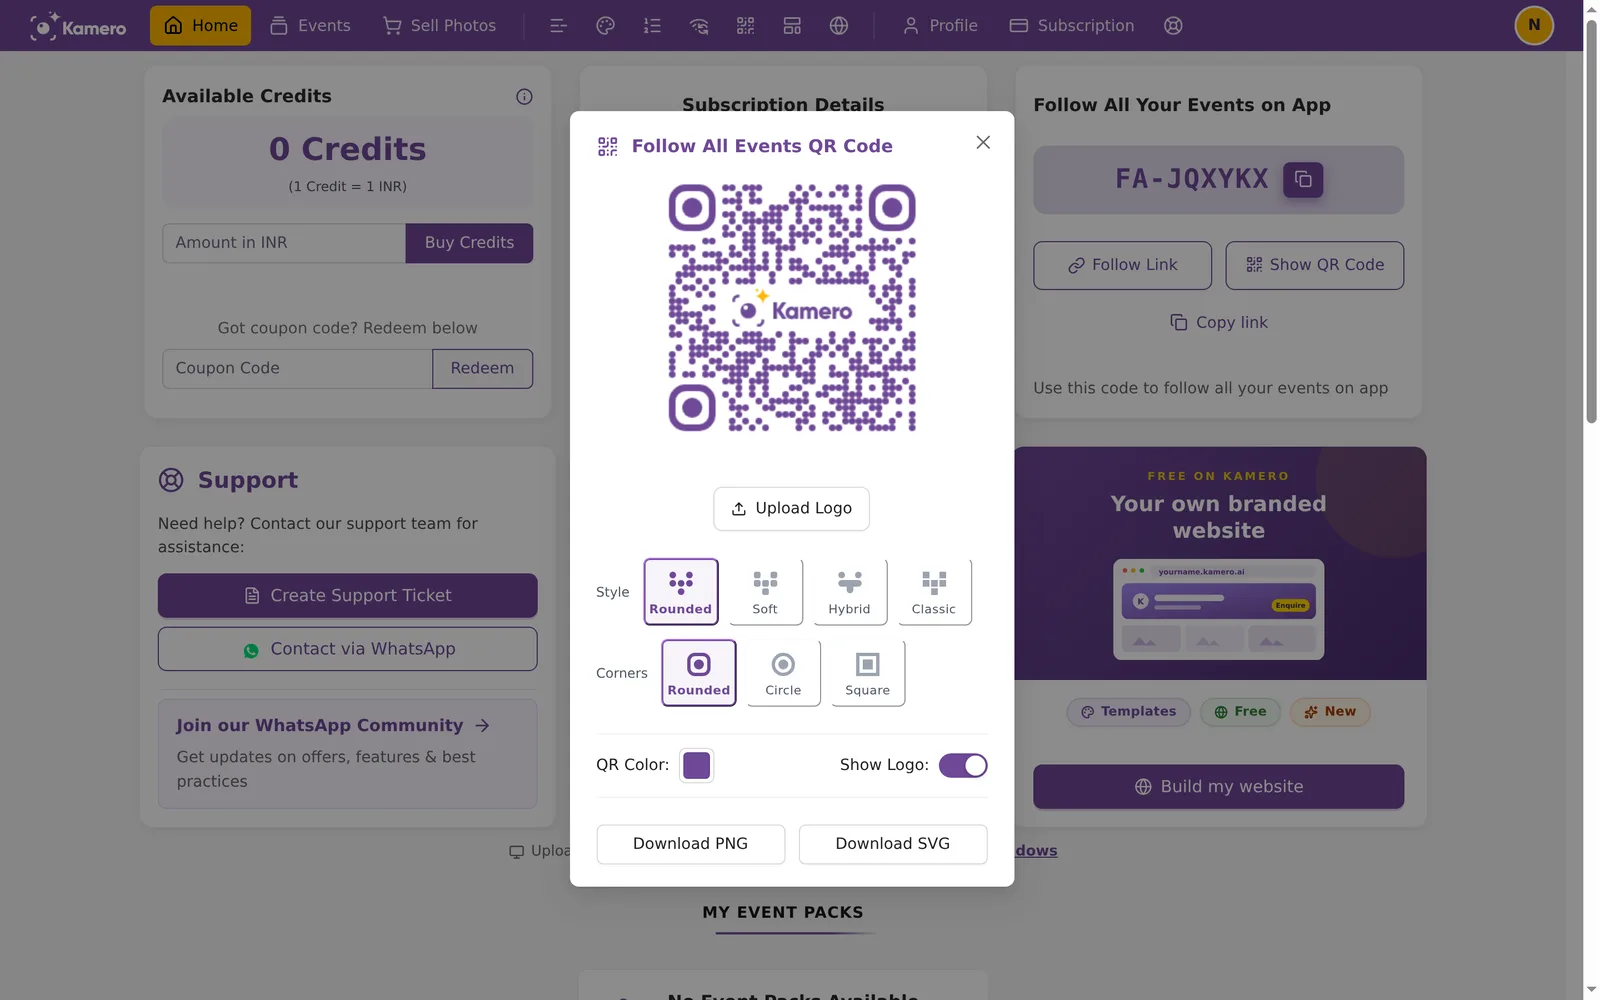
Shows your follow code, which starts with FA-. Guests who enter or scan this code in the Kamero app, or your branded app, follow all your current events at once. Events you create later appear when they tap refresh on the Events tab in the app. Click the copy icon next to the code to copy it. Use Follow Link to open the follow page, Copy link to copy its address, or Show QR Code to get a QR code for it.
In the QR window you can add your logo with Upload Logo, pick a style and corner shape, change the QR colour, and turn the logo on or off. Click Download PNG or Download SVG to save it for print. The code works only in the app, not in a web browser. See how guests follow your events and share an event.
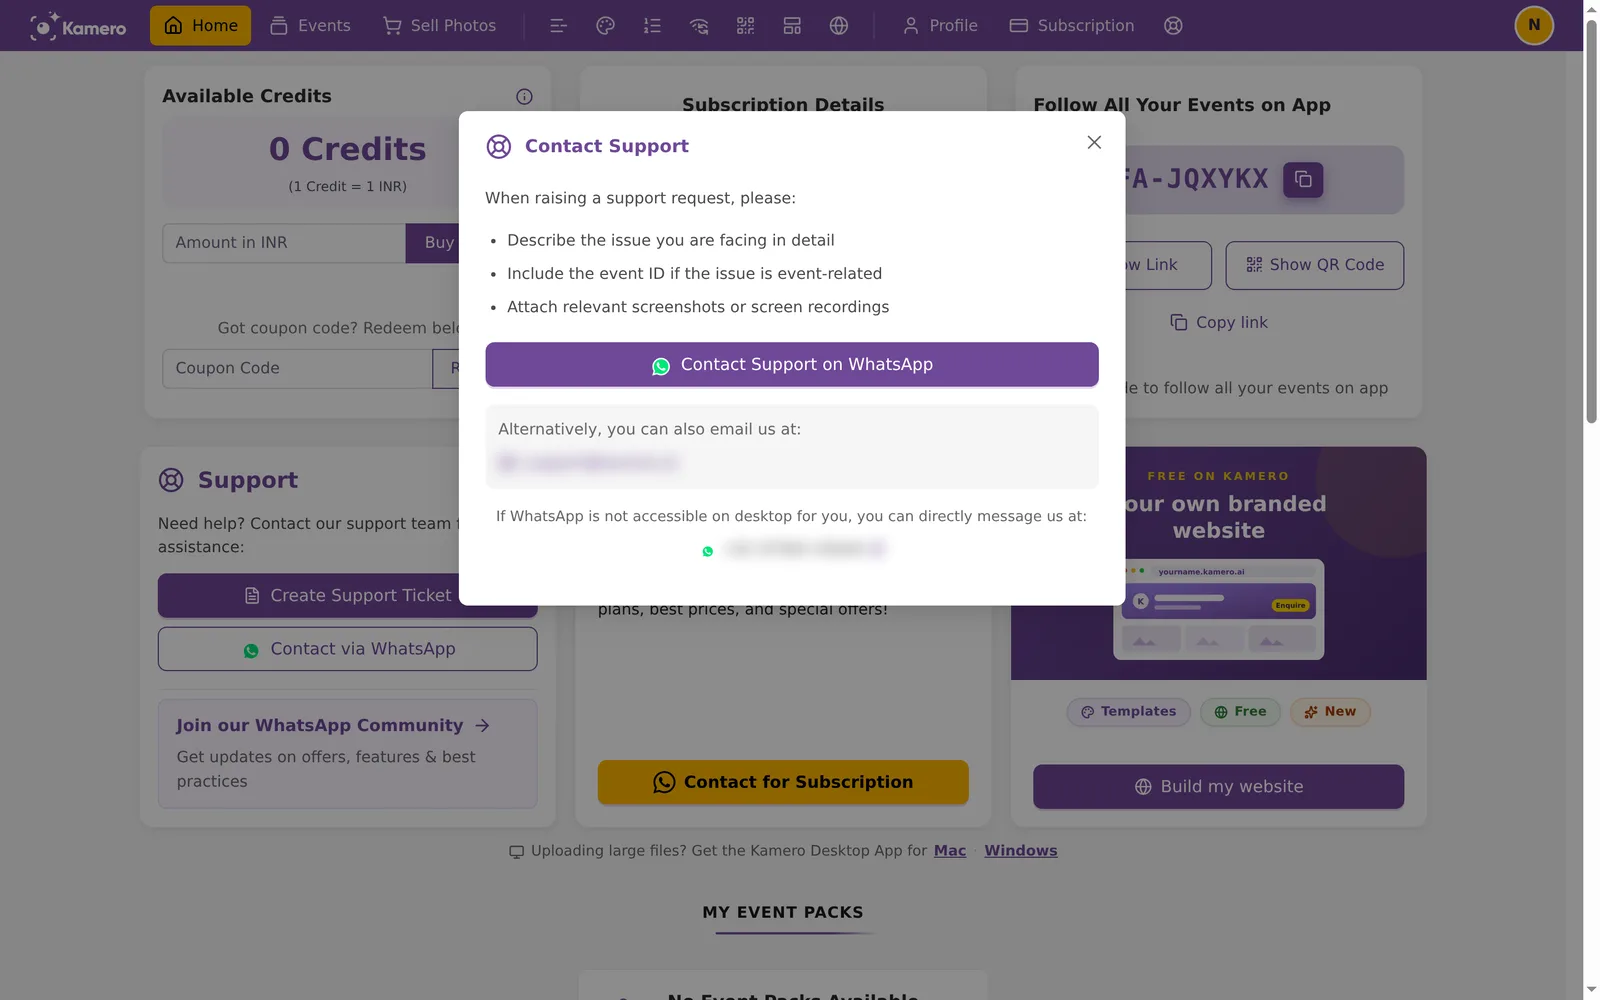
Support
Click Create Support Ticket to raise a ticket. Click Contact via WhatsApp to open a window with the support email, phone number and a Contact Support on WhatsApp button. Join our WhatsApp Community brings you updates on offers and new features.
Important Information or Your Dedicated RM
The middle card depends on your account. Some accounts see Your Dedicated RM, with the name and number of their relationship manager and a WhatsApp button. Others see Important Information, which reminds you that face recognition is free in all events and has a Contact for Subscription button.
Your own branded website
This card promotes the free studio website. Click Build my website to start. While your profile still has missing details, Home also shows a card that asks you to complete it.
Renewal banners
When events are close to expiry, a banner appears at the top of Home. It lists the events and gives a discounted renewal link and a full-price link. A second banner explains renewal for events that use face recognition. You will not see either banner when nothing is about to expire.
Event packs and Quick Start
Below the cards is a link to the Kamero desktop app for Mac and Windows, for uploading large folders. Under it, My Event Packs lists any packs you have bought. Purchase Event Pack lists packs from 100 photos to 10,000 photos, each valid for 12 months. Click Add to Cart on the packs you want, check the total and click Buy Now.
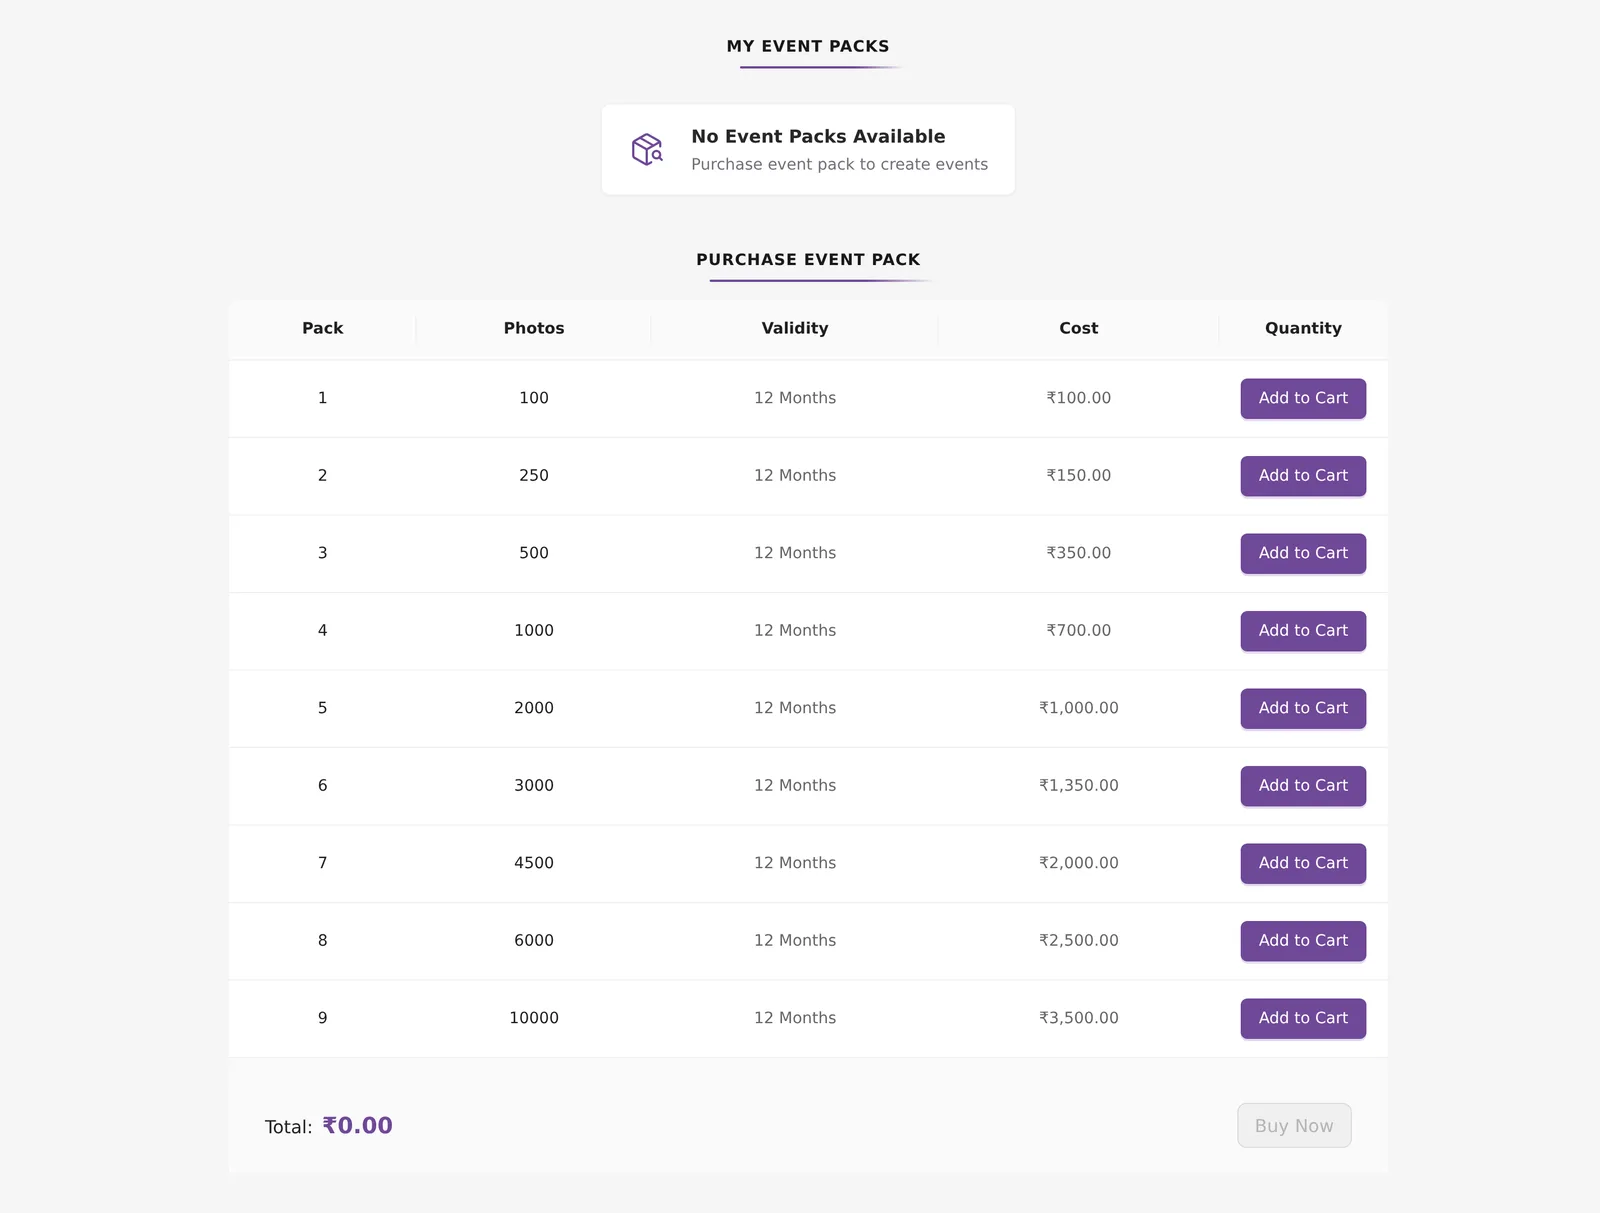
At the bottom, Quick Start has two short video walkthroughs, one in English and one in Hindi.
The Events page
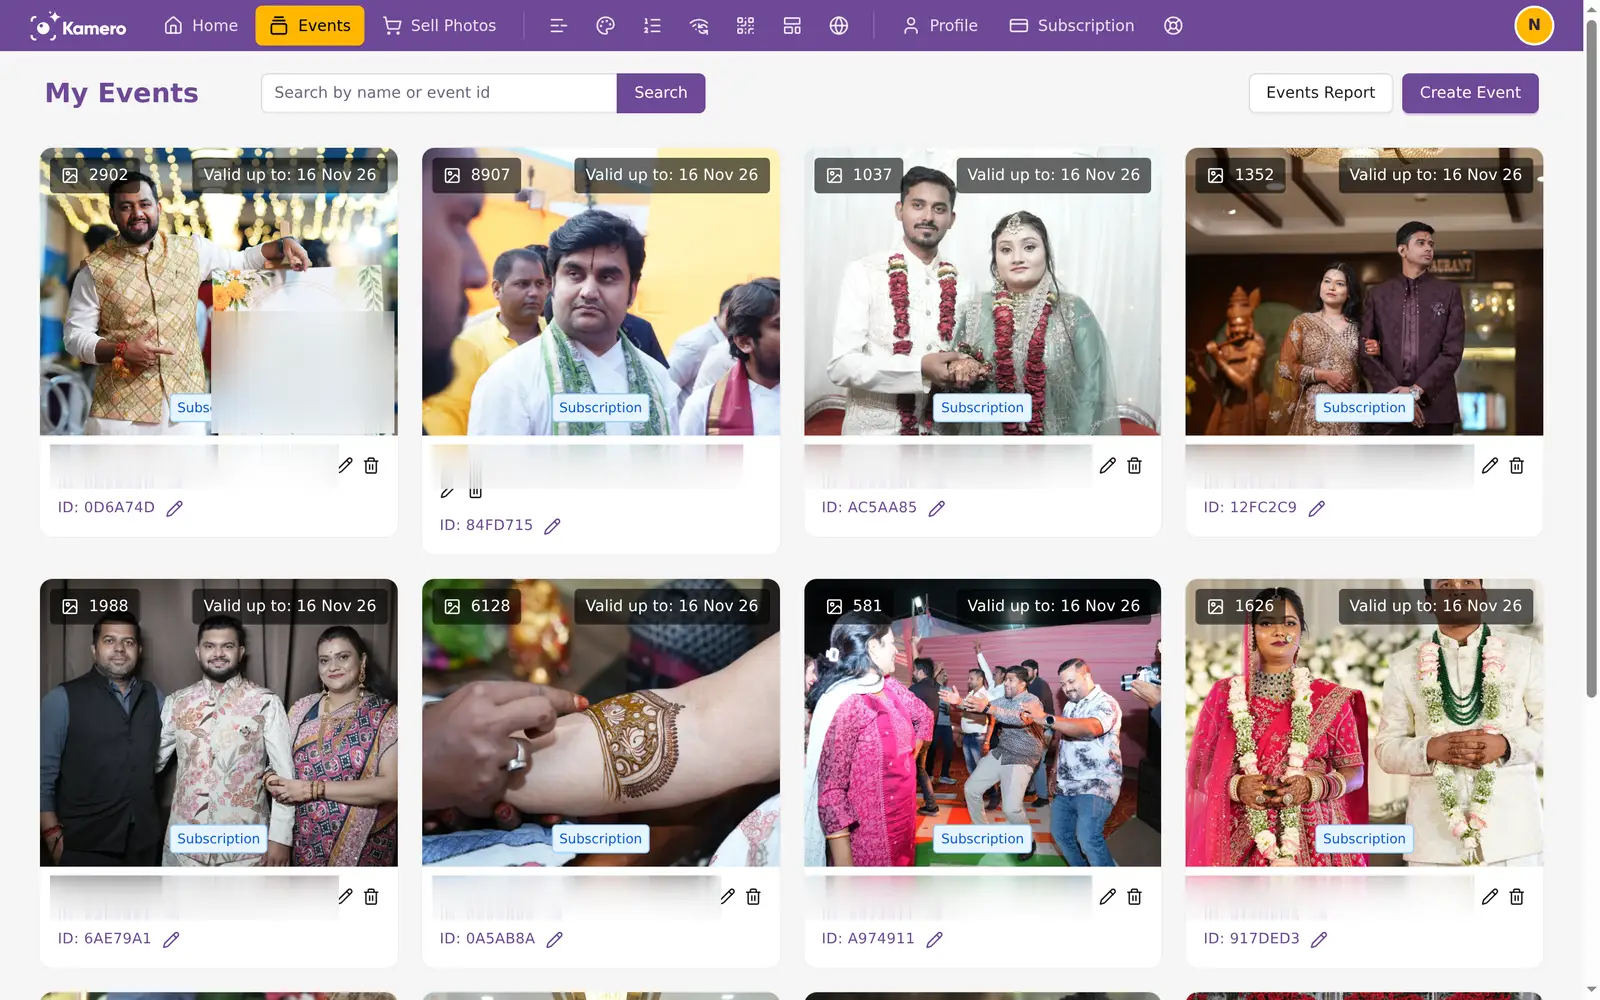
Click Events in the top menu to see all your events as cards. Each card shows the cover photo, the number of photos, the date the event is valid up to, the event name and its ID. Use the pencil to edit an event and the bin to delete it. Search by name or event ID at the top. Click Create Event to start a new one, or Events Report for a summary of all events.
Your first event in 5 steps
- Complete your profile so guests see your name, logo and contact details. Profile setup.
- Check you have photo space left on Subscription Details, or buy a plan or event pack. Subscription plans.
- Click Create Event on the Events page. Create an event.
- Add photos from your computer or straight from the camera. Upload photos or Kam-Sync.
- Set who can view and download, then share the event link or QR code with guests. Event settings and Common QR code.
Learn more
- Event pack or subscription: which to choose
- How long an event stays online
- How guests open your event gallery
- How guests find their photos with a selfie
Frequently asked questions
Where do I sign in to Kamero?
Go to login.kamero.ai/login. Sign in with your email and password, or click Continue with Google to use your Google account. If you are new, open the Sign up tab to create an account.
I forgot my password. What do I do?
On the login page click Forgot password?, enter your email and click Send code. Kamero emails you a code. Enter it on the next screen and set a new password.
What does an icon in the top menu do?
Hold your mouse over the icon. A small label appears under it with the page name, for example Posts, Watermark or Kam-Sync. Click it to open that page.
What is the follow code on Home?
It is a code that starts with FA-. Guests who enter or scan it in the Kamero app, or your branded app, follow all your current events at once. Events you create later appear when they tap refresh on the Events tab in the app. Share it with Follow Link, Copy link or Show QR Code.
Can I close the pop-ups that appear after I sign in?
Yes. Close each one with the X or the Esc key. Each pop-up is shown once, so it does not come back after you close it.
What are credits used for?
Credits are your Kamero wallet balance. 1 credit is 1 INR. You can buy credits on Home and spend them on paid features. Every credit and debit is listed on the Wallet Ledger page.
Why do I not see the Your Dedicated RM card?
The third card on Home depends on your account. Some accounts see Your Dedicated RM with their relationship manager. Others see Important Information with a Contact for Subscription button. Both reach the Kamero team.
More Getting started tutorials
Try it in your dashboard
Sign in to Kamero and follow along. Questions? Raise a support ticket from the dashboard.